Sponsored

Adding a little extra Security to the Truck, yeti-style

jfoonly

Well-Known Member
Joined
Feb 13, 2024
Threads
8
Messages
221
Reaction score
298
Location
Colorado
Website
rivian.com
Vehicles
2024 Gen1 R1S PDM
Clubs
 
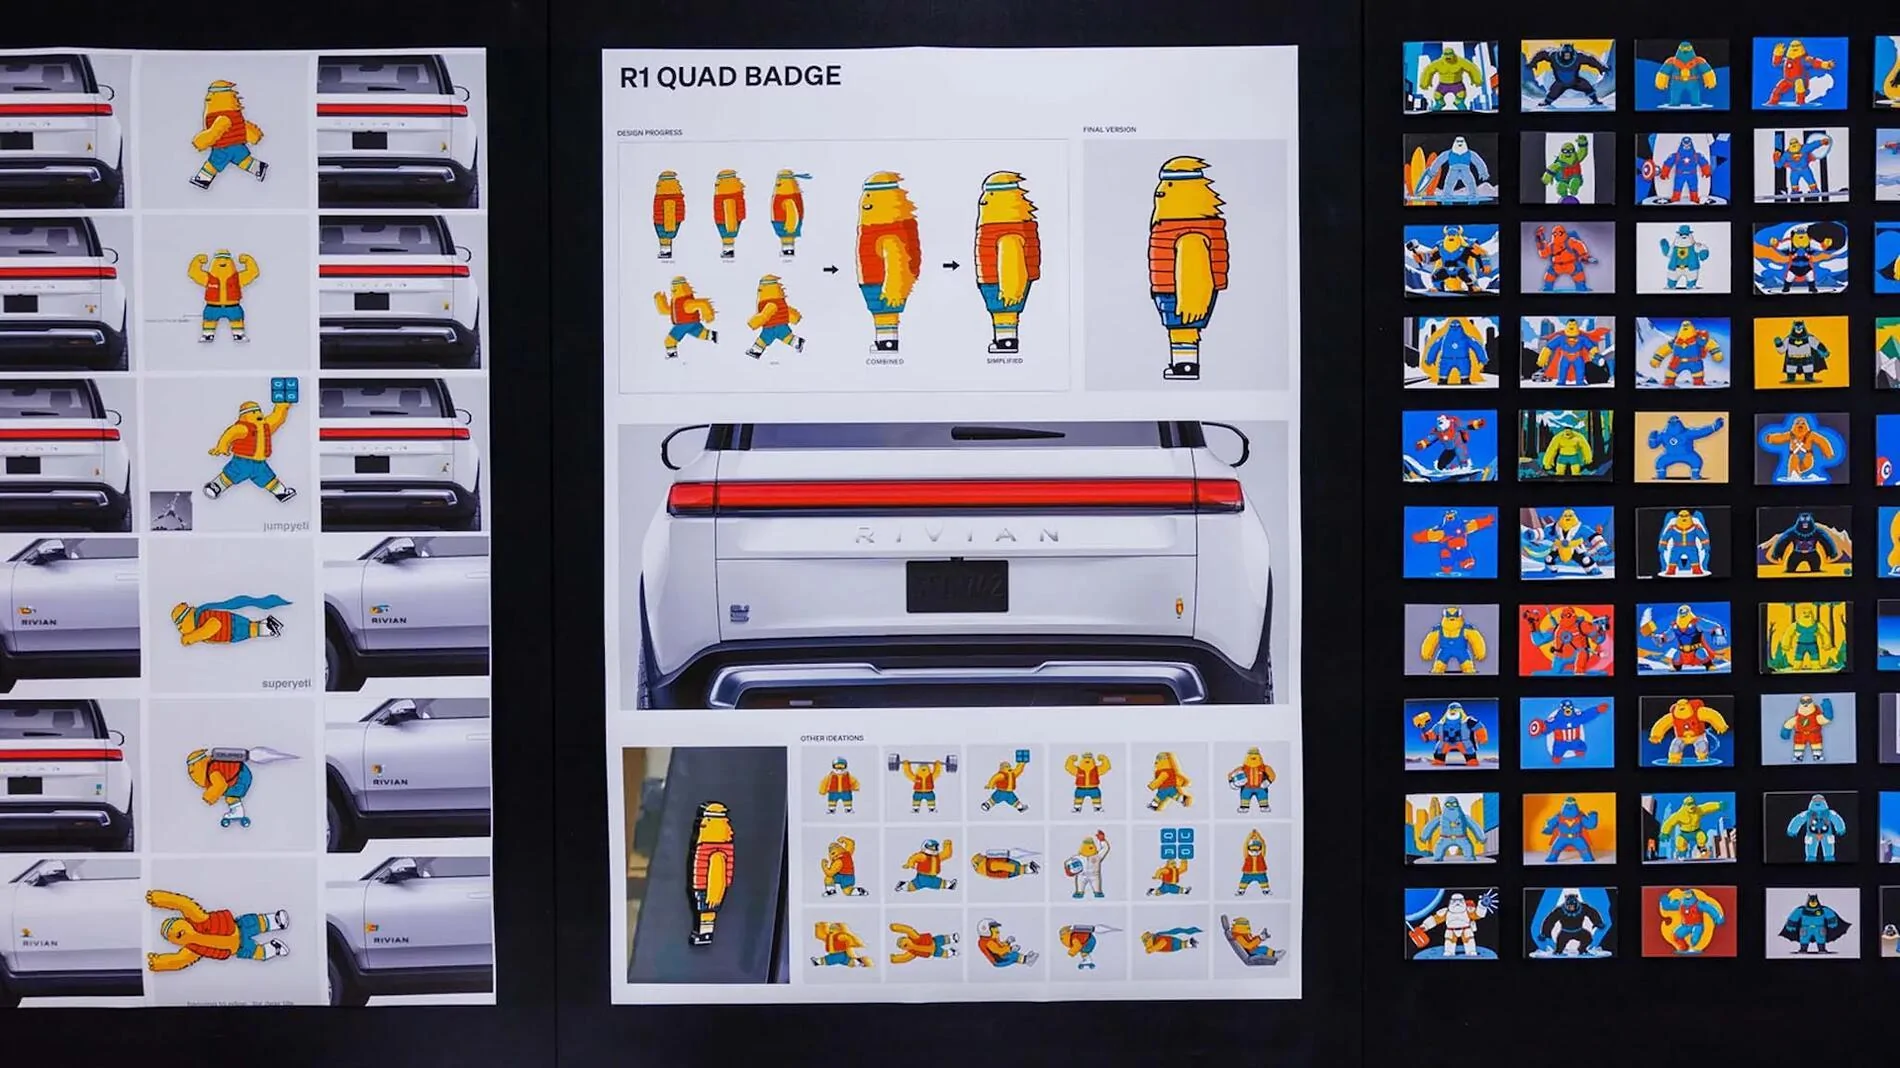
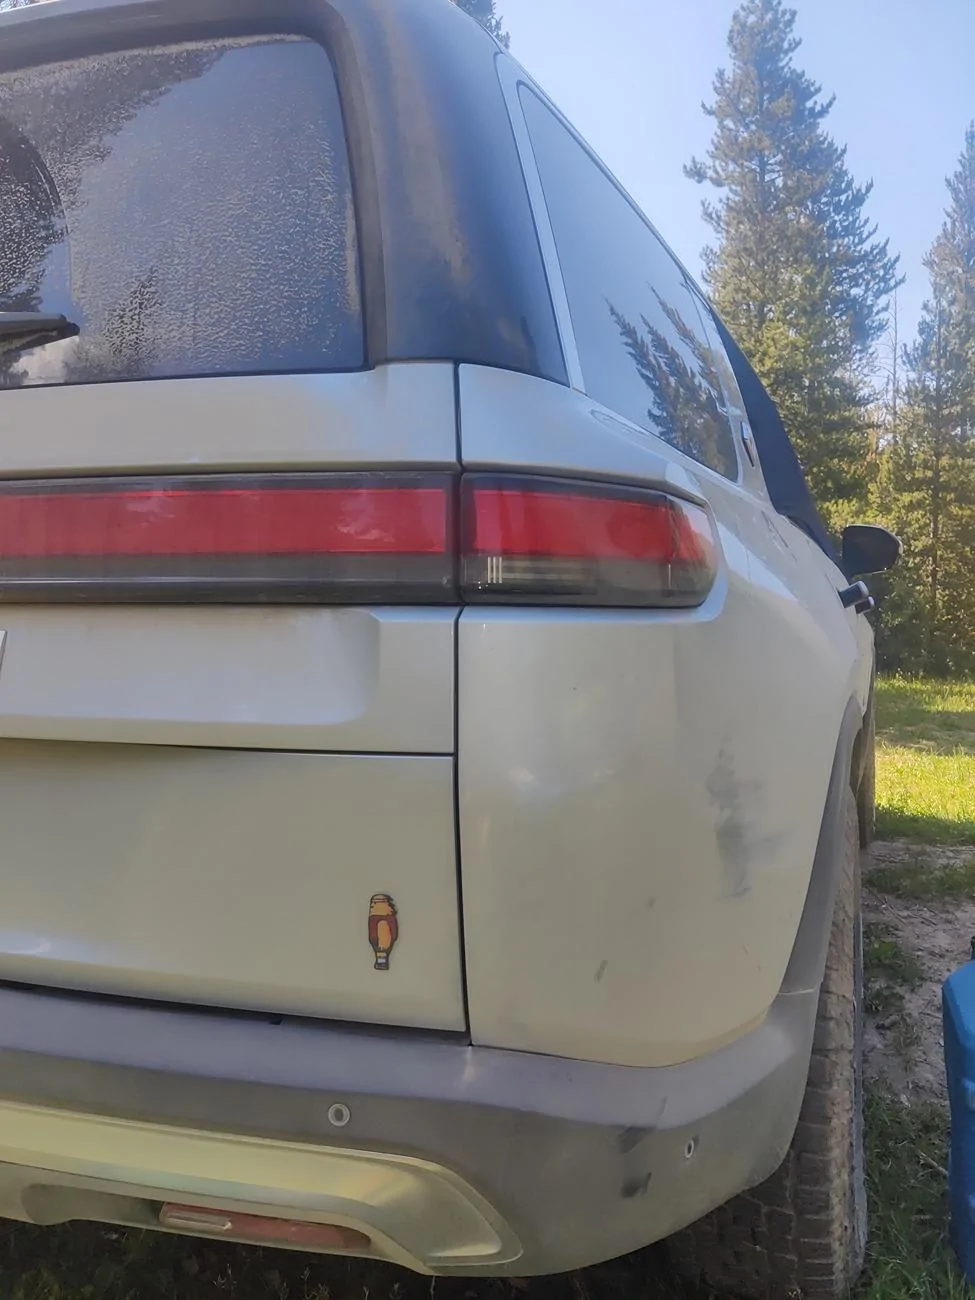
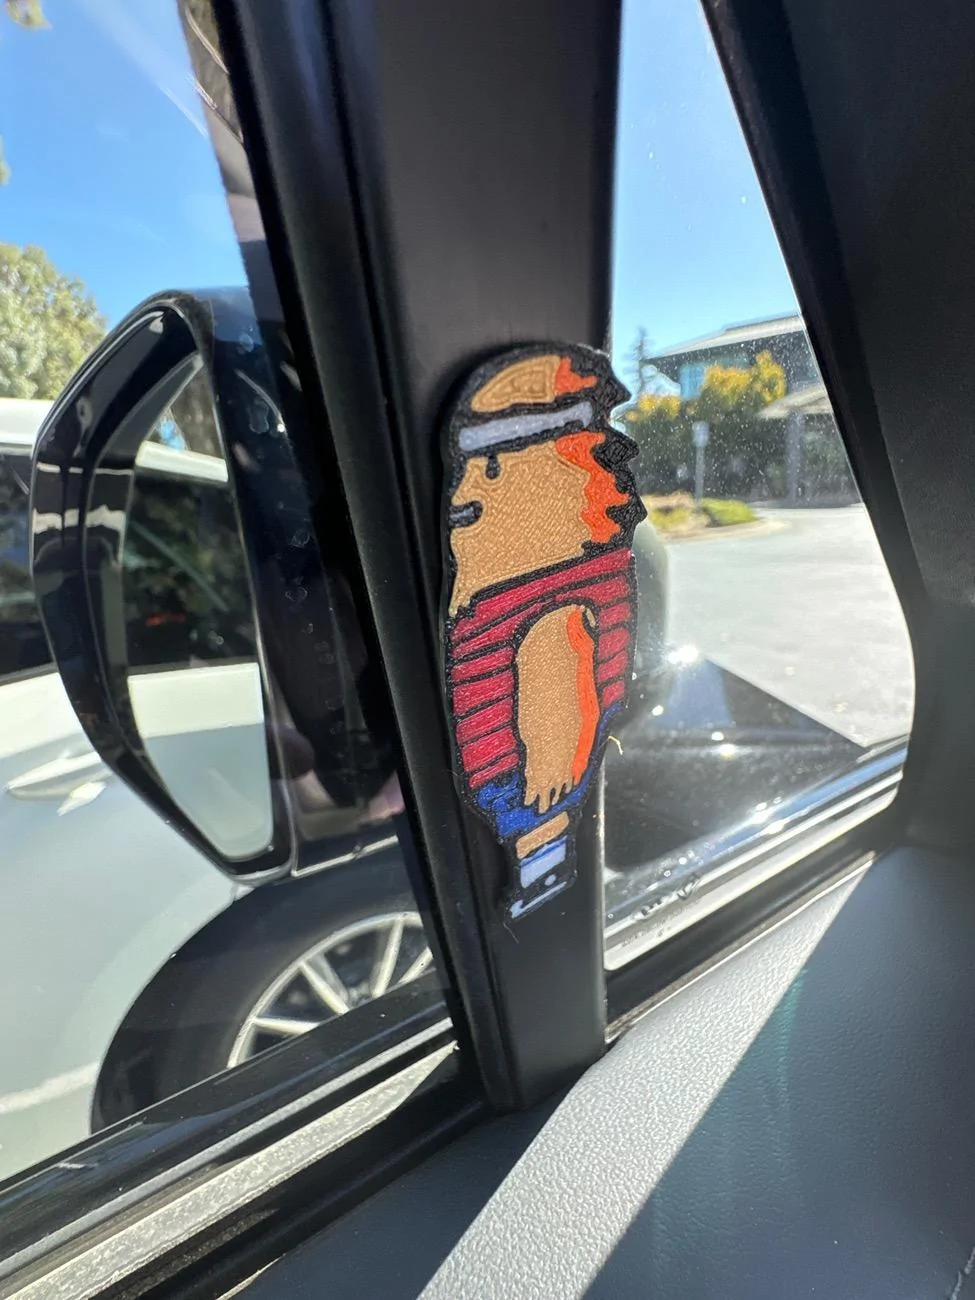
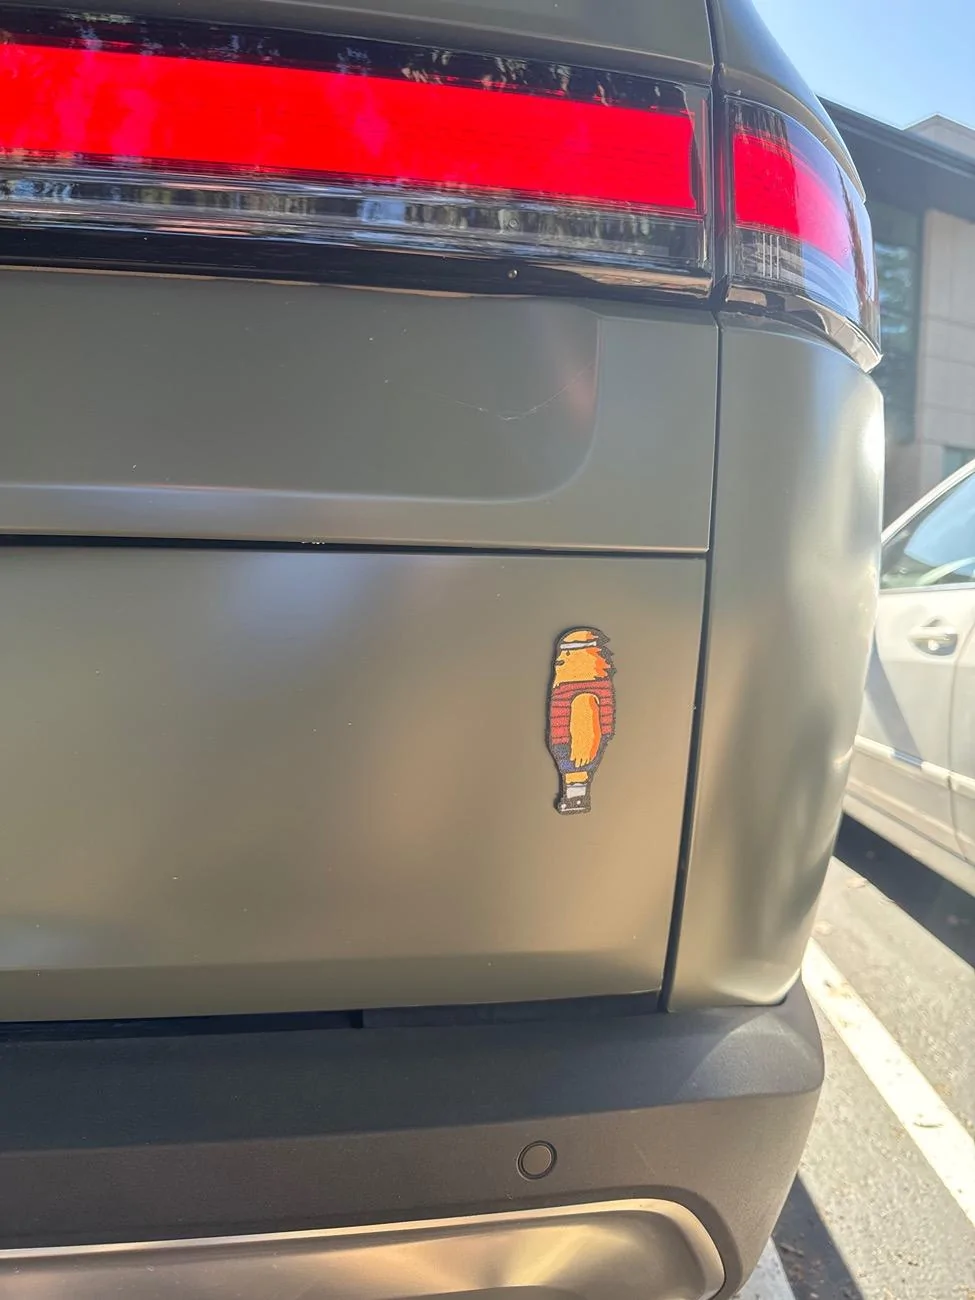
Thanks so much for the quick delivery of the yeti from a "mysterious benefactor"! (Sorry RJ the envelope is in the landfill so won't help your lawyers)

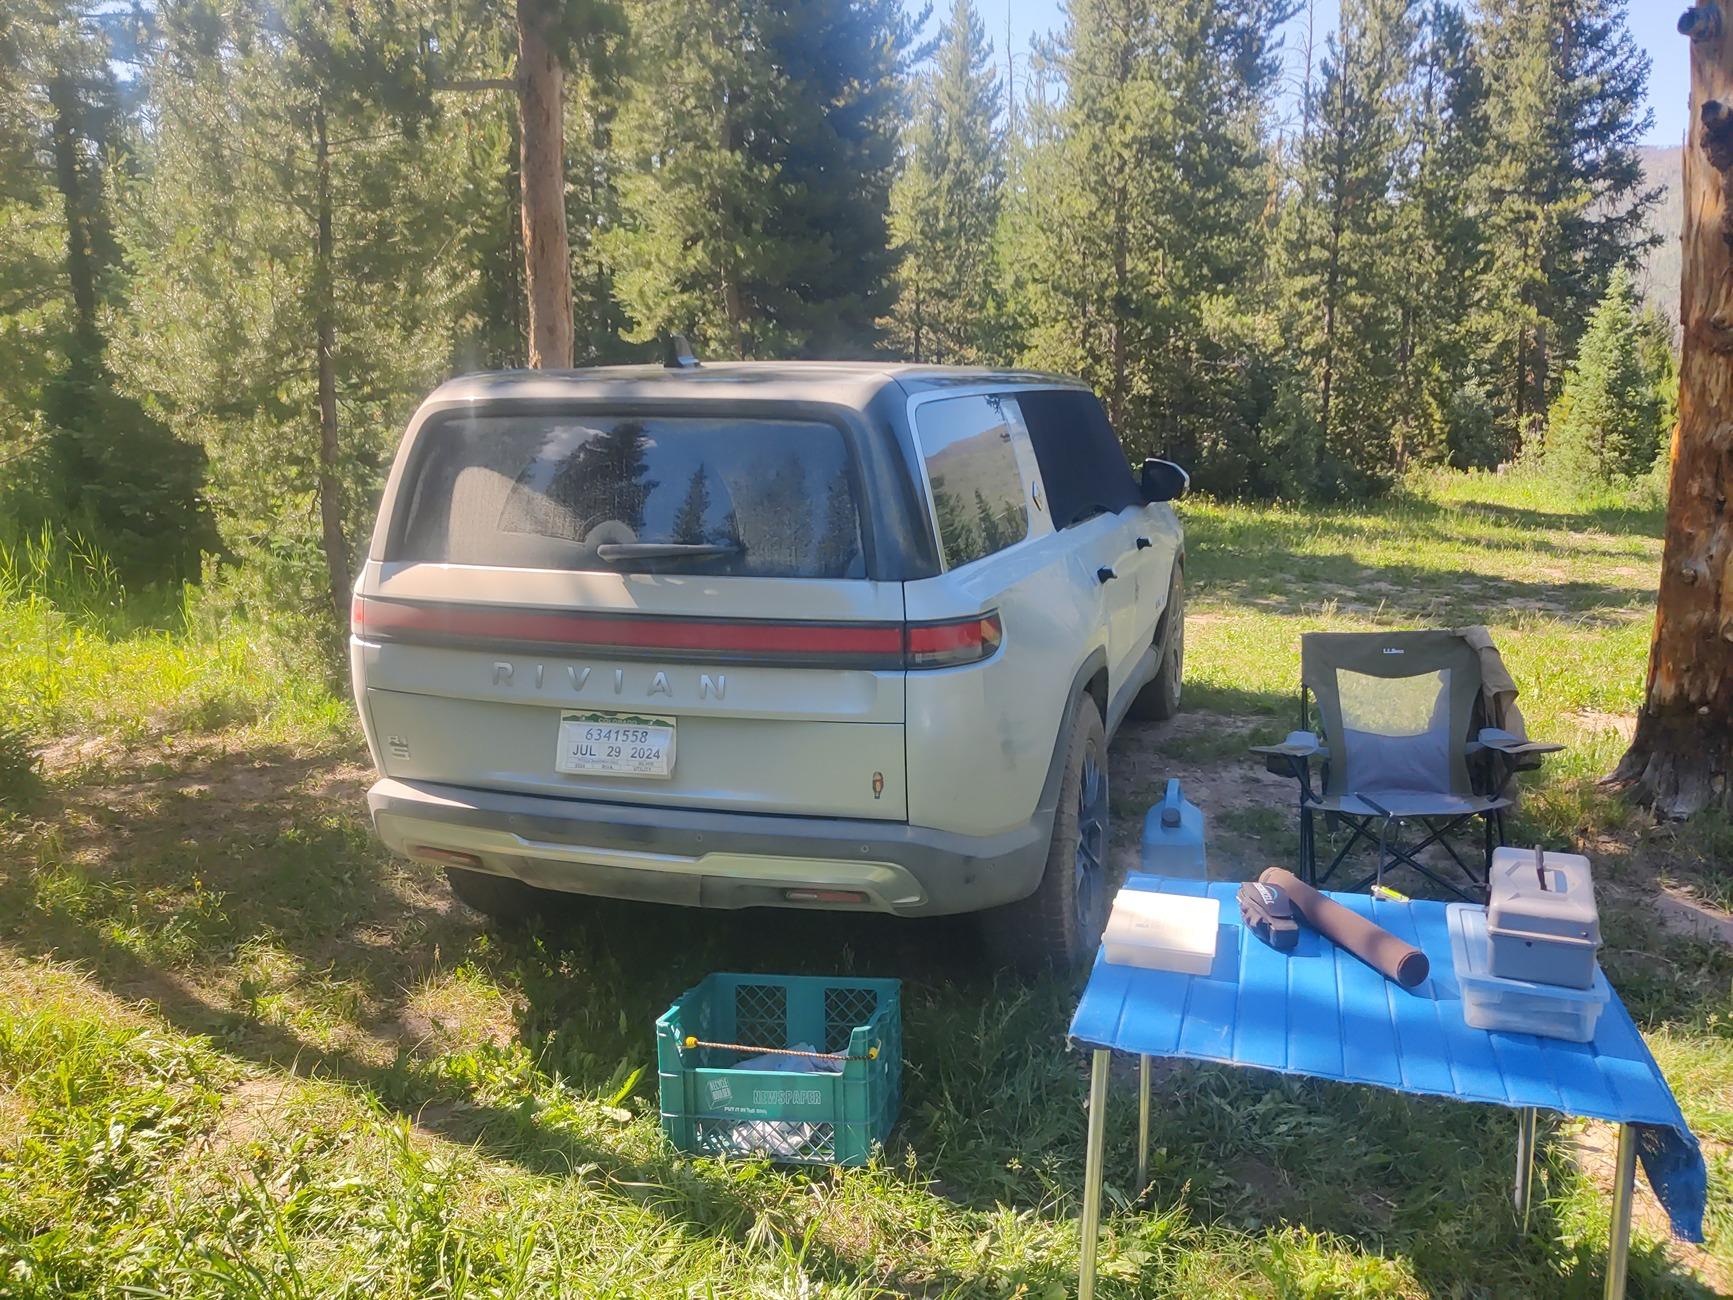
I waited until after mobile service to apply it, then took him out to his natural habitat. A moose cow and her calf wandered past to take a look, but didn't stay and pose for a photo.


Rivian R1T R1S Adding a little extra Security to the Truck, yeti-style 1000001785
Rivian R1T R1S Adding a little extra Security to the Truck, yeti-style 1000001781
Sponsored


citizen

Well-Known Member
First Name
Darren
Joined
Sep 1, 2021
Threads
16
Messages
397
Reaction score
441
Location
Orange County, CA
Vehicles
R1S, 911, RX350h
Occupation
Designer
Clubs
 
Sadness! I get it, they gotta enforce. Got two of your prints but was holding out for the super Gary to apply and differentiate from their Ascent trim.

Think I’ll just apply next to the R1S emblem on the left to make it look less like the real Ascent trims.
 

Drfluffymd

New Member
First Name
Zed
Joined
Jul 18, 2024
Threads
0
Messages
1
Reaction score
0
Location
San Jose
Vehicles
2023 Quad R1S
Hey guys, I am a big fan of this emblem. Can anyone dm me that if you have a spare one? Will comp handsomely for shipping.
 

Sponsored

bigsky

Banned
Well-Known Member
Joined
Jan 8, 2024
Threads
12
Messages
1,098
Reaction score
740
Location
MUM
Vehicles
MUM
I made him :)

A few fellow enthusiasts on Discord helped me find a straight-on image of the R2 Quad's Gary Decal, and I used the photo as an overlay in CAD to rebuild him. I happen to have multi-material 3d printing capabilities, so I was able to paint with multi-color filament.

Made from PETG, of course, so he should last out in the elements for some time!
Can you translate that into English :)?
 
OP
OP
R1Thor

R1Thor

Well-Known Member
First Name
Joe
Joined
Aug 9, 2023
Threads
8
Messages
1,537
Reaction score
2,426
Location
Lancaster, PA
Vehicles
23QM R1T, Limestone + Ocean Coast, 21" & UBS
Occupation
Mechanical Engineering Lead
Clubs
 
Can you translate that into English :)?
Sure! If you're genuinely curious, here's what I did:

  1. I found a good flat image of Gary with the help of some friends
    Saved the image to my computer

  2. I used a CAD (computer-aided design) program to re-create the 'hard edges' of Gary
    - In my case, I use AutoDesk Inventor (I have a Professional License since I use the software to pay the bills).

  3. I created a sketch (kind of like using paint or your favorite drawing software) and imported the Gary image.
    - Then I aligned and scaled Gary to fit on my 'sketch'

  4. I essentially 'traced' Gary at this point. CAD doesn't use 'freehand' lines like an artist might (or like you might with a pen/pencil and paper). It only uses parametric shapes, which essentially means "can this line/circle/shape be created with an equation." For our purposes, you don't *really* need to understand that, but for the sake of completeness:
    - I used a spline tool (mostly) to follow the curves of the 'black lines' that make up Gary's outline and boundaries between colors. TO NOTE: when doing this with the intent of creating the "3D version" (which is necessary for creating the 3d decal), all of these boundaries MUST be closed somewhere.

    To note: this means a lot of smaller-ish splines, lines, and arcs that connect and eventually return to the origin (start) of the trace for each and every 'section'

    Also to note (this requires a little bit of experience and a fundamental understanding of 3d printing): I also widened and or shortened some sections of the outline: as 3d printing can only get SO fine with details (this is limited by the 3d printing method, the printer type and resolution, the nozzle type and resolution--if applicable; again depending on printer type--diameter, filament/material type, and what type of build plate you're using.

  5. I then 'extruded' (made thick) each of the smaller areas (in other words: if it was going to be a different 'color,' I made that area thick ~1mm and any areas immediately adjacent to that were adjusted by around .02mm in order to create a 'border').

  6. Once the Yeti design was done within CAD, I exported it as a STEP file (a solid file format) that could be read by the 3d Printer Slicer. In this case, I use BambuLab X1C (this is the printer) with three AMS (Auto-Material Selectors). The material selectors allow me to use multiple colors of the same filament, so I'm essentially extruding the colors necessary to achieve our color goals.

  7. I import the STEP file into Bambu Studio slicer, where I can 'assign' each color to its representative embossed area.

  8. Then I simply tell the printer to 'print.' by having it 'slice' the layers and assign the color order and do a bunch of other heavy lifting in the background. Then the printer takes over and I wait :)

I hope this helps. It would probably help a tad more WITH photos, but I am technically working today, so let me know if there's any particular step you'd like to 'see' and I'll see what I can do.
 

citizen

Well-Known Member
First Name
Darren
Joined
Sep 1, 2021
Threads
16
Messages
397
Reaction score
441
Location
Orange County, CA
Vehicles
R1S, 911, RX350h
Occupation
Designer
Clubs


Top