Psicobloc
Member
- First Name
- John
- Joined
- Apr 19, 2024
- Threads
- 3
- Messages
- 19
- Reaction score
- 19
- Location
- Baltimore, MD
- Vehicles
- 2023 Rivian R1T
- Thread starter
- #1
Finally received and installed the @Suma Performance Side Mirrors after many months of waiting. Here is my installation write up & review...
--
Unboxing
Install
Took about an hour from start to finish, but this was without any instructions - just figuring it out along the way. The first mirror took me the bulk of the time as I wanted to be very careful not to damage the OEM mirror. But once I figured it out, the second was much faster - maybe 10 minutes.
Here's what I found that worked for me...
---
Overall Thoughts
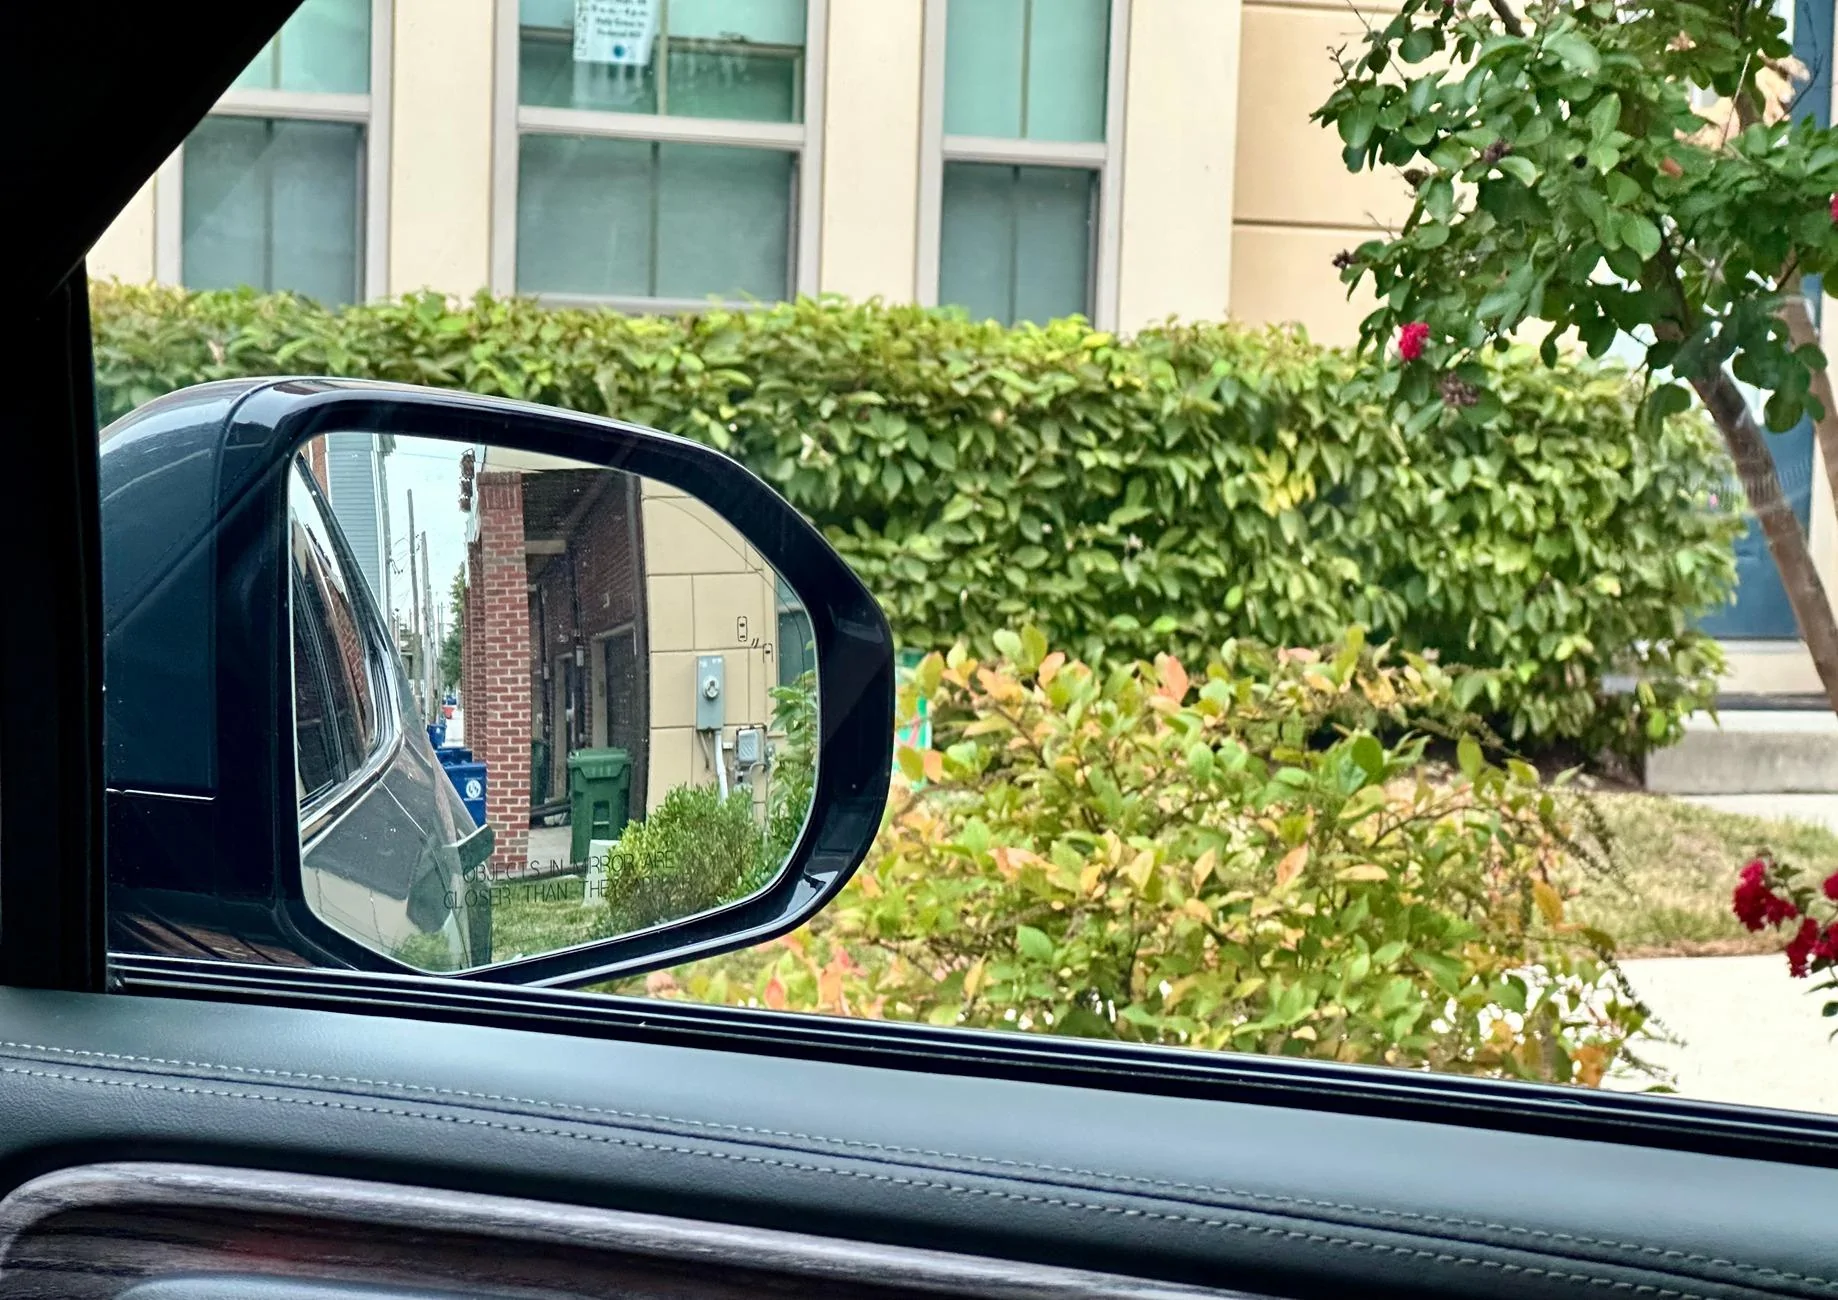
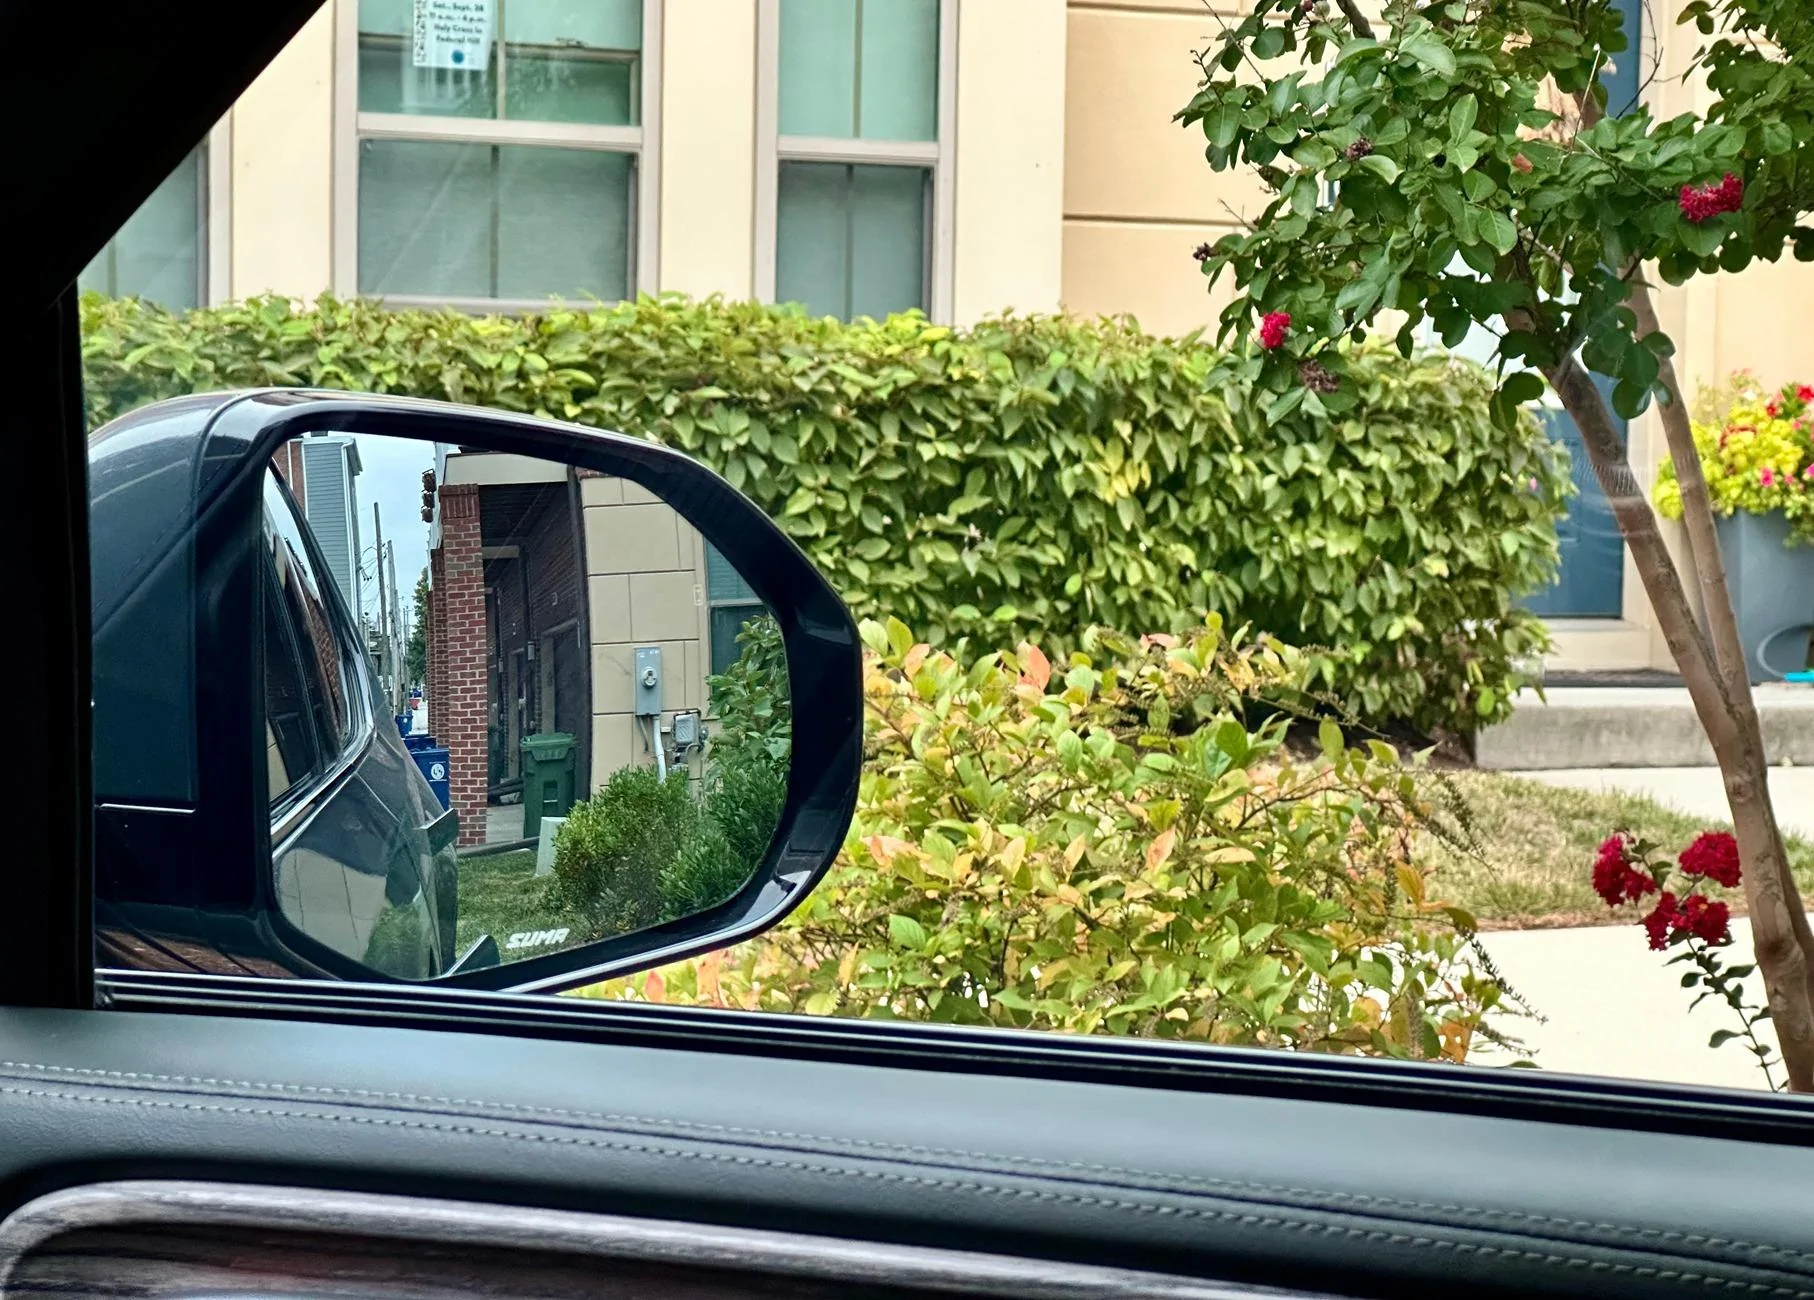
It looks good. The mirrors have a nice, subtle tint from the anti-glare coating. Visibility is crystal clear. When sitting in the driver's seat I definitely notice significant improved field of view in the driver's side mirror, but it's honestly a little disappointing on the passenger side. Unfortunately I didn't take a before / after of the driver's side mirror, but here is the before / after of the passenger side from the vantage point of the driver - zoomed and cropped to make it easier to see...
I haven't tested the heat or blind spot functionality yet, so I can't comment on those. I'll report back if I run into any issues, but I expect those to work as advertised.
---
Would I Purchase Again / Recommend?
Honestly, I'm not sure.
The lack of instructions and broken / weak connector retainer clips were a little disappointing to begin with. And while the driver side field of view definitely improved, I was surprised to find the passenger side really didn't budge much. That could simply be incorrect expectations on my behalf, but I was honestly hoping for a little more. Another thing to consider - you are losing auto-dim functionality. And with the recent addition of turn signal cameras displayed in software, one could argue that this product may not be as relevant anymore.
All that said, I like the look and honestly prefer the lightly tinted anti-glare coating over the OEM, despite the loss of auto-dim. And even though the field of view improvement seemed marginal in my opinion, I specifically made this purchase because I tow a travel trailer and wanted every extra bit of visibility I could have.
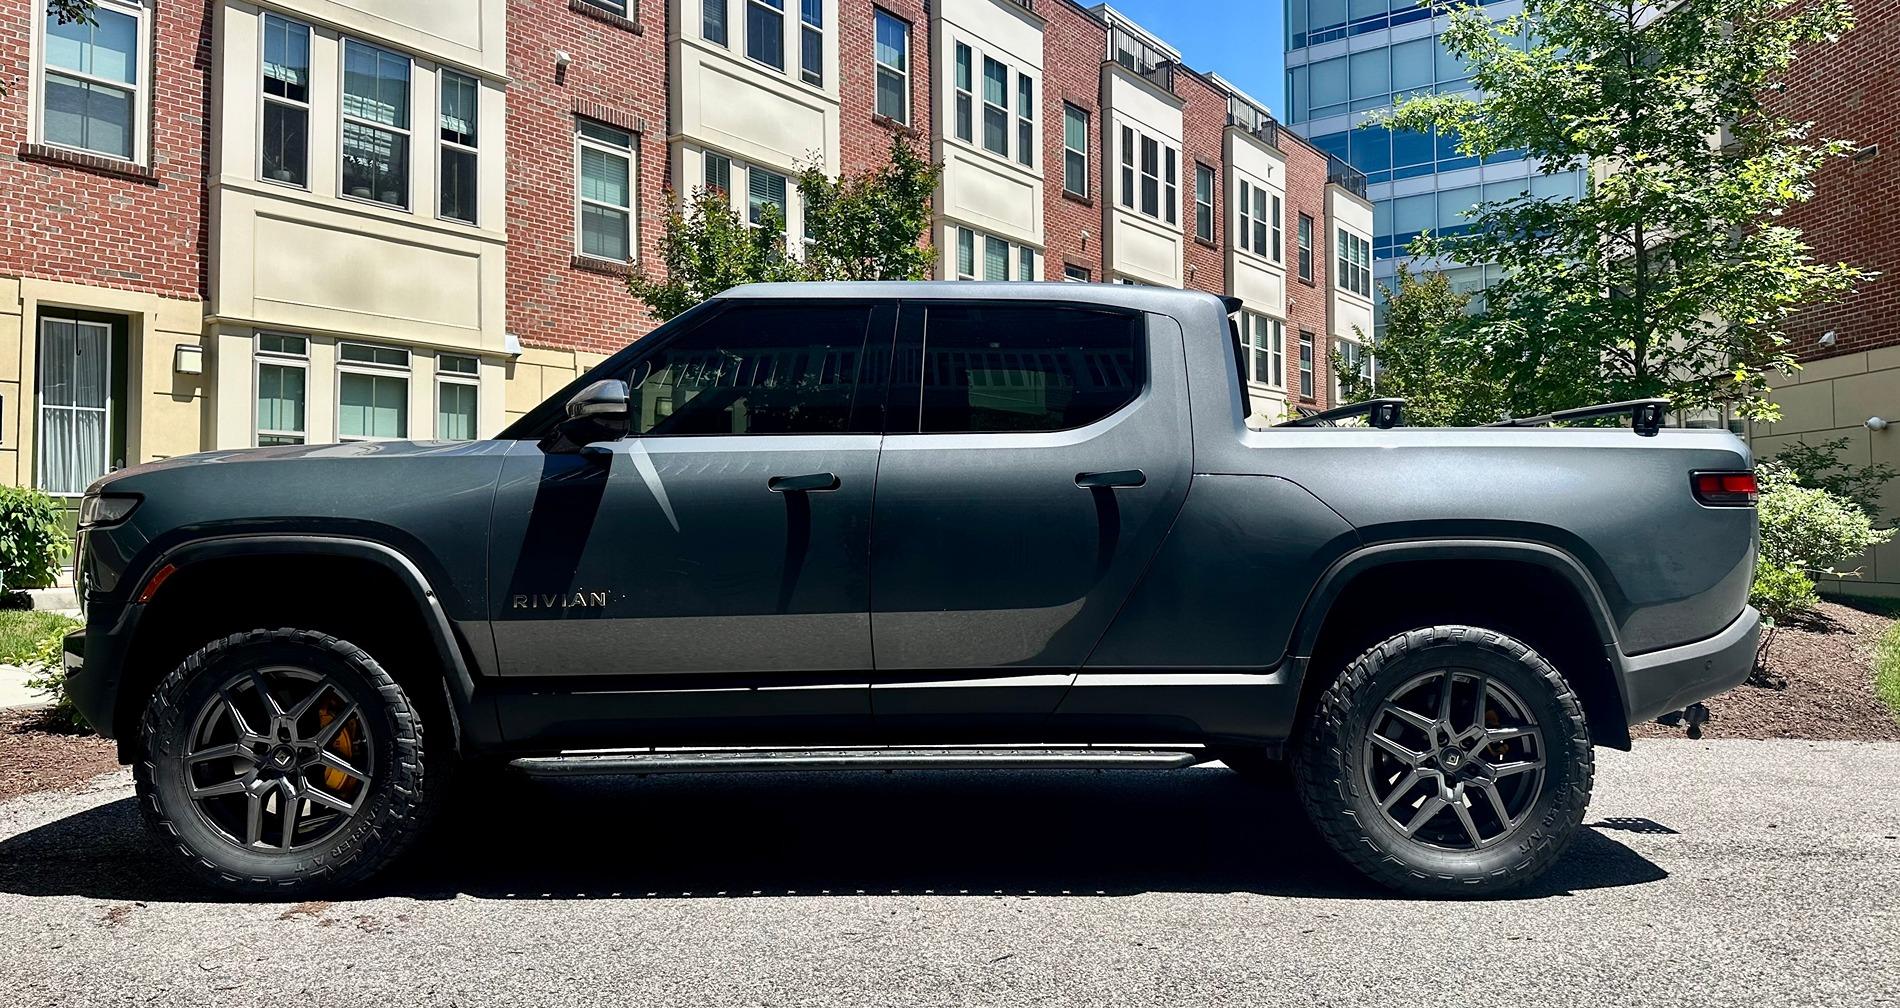
And here's a completely useless photo of the finished product. Love this truck!

--
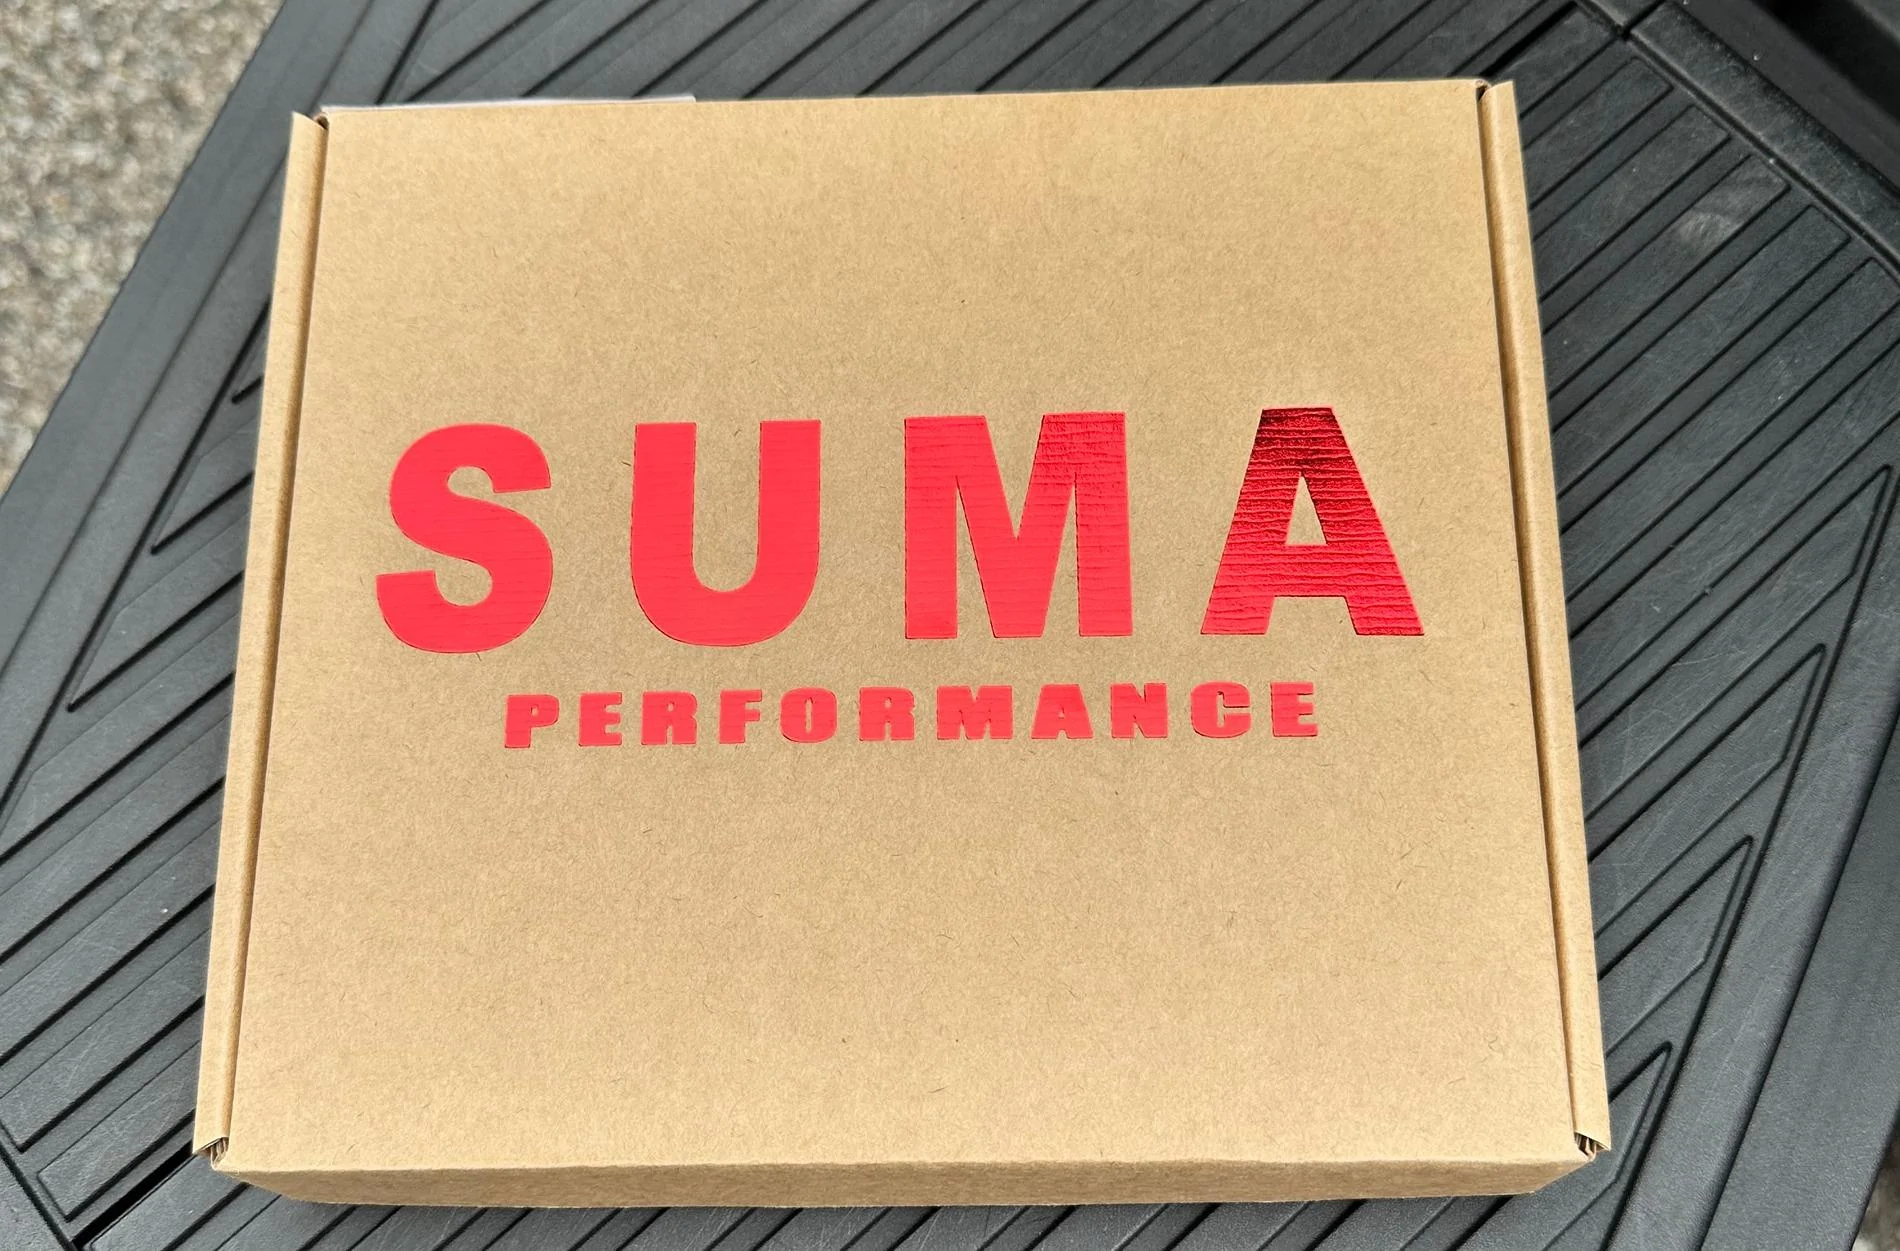
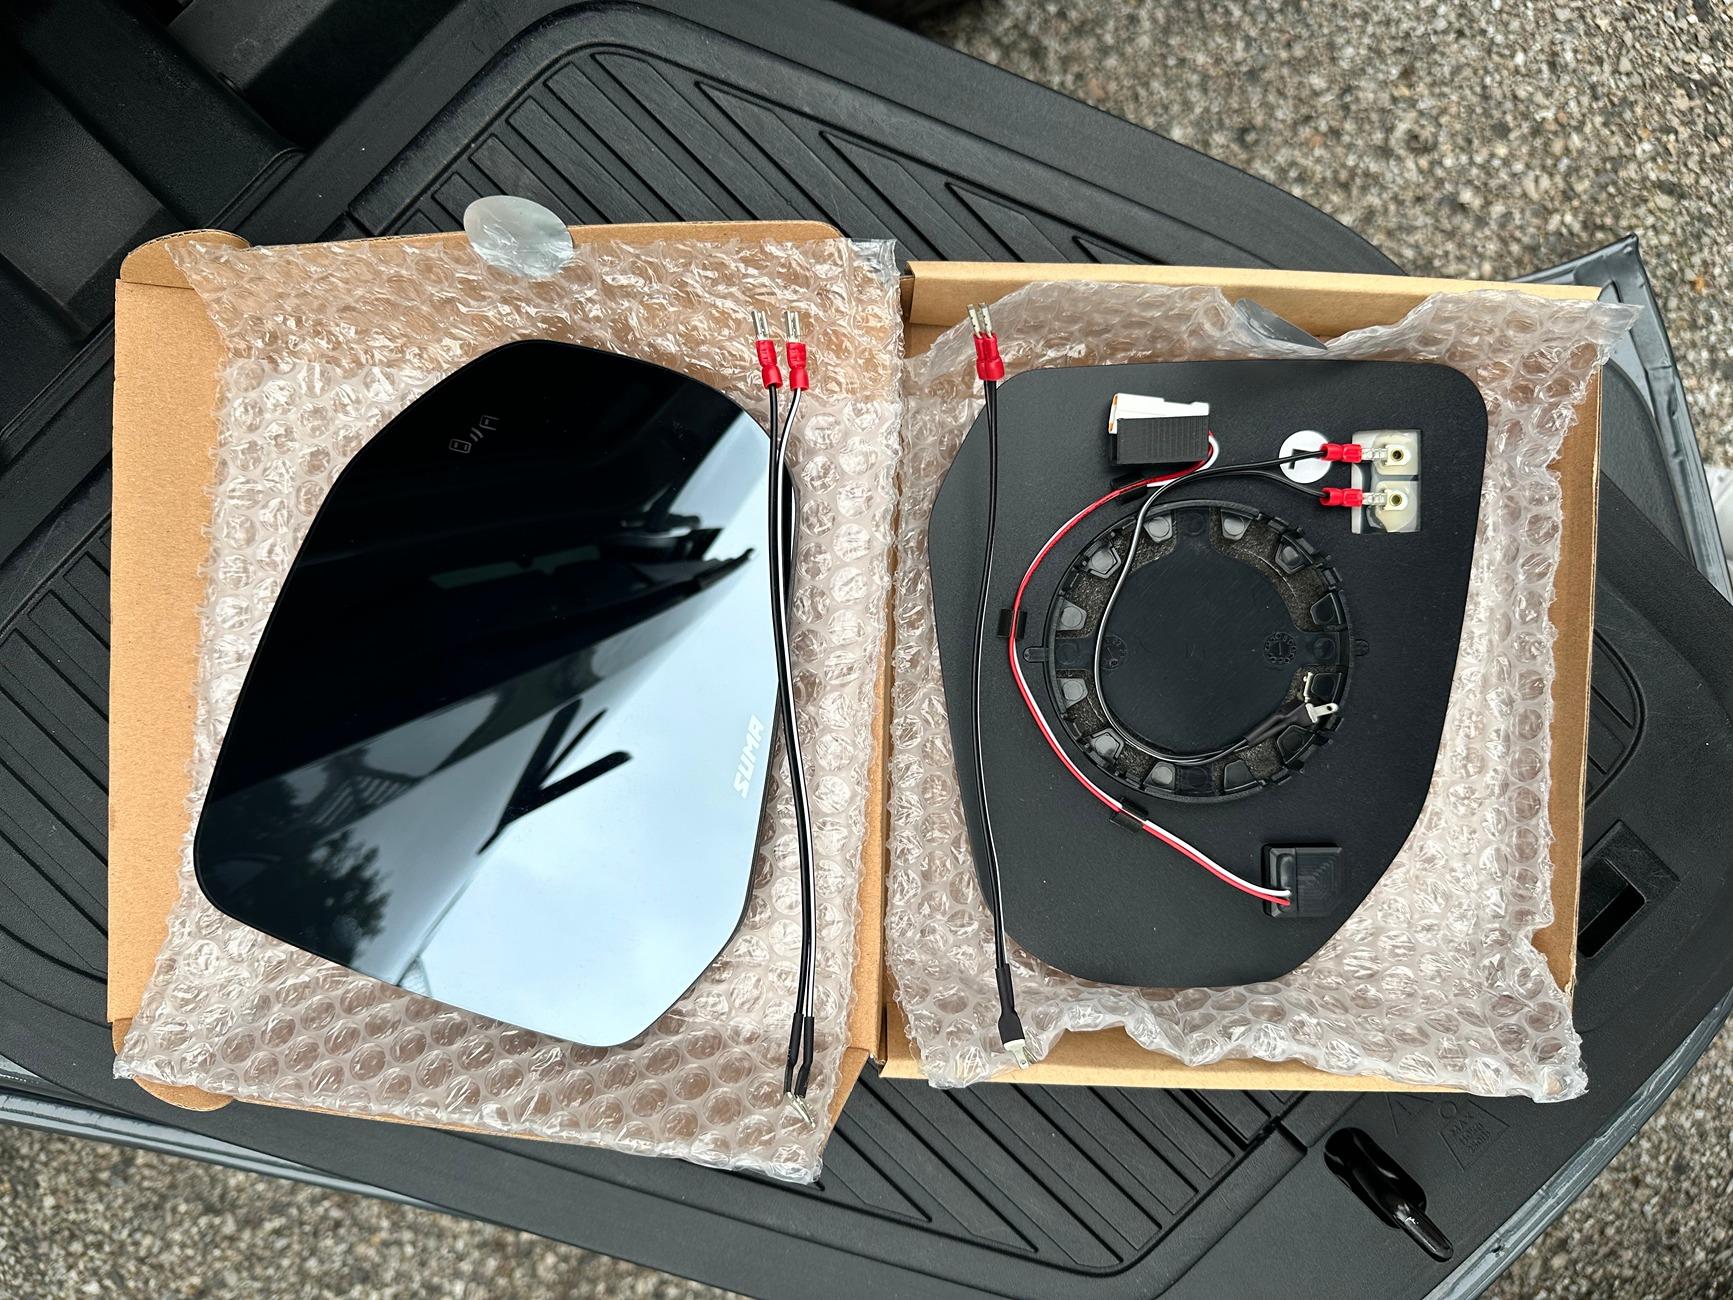
Unboxing
- Arrived in a nicely packaged Suma Performance box.

- Left and right mirrors were clearly identified on the back of each mirror. I found two additional free standing wires in the box, but did not end up using them. I'm not sure what they were for as no instructions were included and I could not find any video online specific to the R1T/R1S. However I did read in an earlier comment stating that installation was similar to Tesla, and I did find a video for that. While helpful, it would be nice to have clear, relevant instructions included with purchase!

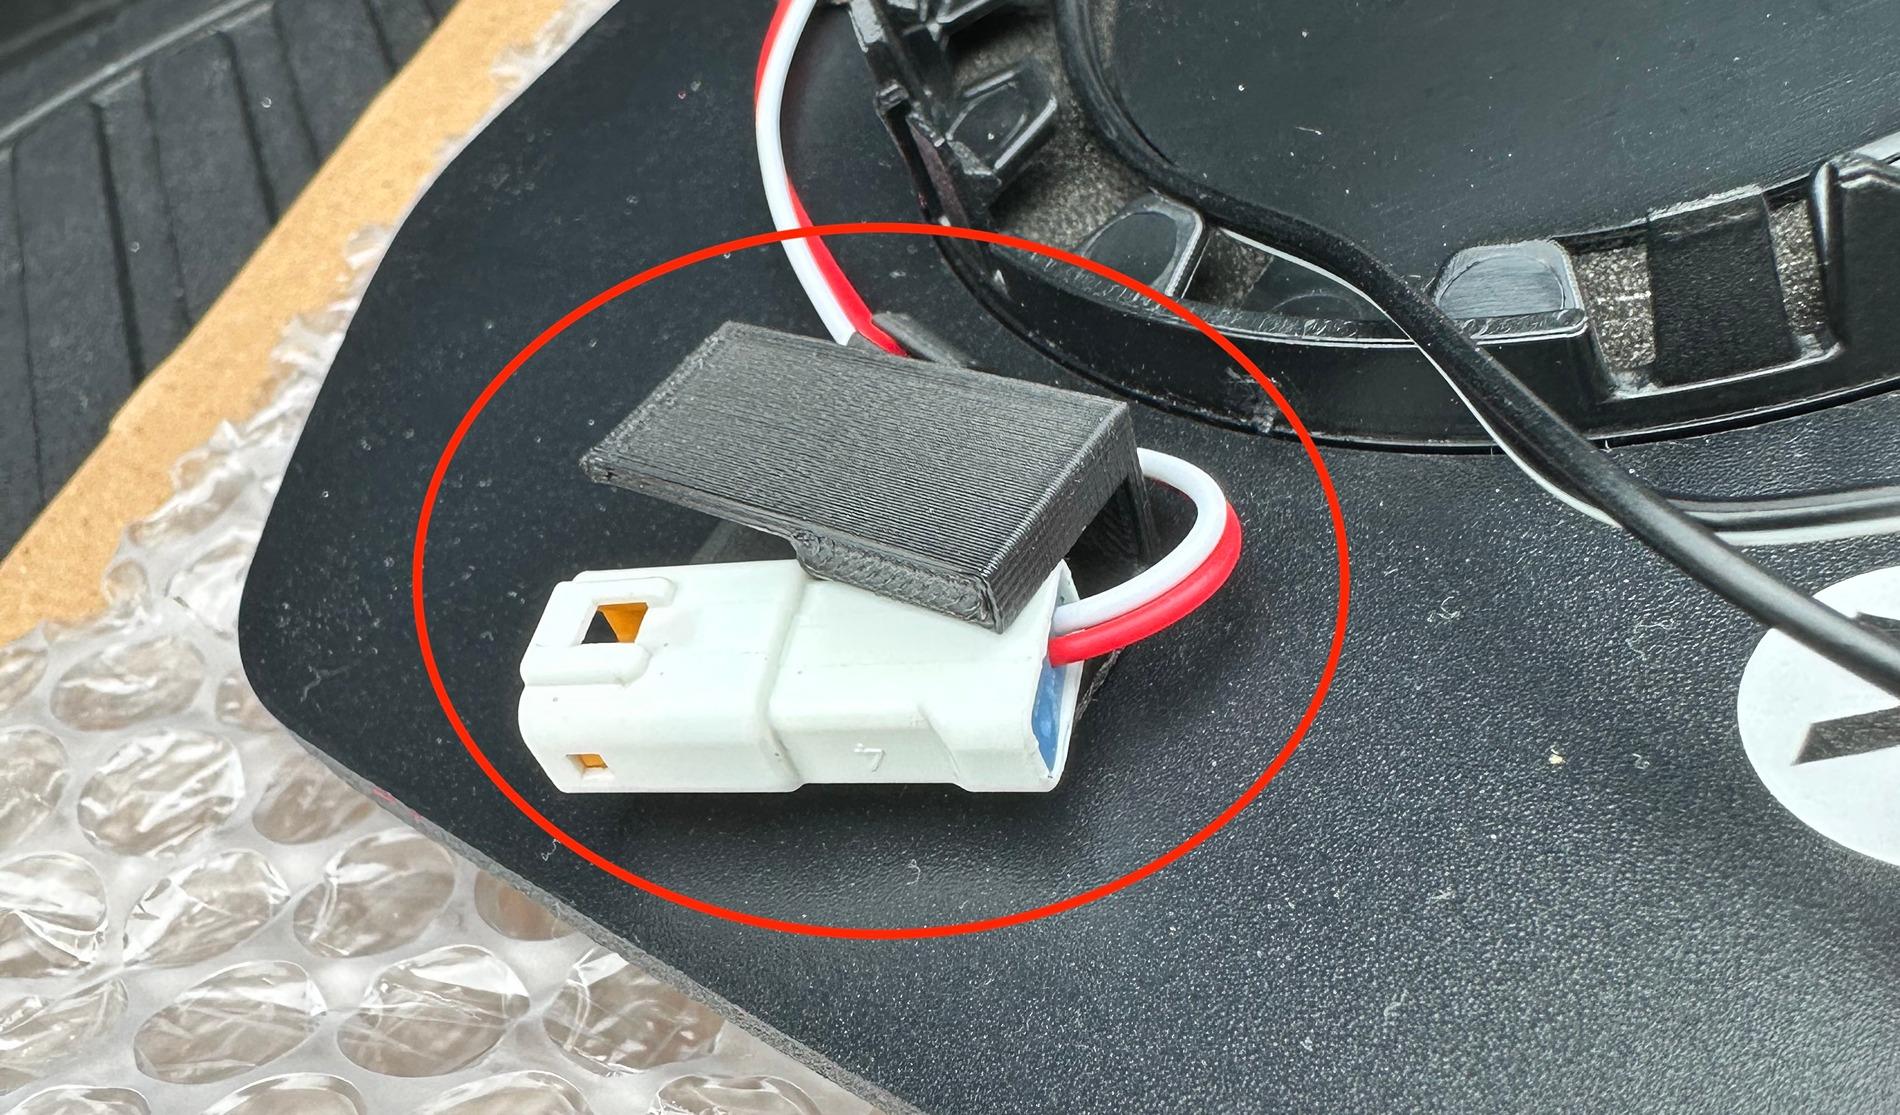
- One thing I noticed immediately was that there is a small 3D printed retainer clip taped to the back of each mirror which is supposed to serve the purpose of holding the wire connector in place. I found one of them to be broken upon arrival (flapped around) and noticed how fragile the other was. One or two bumps off road and these are popping off. I decided later during install to remove these and tape the wires in place instead (shown later in this write up).

Install
Took about an hour from start to finish, but this was without any instructions - just figuring it out along the way. The first mirror took me the bulk of the time as I wanted to be very careful not to damage the OEM mirror. But once I figured it out, the second was much faster - maybe 10 minutes.
Here's what I found that worked for me...
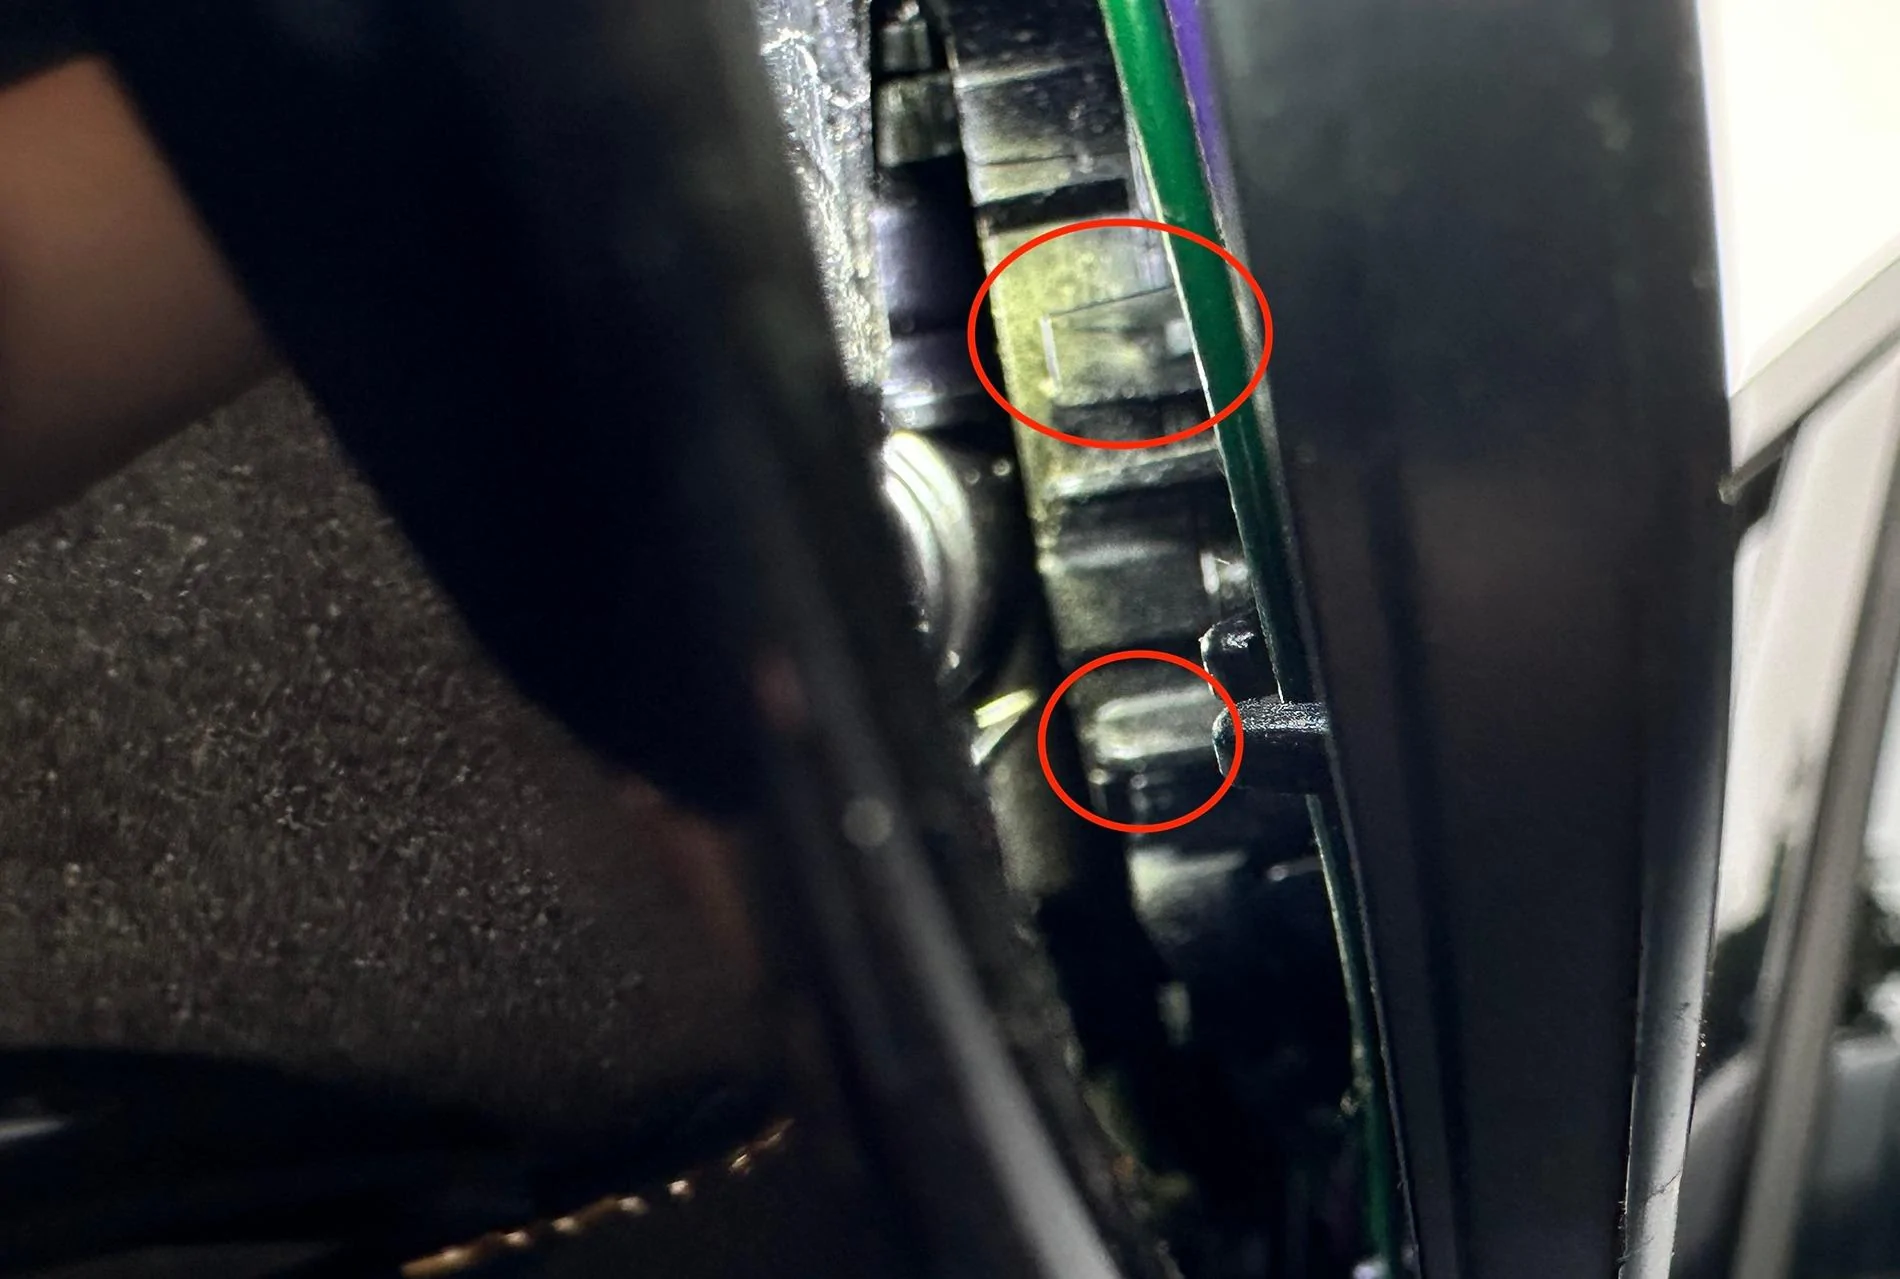
- Turn off "Roomy Entry and Exit" & leave a rear door cracked as you are working. This will help prevent the mirrors from moving on you while working - which I found from experience can be quite annoying.
- Position the mirror you are working on all the way up and in (toward vehicle). This position seems to provide the most access and clearance to one corner of retainer clips. Your targets are the two small clips located on the bottom outside corner of the mirror.

I used two 90 degree bent / precision picks to actively work both tabs while simultaneously holding a flashlight and applying a decent amount of pressure to the mirror until it released. It took some trial and error on the first one, but once I figured out how to do it all at once - and trusted that I wasn't going to damage anything - the second went much quicker.
Here's a short video I took after I finally released the first mirror explaining this in more detail.
And once the mirror was released, I simply disconnected the electrical connectors (carefully, taking note as to which wire went where) and removed the mirror.
- Installation of the new mirror was simple. Plug the wires in and simply pop into place, applying equal pressure to all points around the mirror.
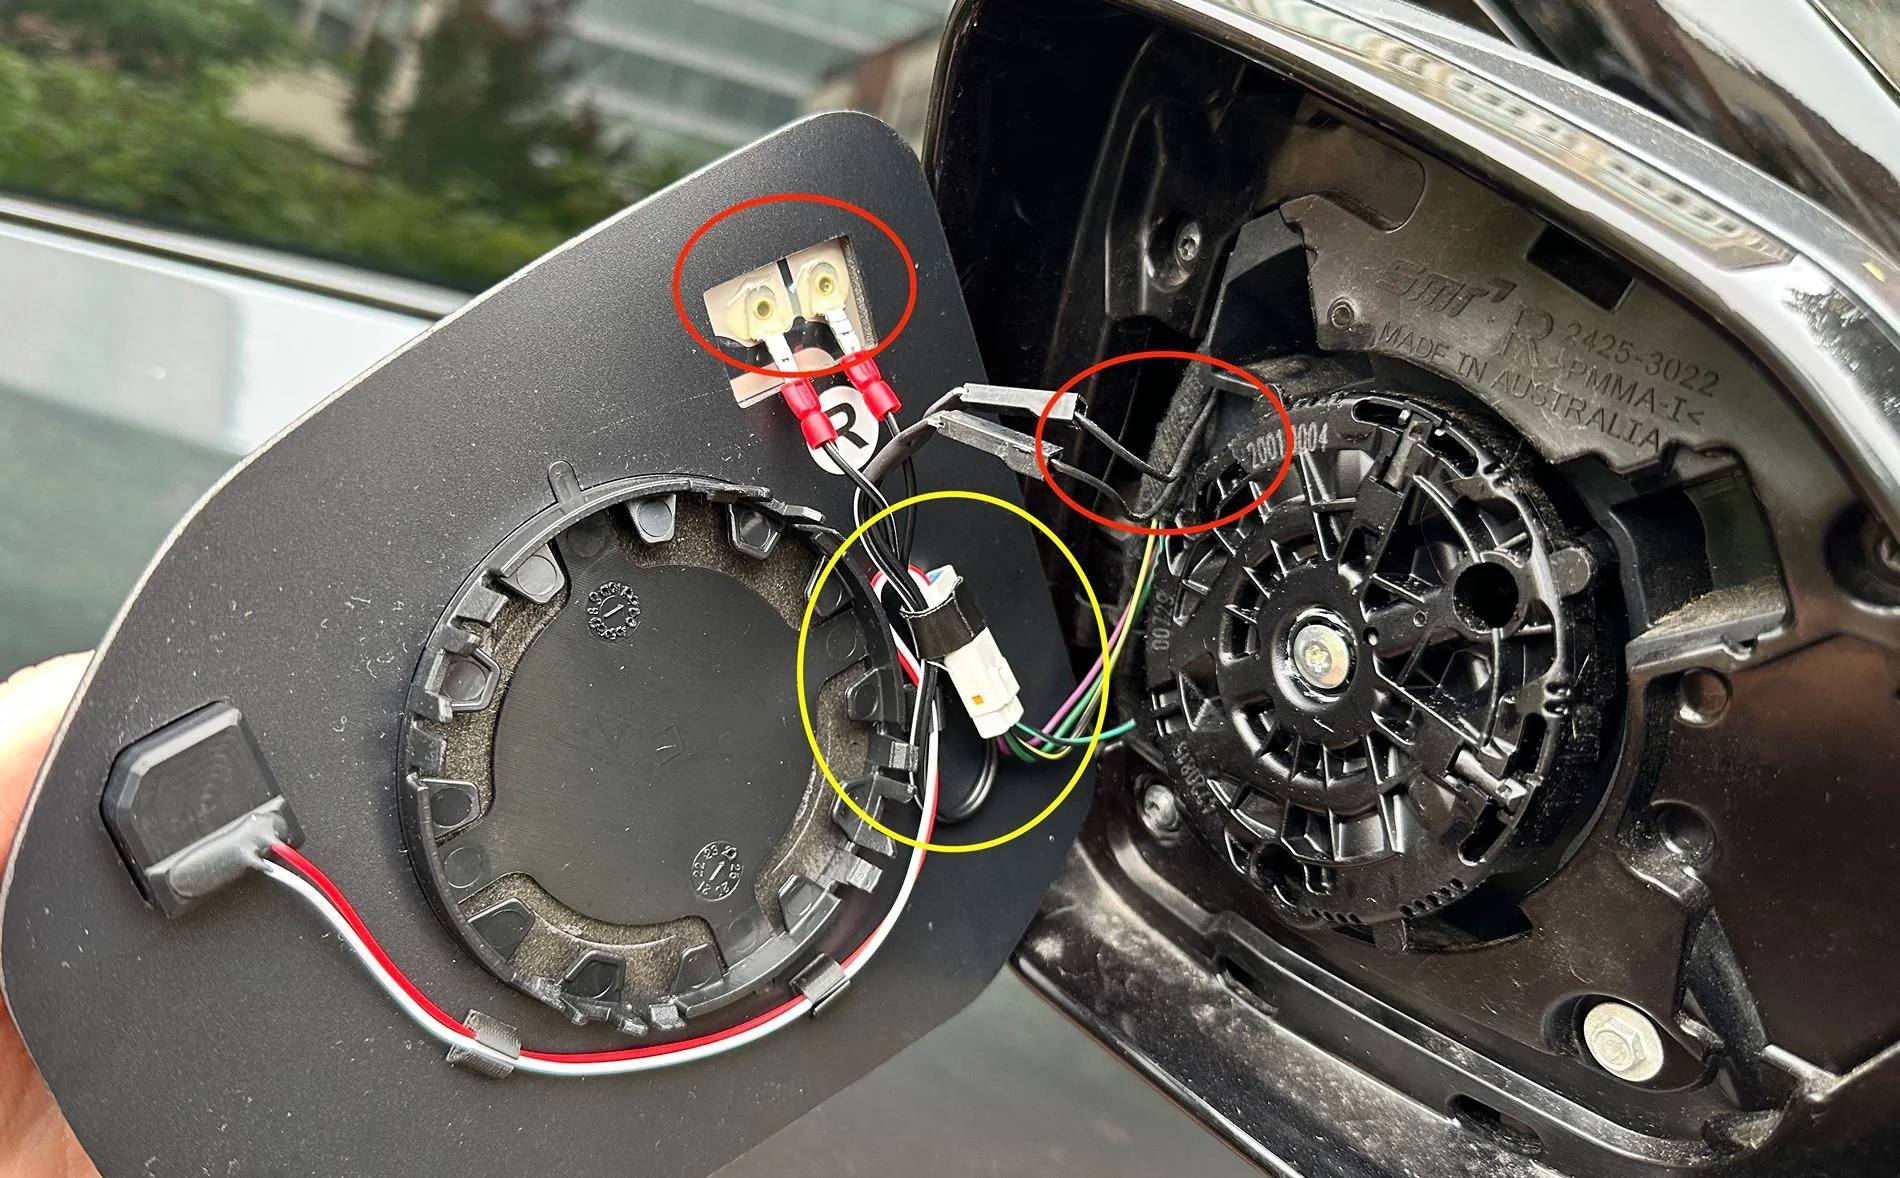
As I mentioned earlier, I decided to remove the connector retaining clips and tape the wires together. I also routed the two longer wires around and looped back through the top. I found this a better solution for wire management so that they weren't just flapping around back there.
In the image below you can see everything taped together (yellow) as well as the specific wires I mentioned that I paid extra attention to match correctly (red). Not sure if that mattered, and I only matched based on inside / outside position of the OEM mirror - but I did it just in case.

---
Overall Thoughts
It looks good. The mirrors have a nice, subtle tint from the anti-glare coating. Visibility is crystal clear. When sitting in the driver's seat I definitely notice significant improved field of view in the driver's side mirror, but it's honestly a little disappointing on the passenger side. Unfortunately I didn't take a before / after of the driver's side mirror, but here is the before / after of the passenger side from the vantage point of the driver - zoomed and cropped to make it easier to see...
|
|
I haven't tested the heat or blind spot functionality yet, so I can't comment on those. I'll report back if I run into any issues, but I expect those to work as advertised.
---
Would I Purchase Again / Recommend?
Honestly, I'm not sure.
The lack of instructions and broken / weak connector retainer clips were a little disappointing to begin with. And while the driver side field of view definitely improved, I was surprised to find the passenger side really didn't budge much. That could simply be incorrect expectations on my behalf, but I was honestly hoping for a little more. Another thing to consider - you are losing auto-dim functionality. And with the recent addition of turn signal cameras displayed in software, one could argue that this product may not be as relevant anymore.
All that said, I like the look and honestly prefer the lightly tinted anti-glare coating over the OEM, despite the loss of auto-dim. And even though the field of view improvement seemed marginal in my opinion, I specifically made this purchase because I tow a travel trailer and wanted every extra bit of visibility I could have.
And here's a completely useless photo of the finished product. Love this truck!
Sponsored