CCuz
Member
- First Name
- Chance
- Joined
- May 24, 2025
- Threads
- 0
- Messages
- 17
- Reaction score
- 1
- Location
- San Francisco
- Vehicles
- R1T
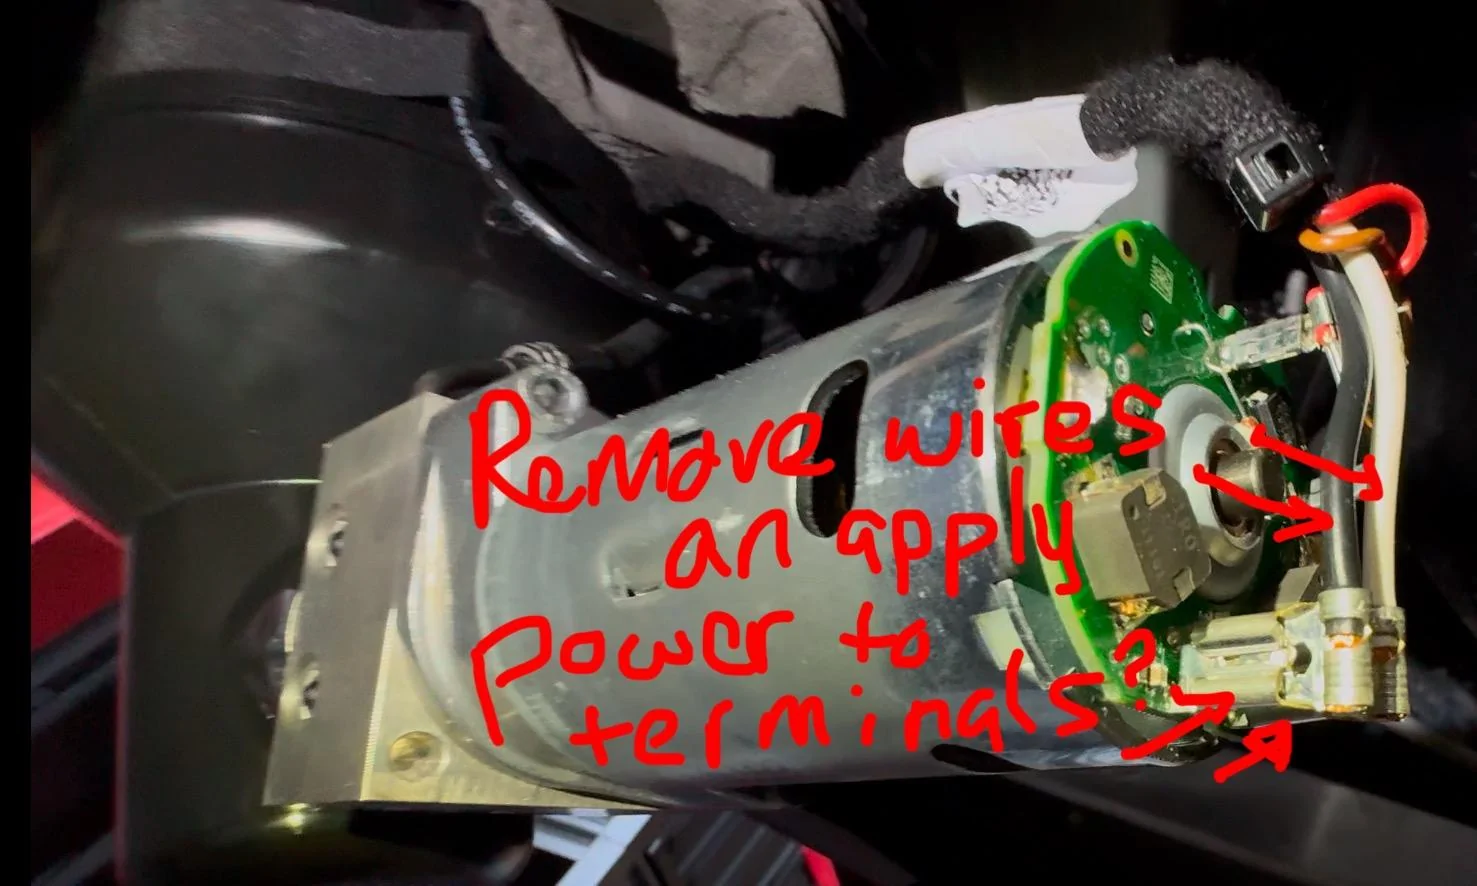
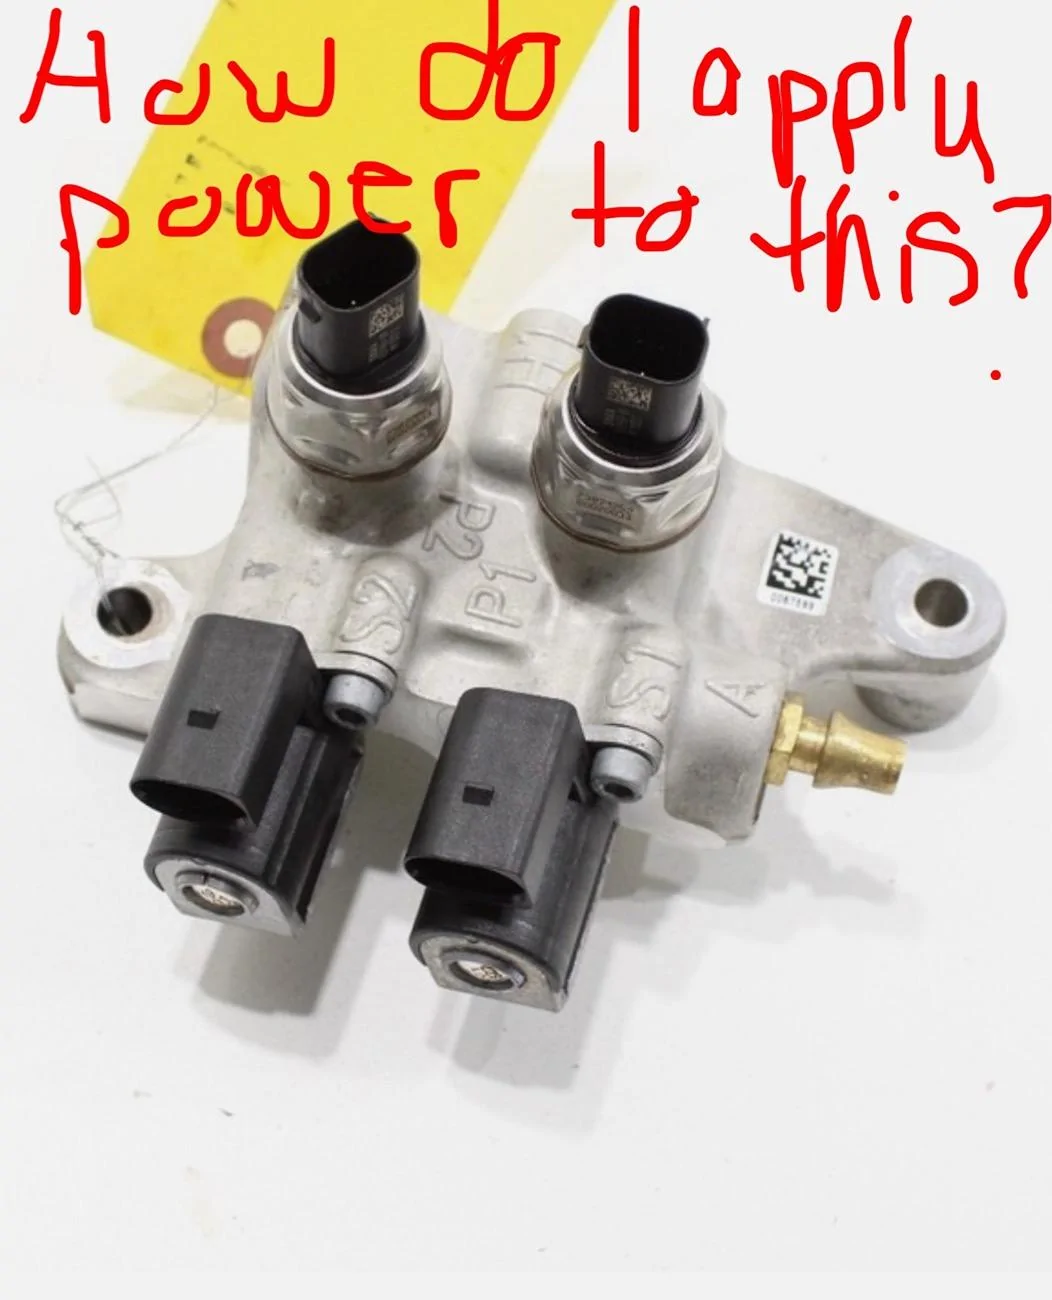
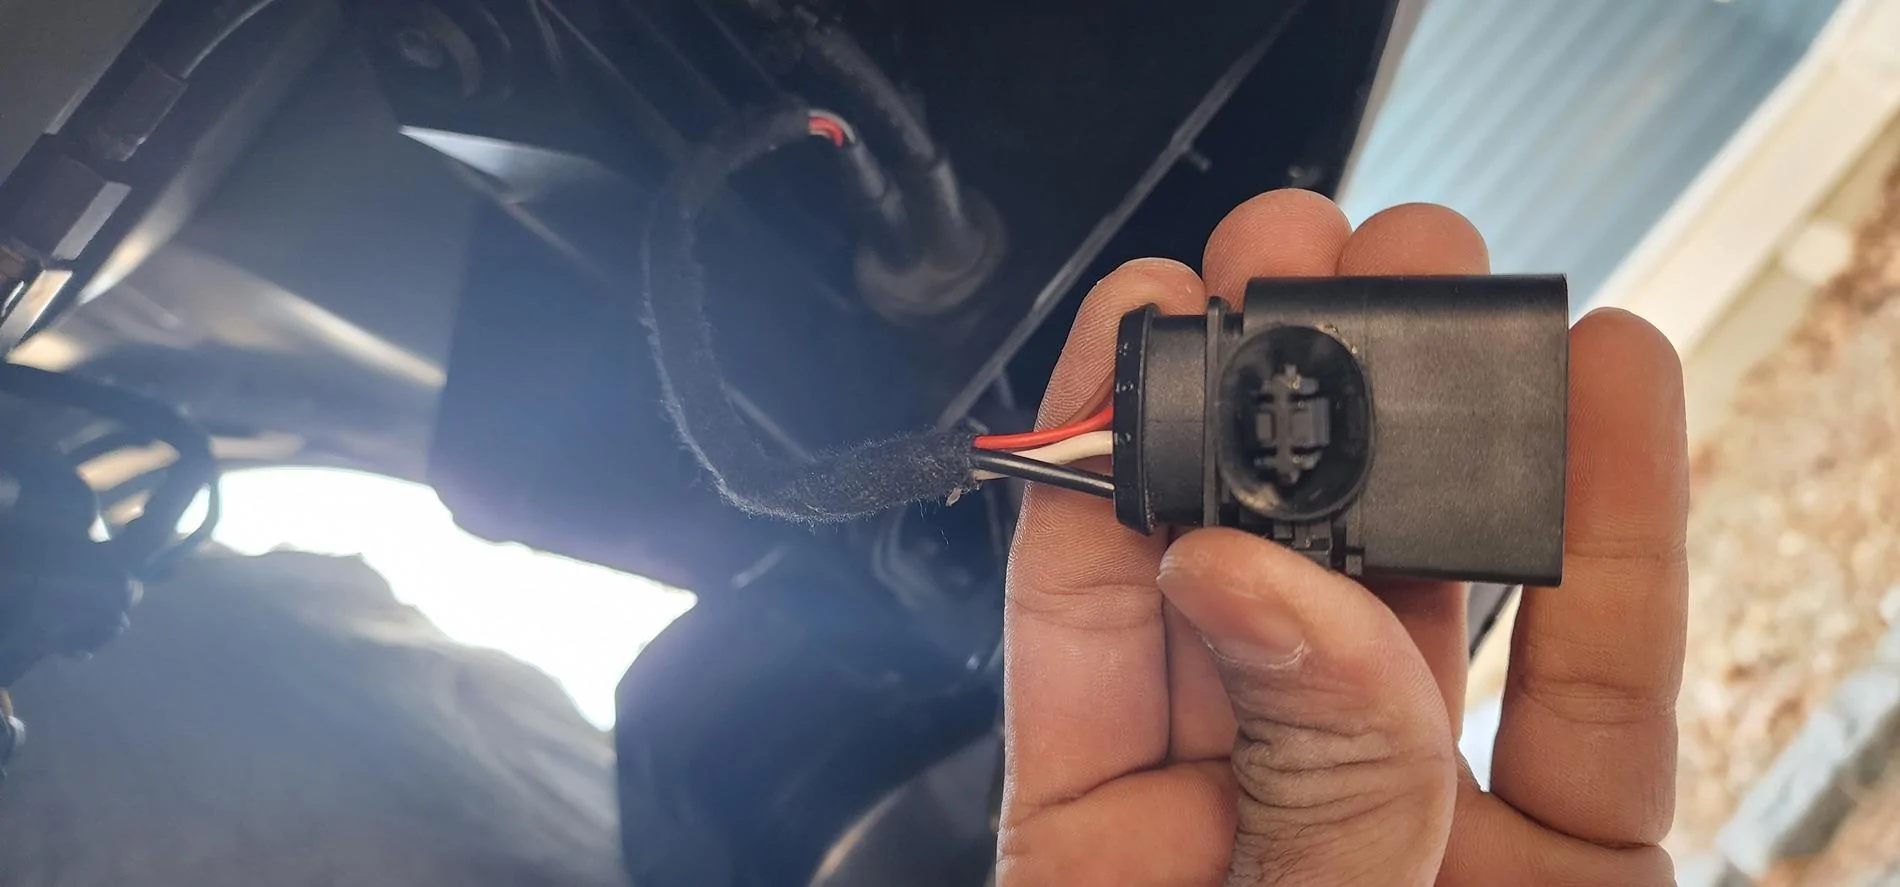
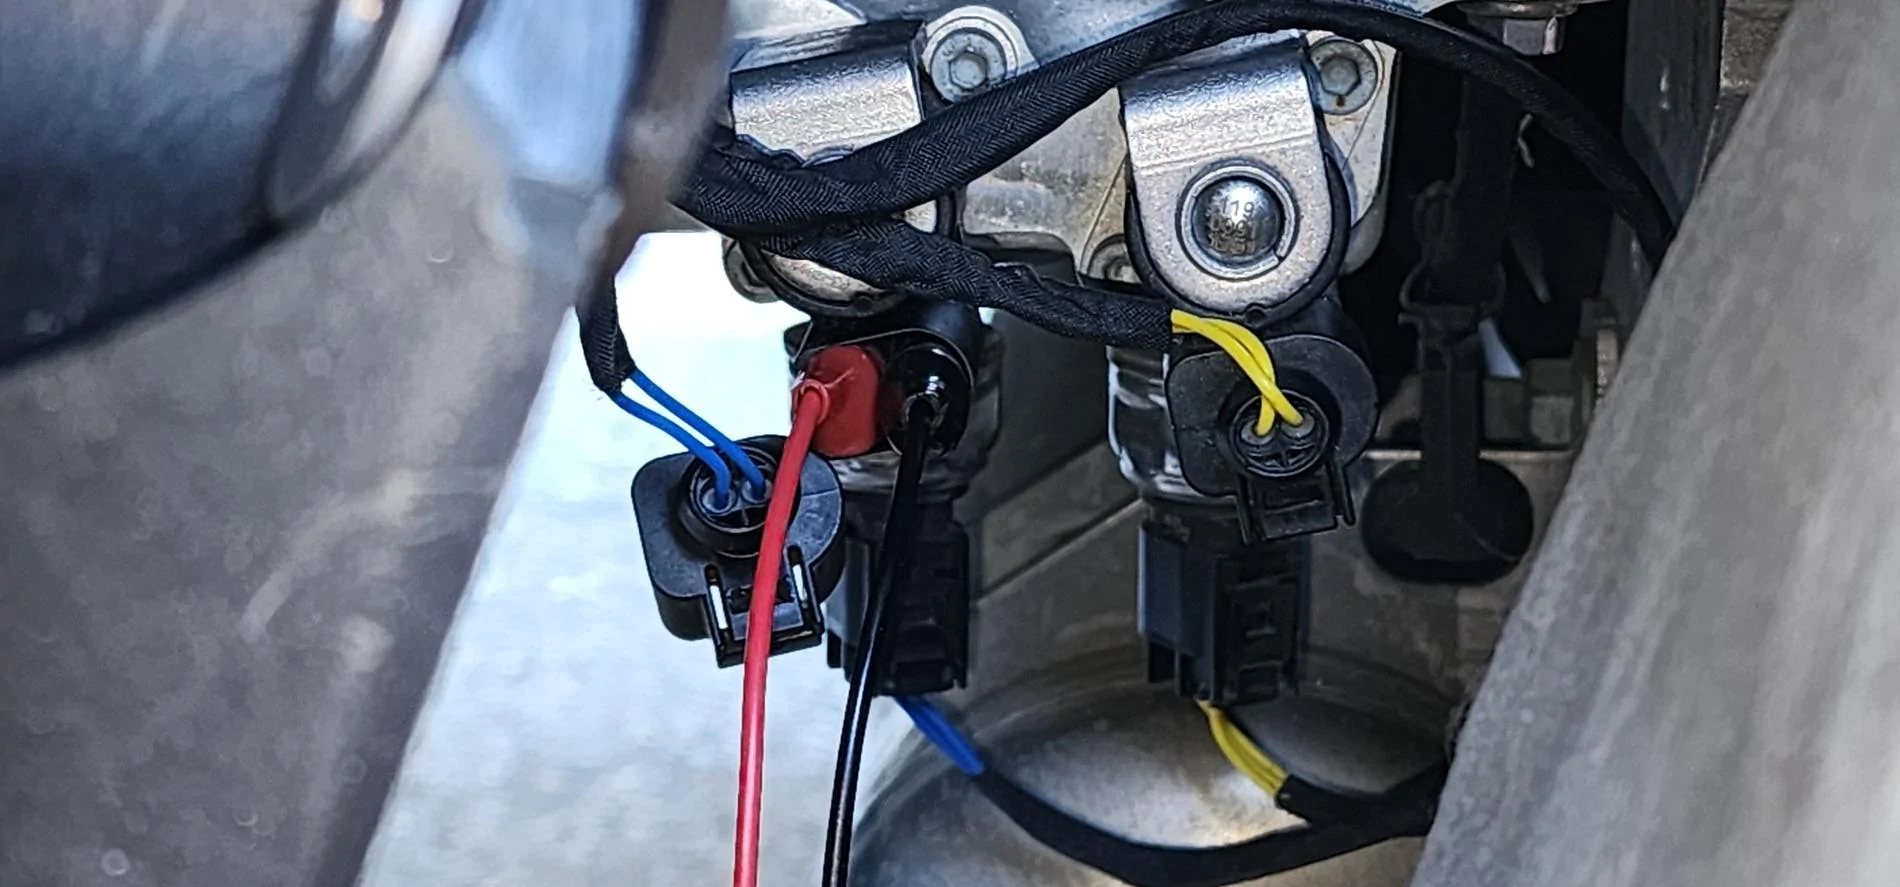
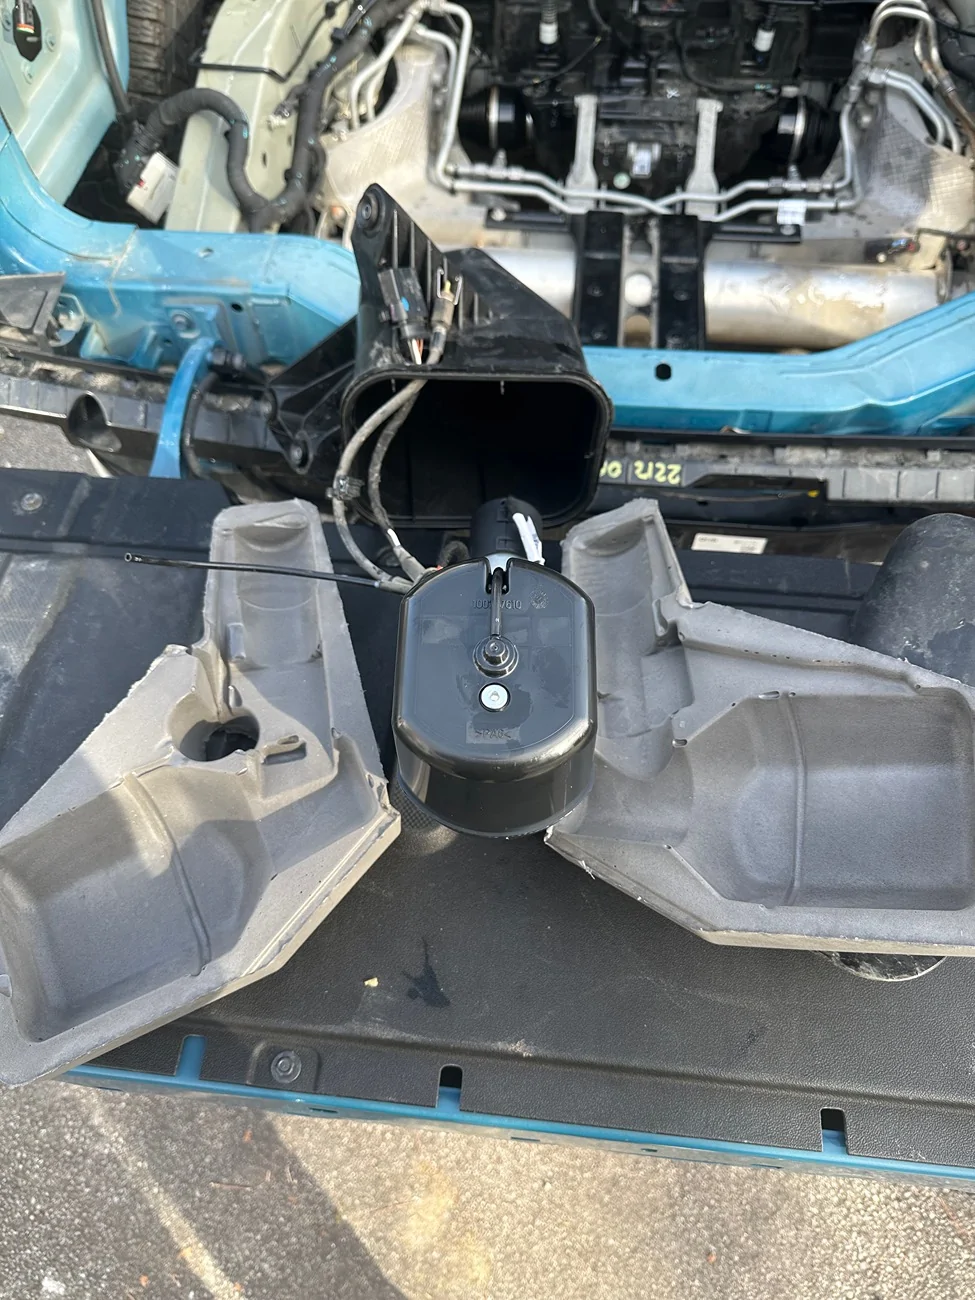
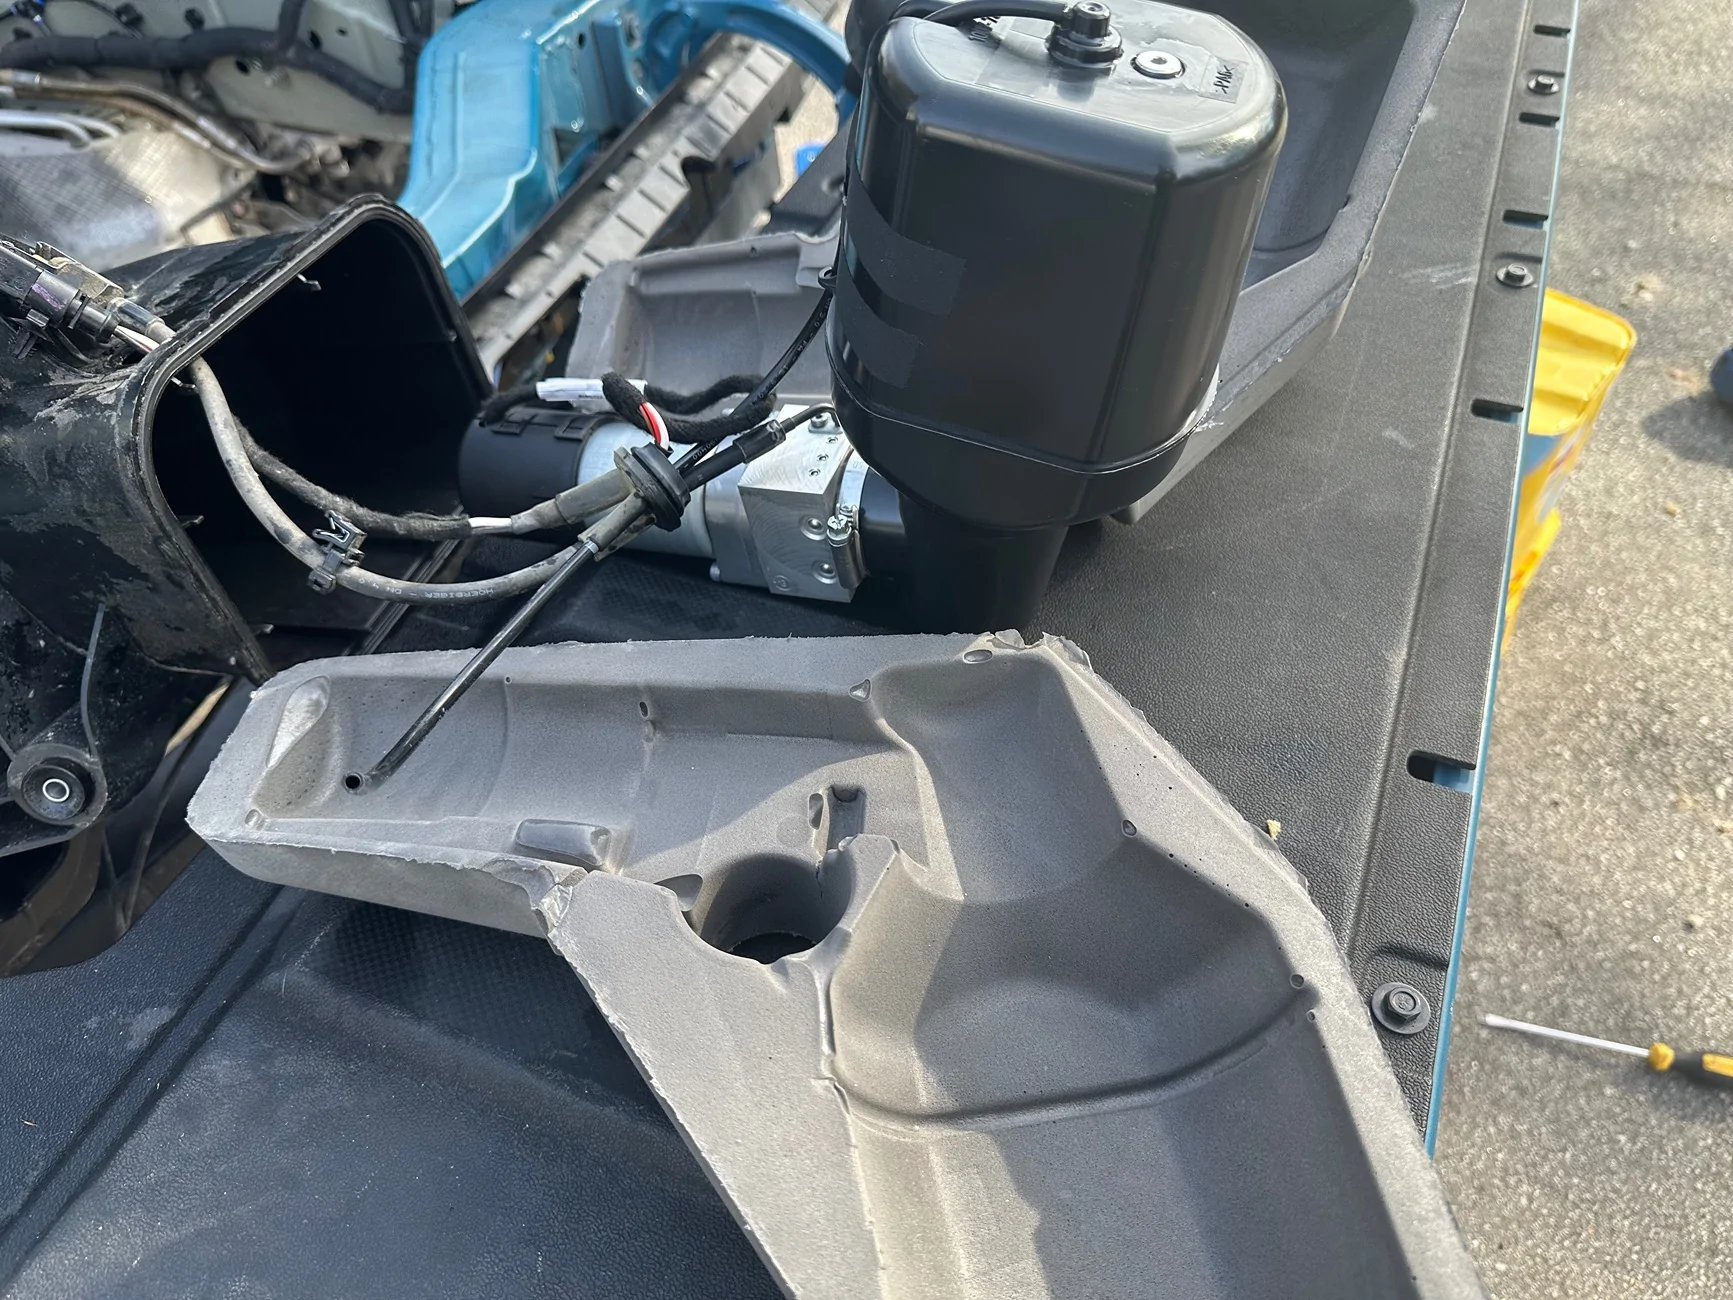
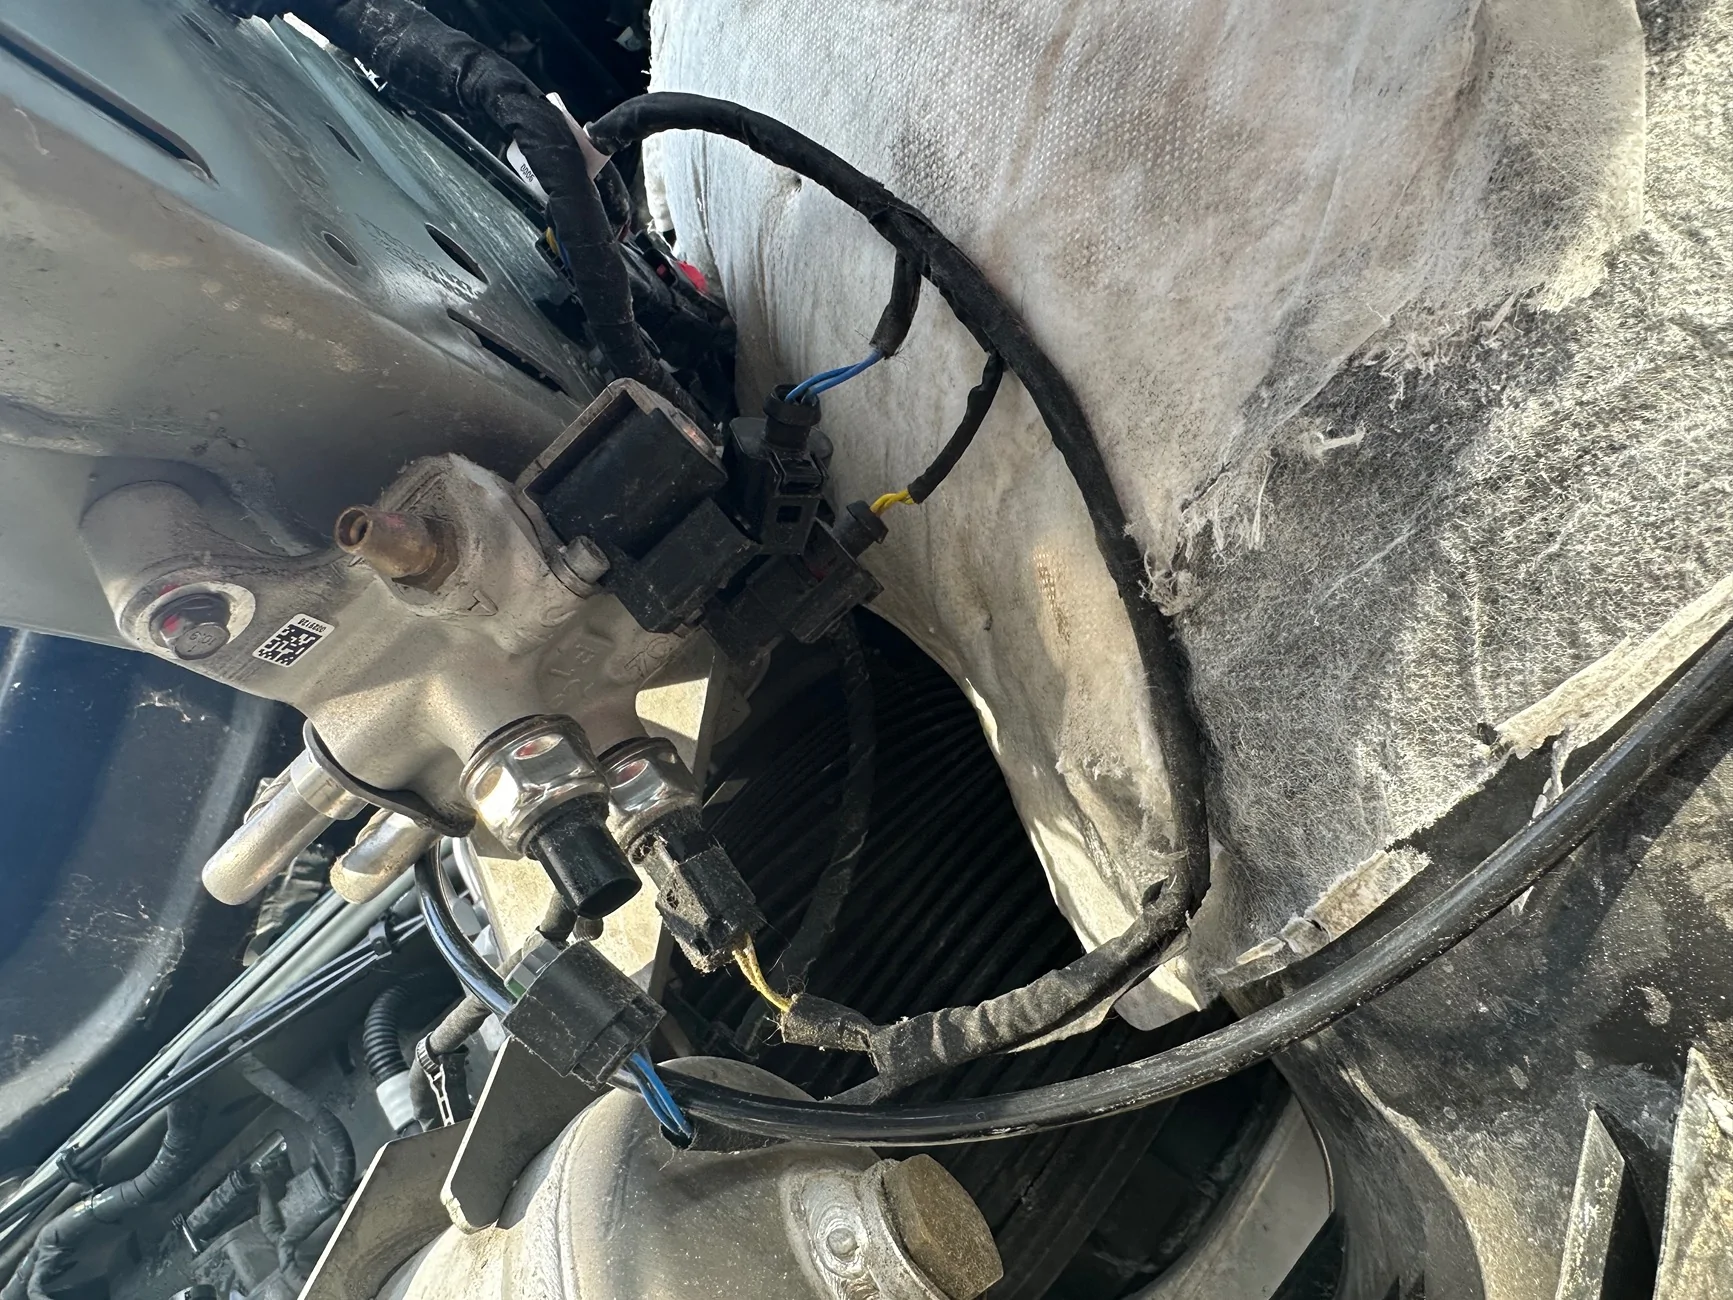
How do you "blip" the solenoids. And when I run the pump am I suppose to remove the black and white wires from the pump and apply the 12v directly to the pump?Fill suspension pump reservoir, run pump to pressurize line to solenoids, blip solenoids during pump running to ensure no air trapped in line.
Sponsored