moosehead
Well-Known Member
- Joined
- Sep 16, 2021
- Threads
- 64
- Messages
- 2,092
- Reaction score
- 4,594
- Location
- Denver, CO
- Vehicles
- ‘22 Ioniq 5, ‘78 Jeep Wagoneer
- Thread starter
- #1
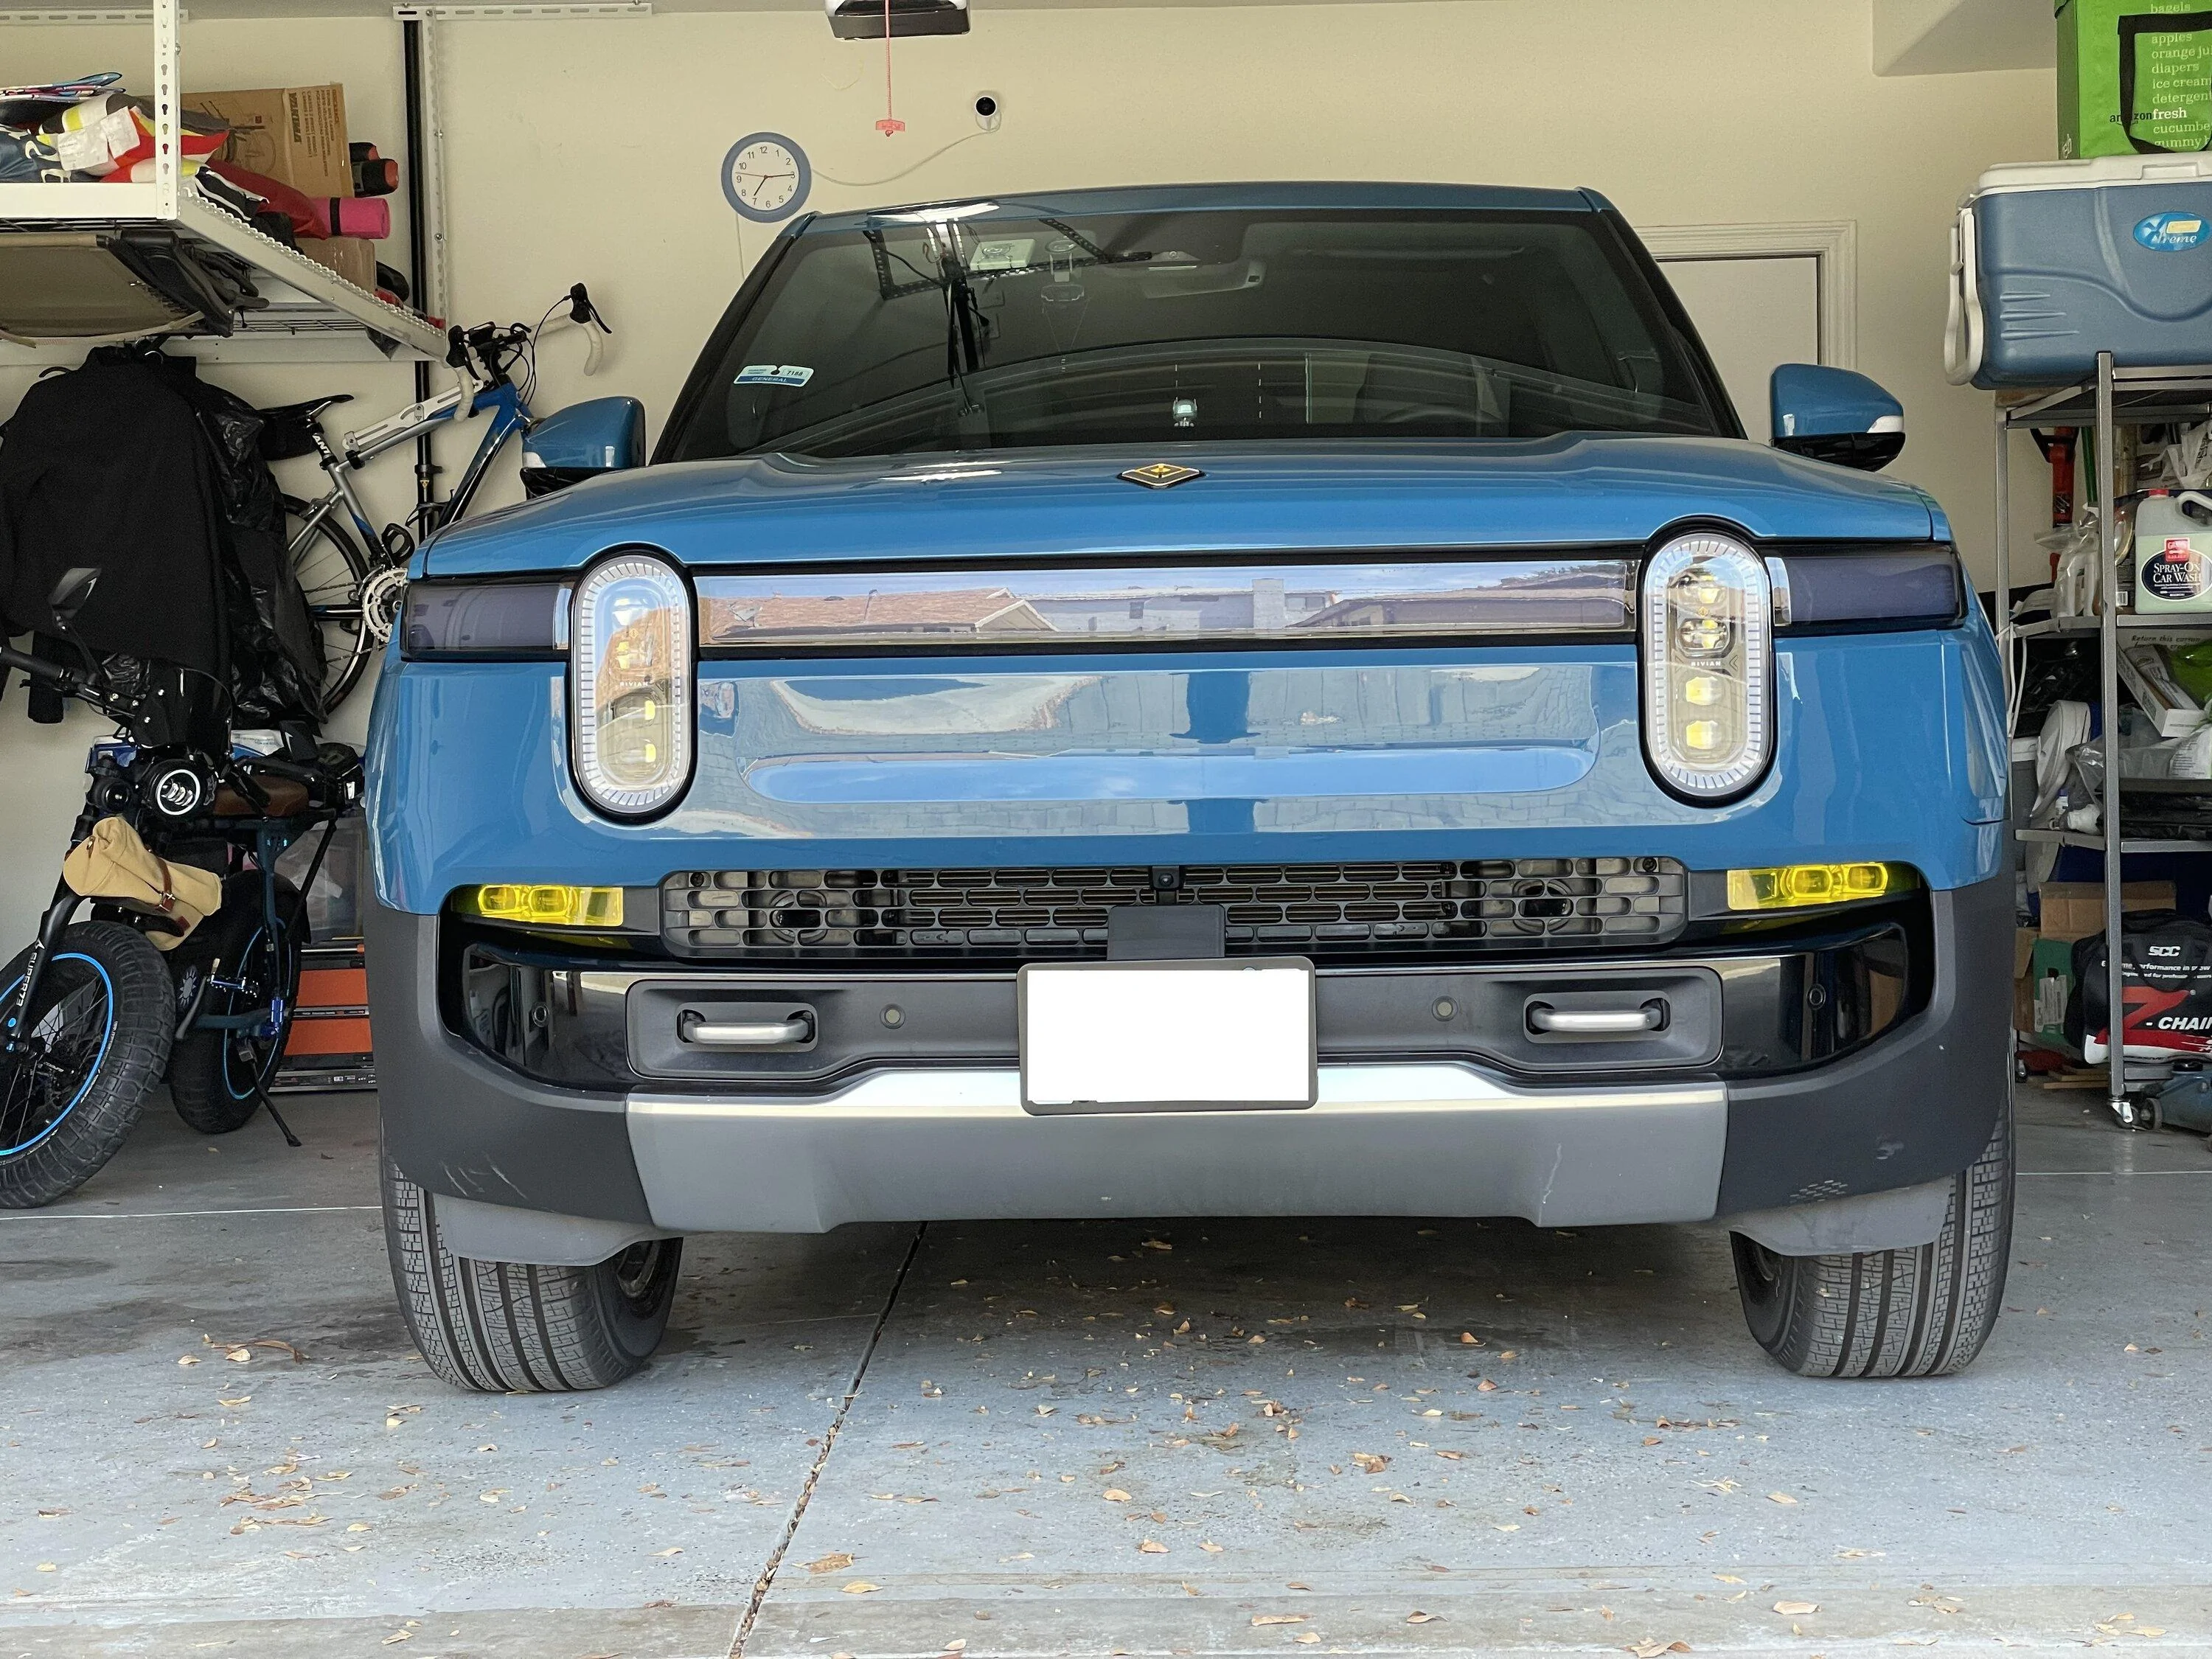
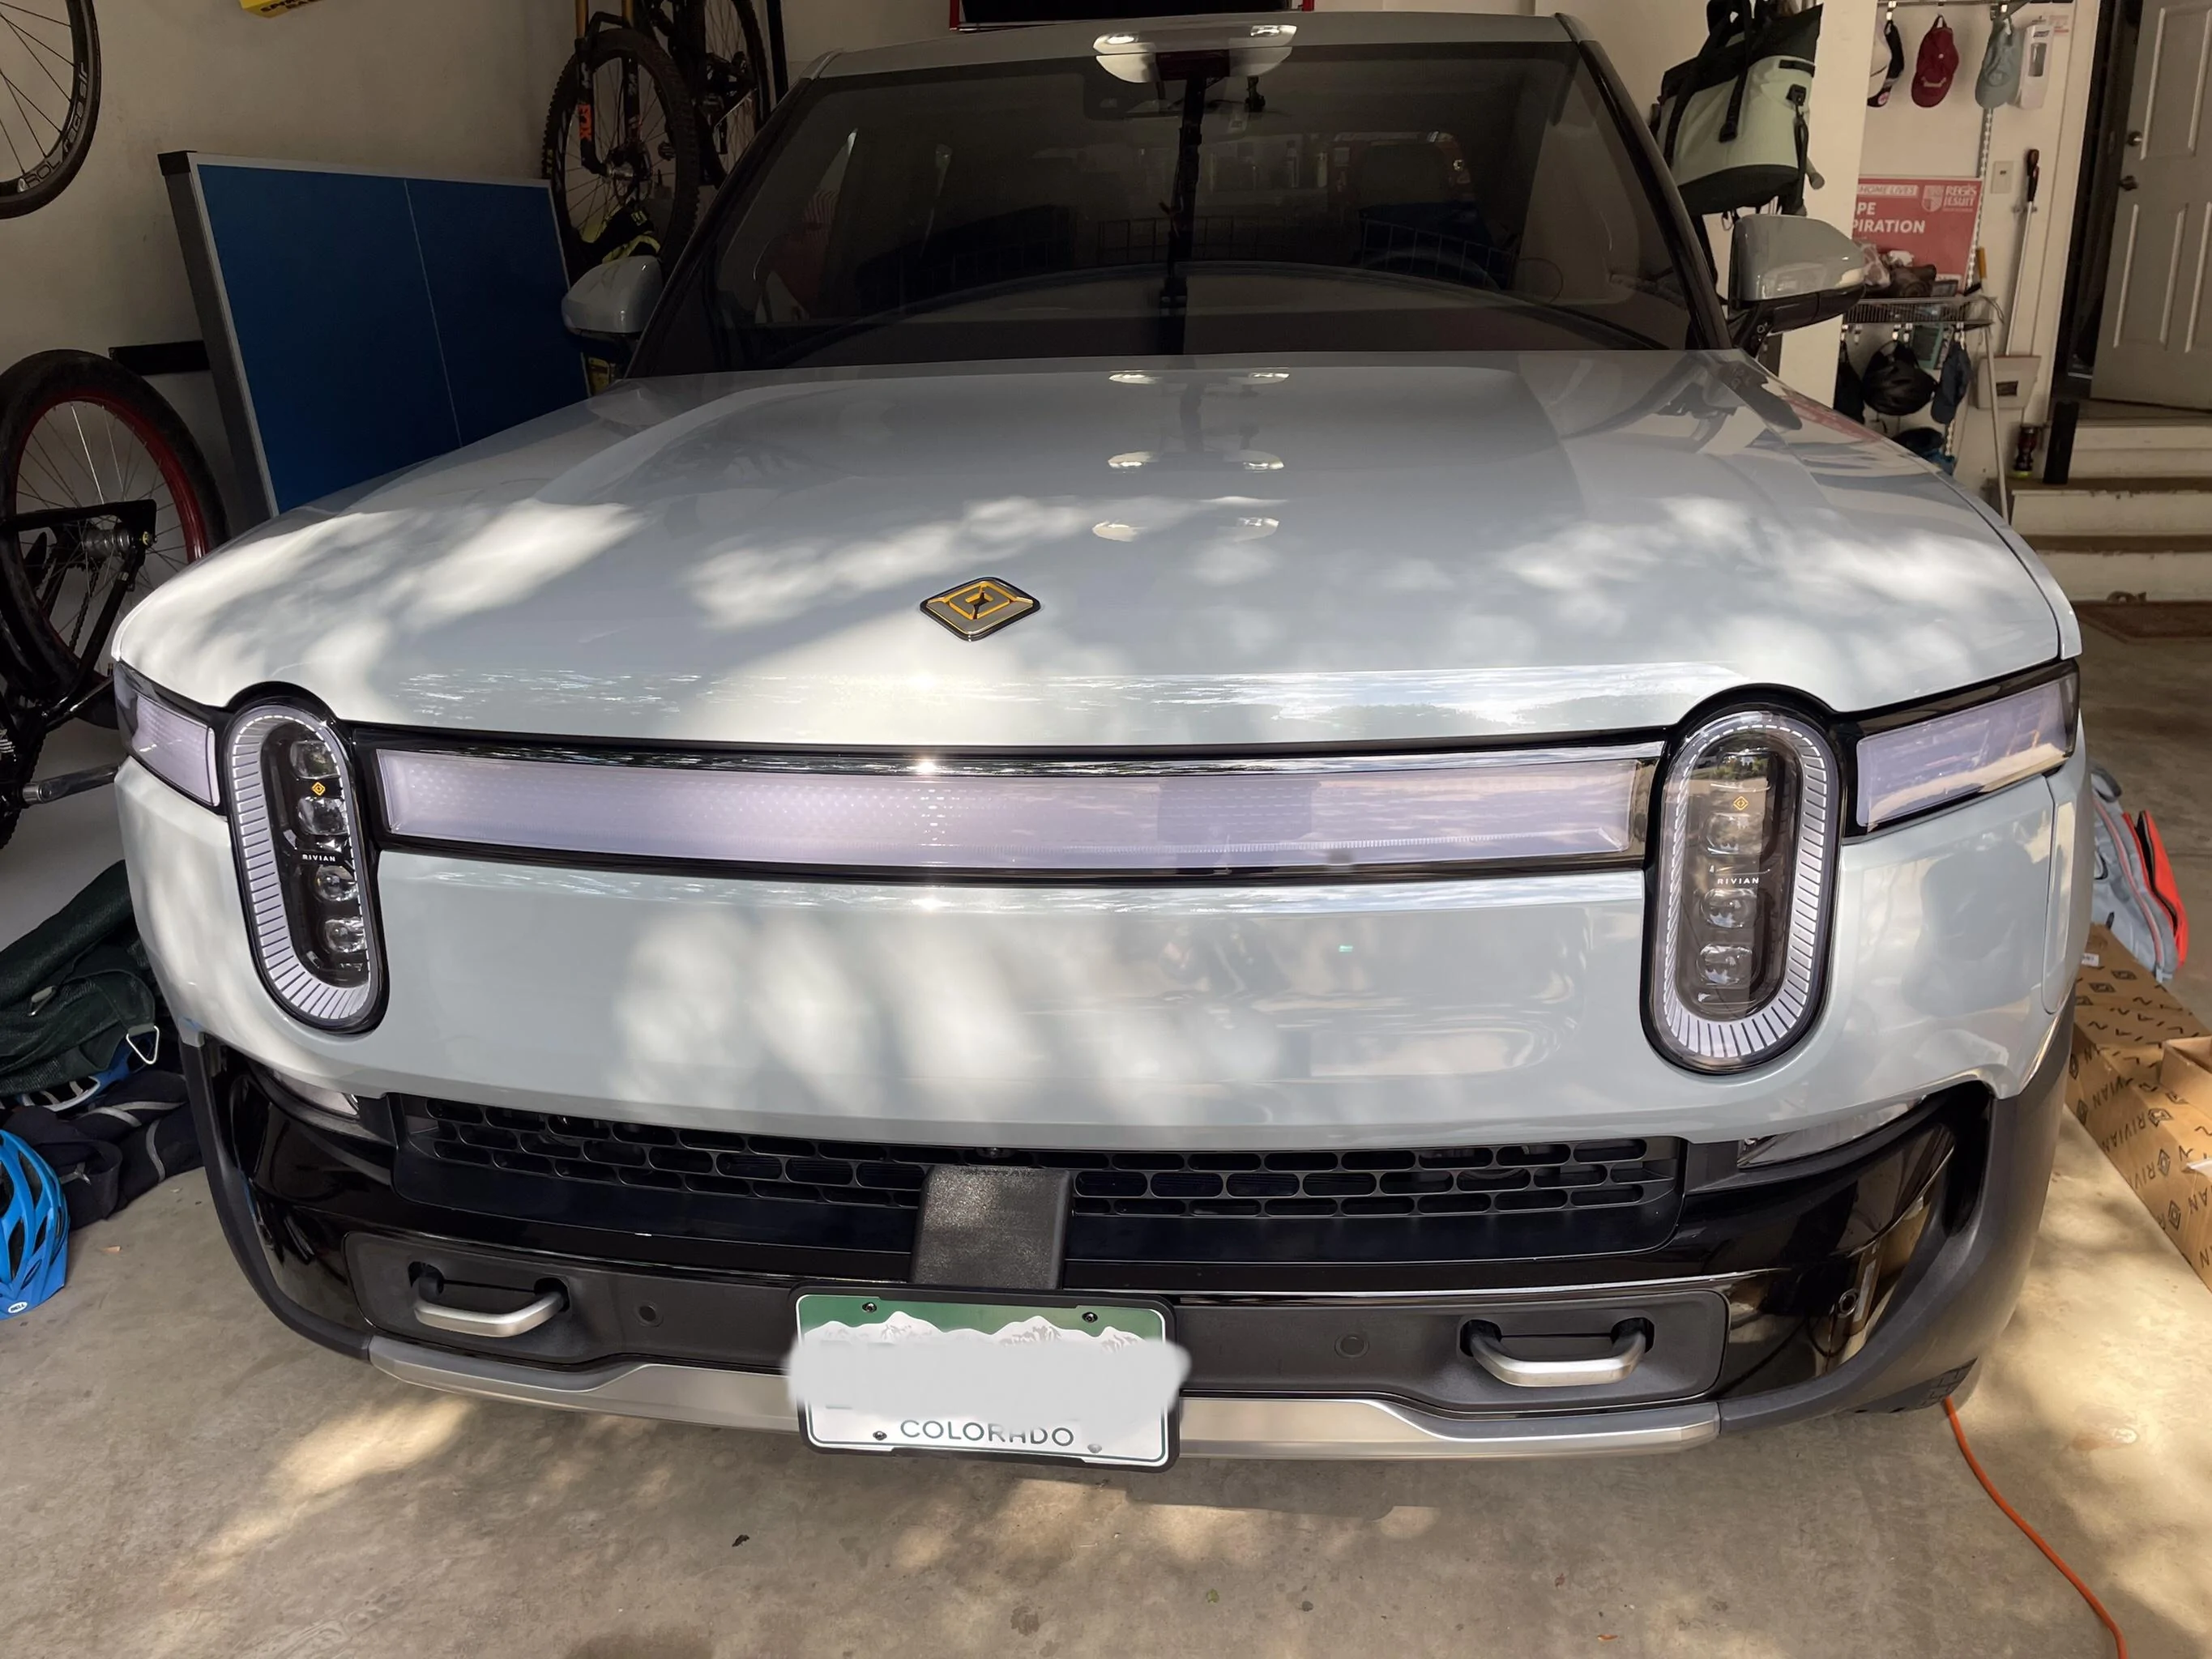
Wanted to cut down on the bright white light bar and headlamps a bit without going dark smoke. TWRAPS Light Smoke 70% VLT came out really nicely despite being a noob PPF installer and having the patience of a squirrel on crack.
Early feedback is that TWRAPS is a no brainer given quality and expense savings if you have the confidence to DIY. Pucker factor started high but was unwarranted after steep learning curve set in. Having the kit pre cut to the vehicle and a quality material are key. TWRAPS responded super quickly via email with any of my dumb questions.
DIY Install notes below, someone with more experience please chime in and correct any bad advice.
Go slow, be patient. PPF is tough and can be pulled and reinstalled if needed, which I did twice on one of the headlights and it came out great despite being worried about stretching it.
I used a large spray bottle with filtered water and a squirt of Dawn. Others recommend baby shampoo. Kit includes small spray bottles which already include soap just fill with water. Soap gives it slipperyness to move PPF around and softens the adhesive, finding the right amount to also get tack and stickiness is an art but no need to be to finicky. Tack comes when it dries a bit.
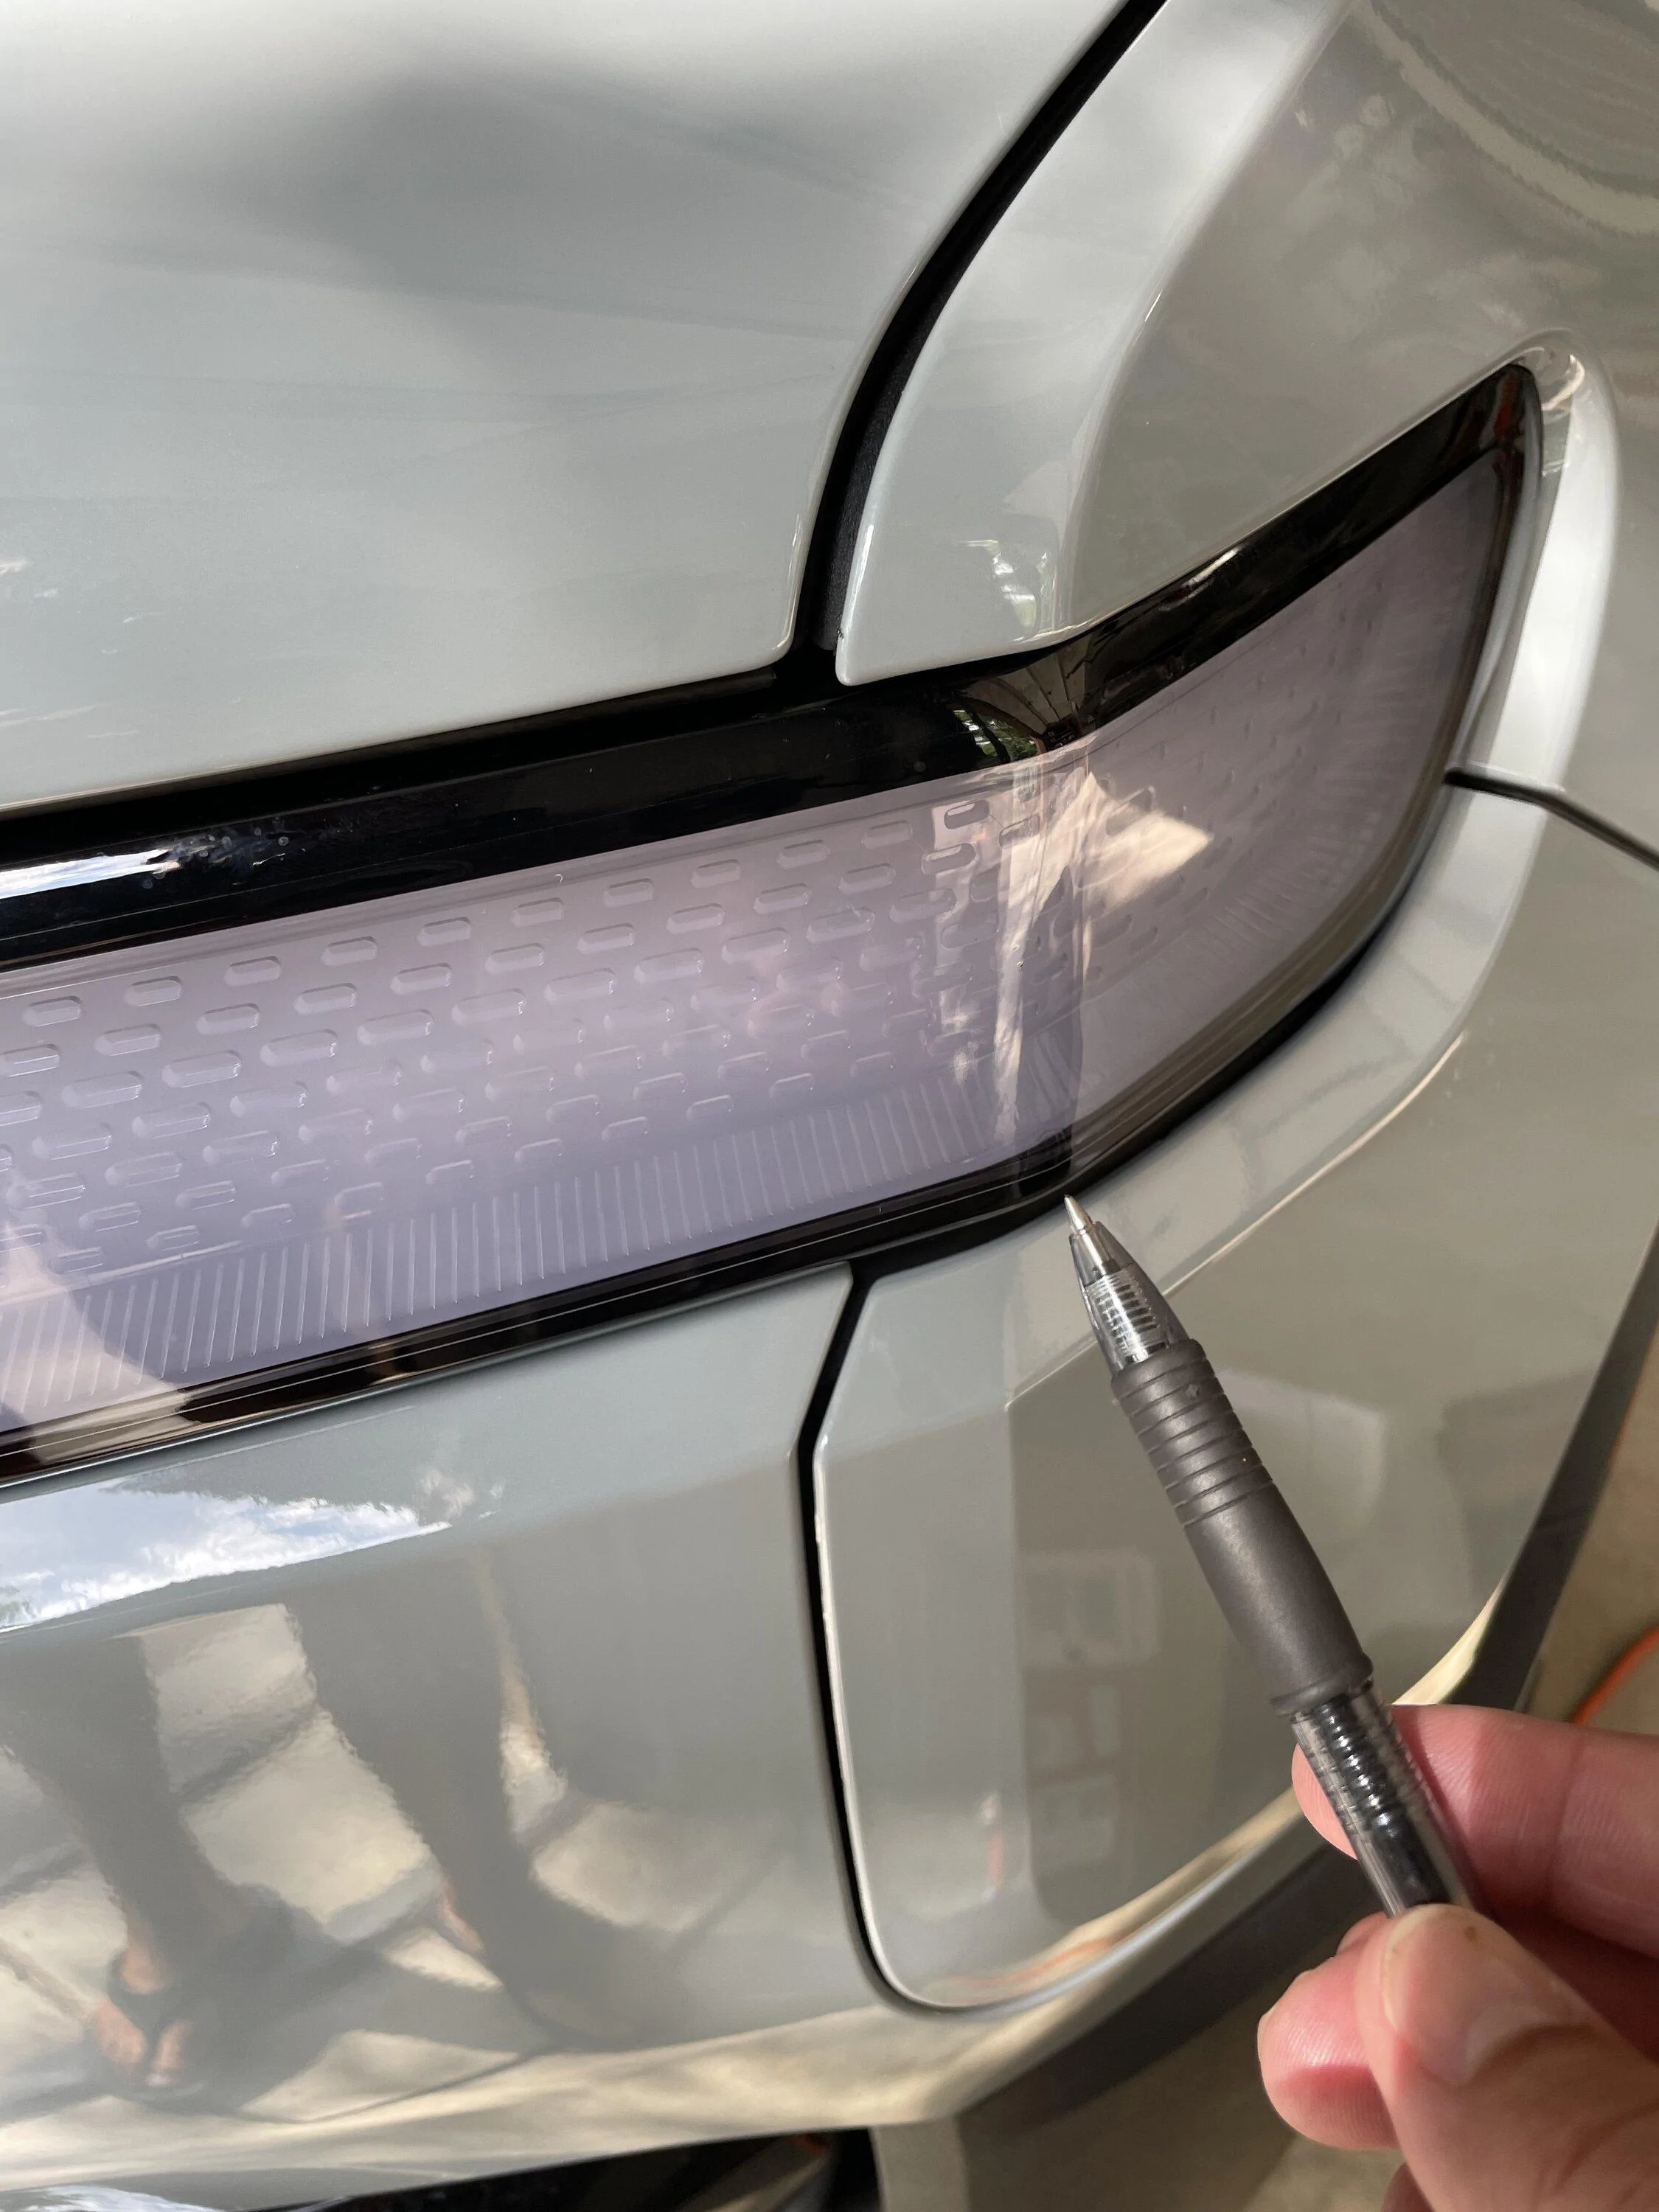
Once initial squeegee and placement complete, I then used a hair dryer low settings first on trickier angles and curves to flatten PPF, then on straight lines to flatten angles/curved areas (two shown below). Pros go with a heat gun but I’m already hamfisted so didn’t trust myself on high heat.
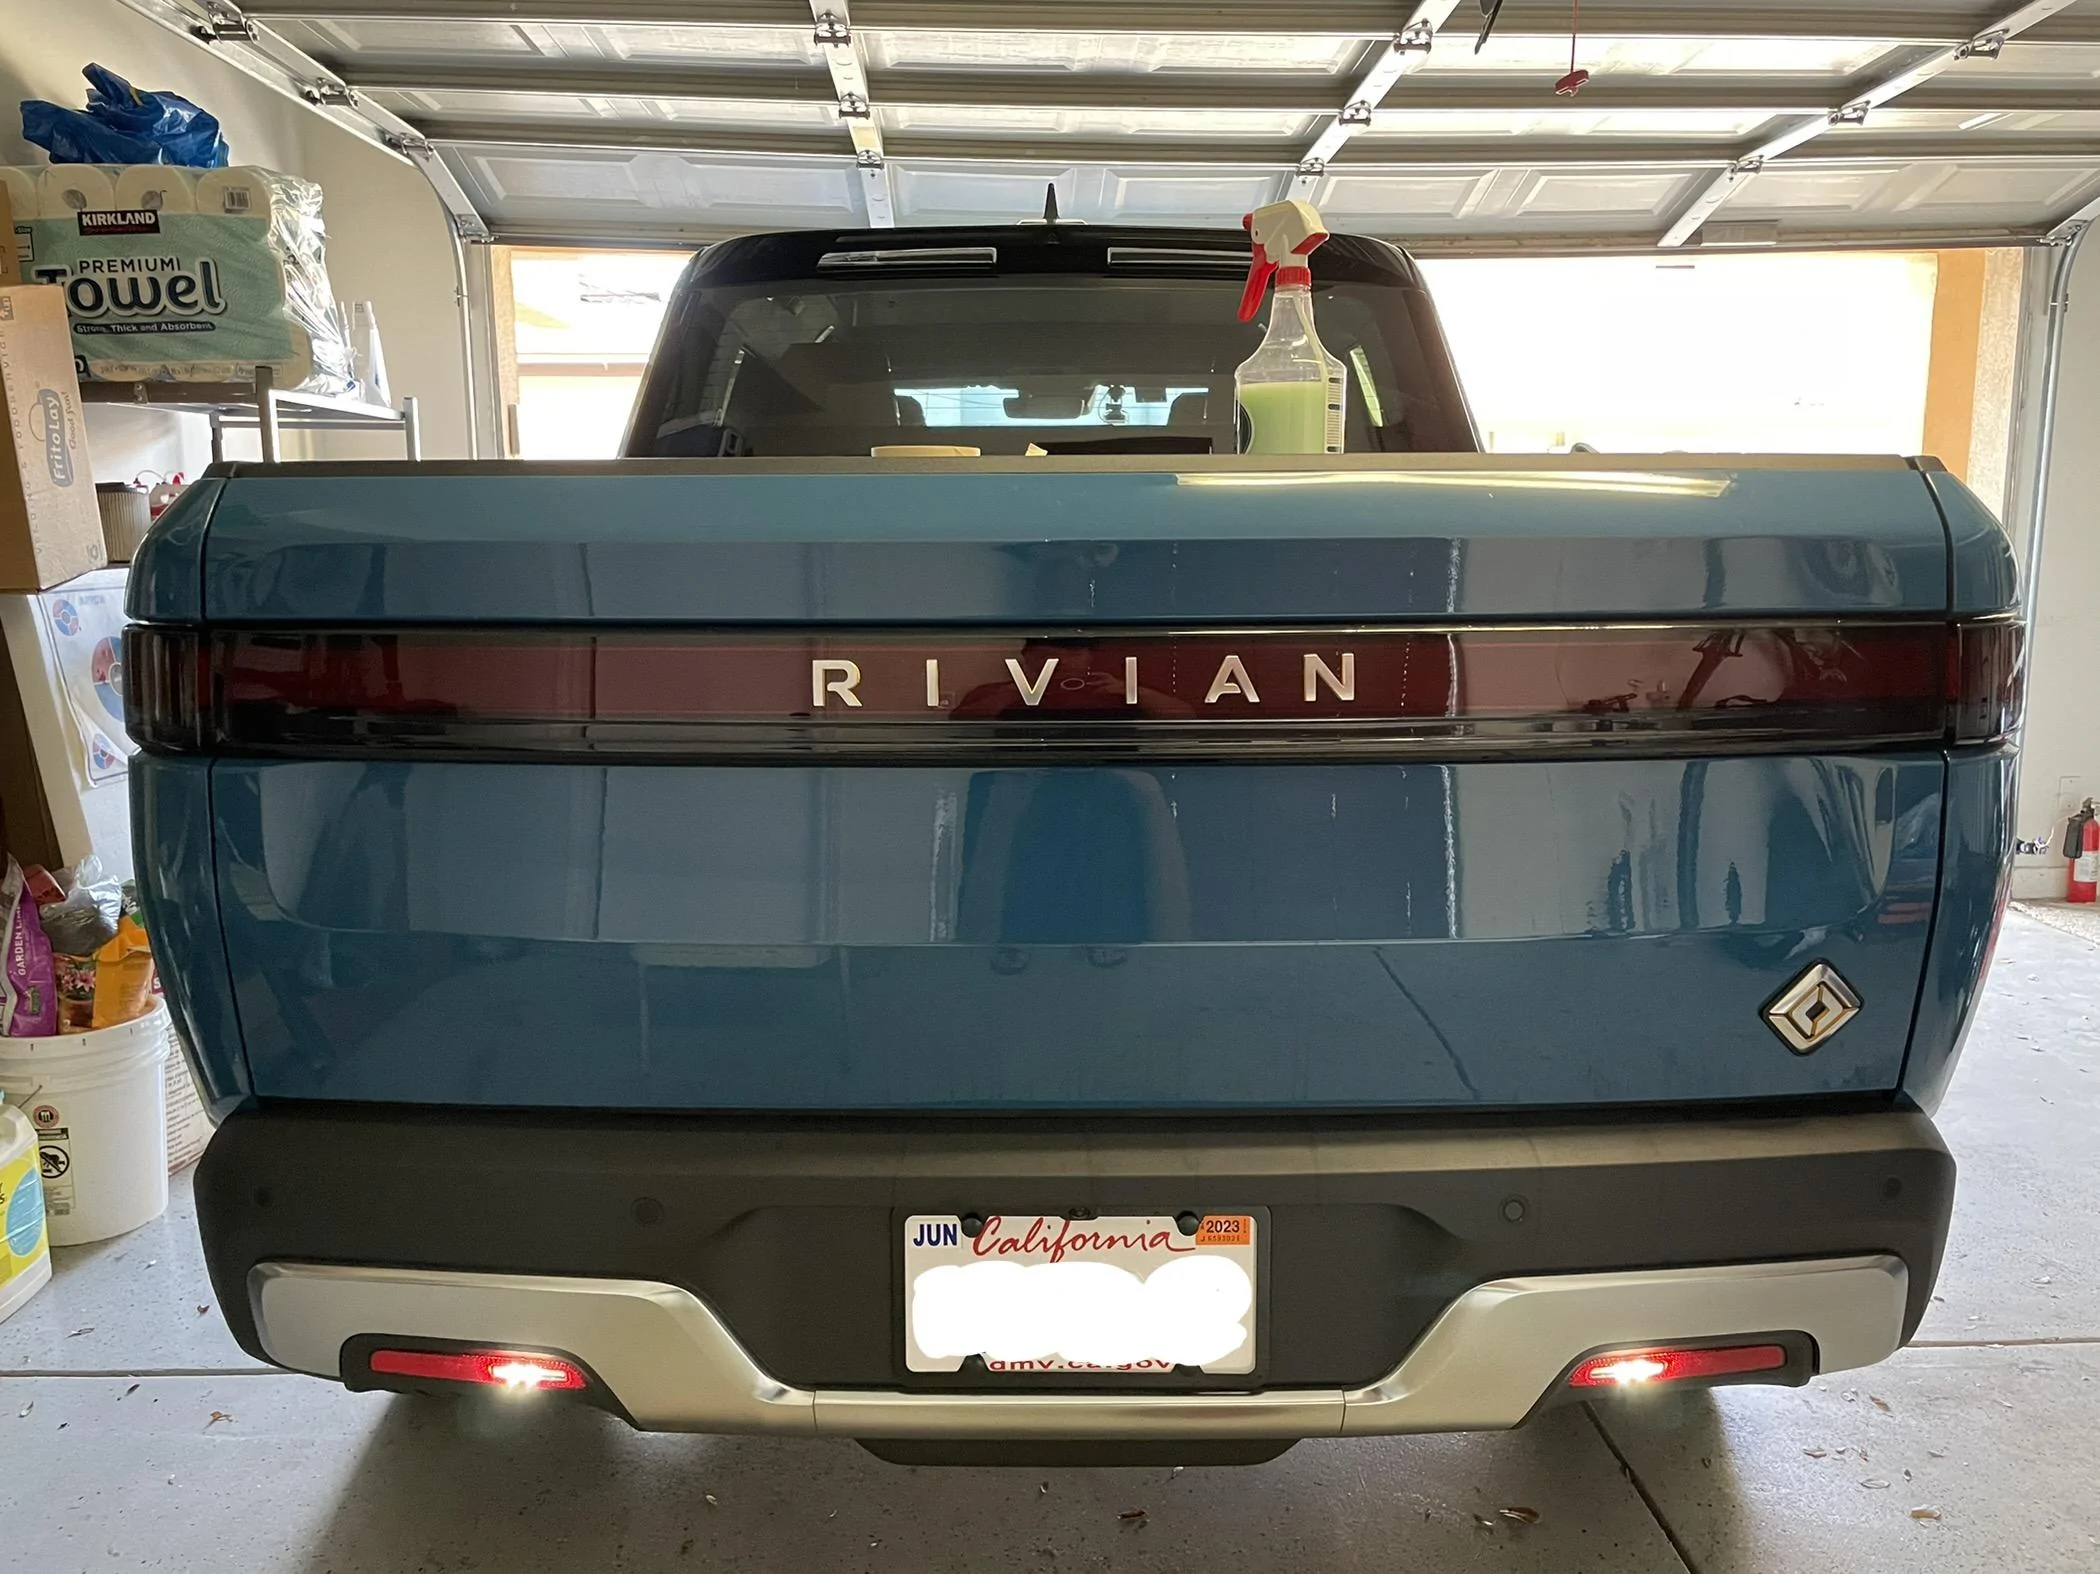
Recommend starting on easier/smaller/flatter install areas such as headlights and tailights to get comfortable and then move onto larger more complex body panels.
Do not drop the PPF onto a dirty floor as it will likely need replaced, and note that the small ”P” and “D” PPF indicates Passenger side and Driver side respectively.
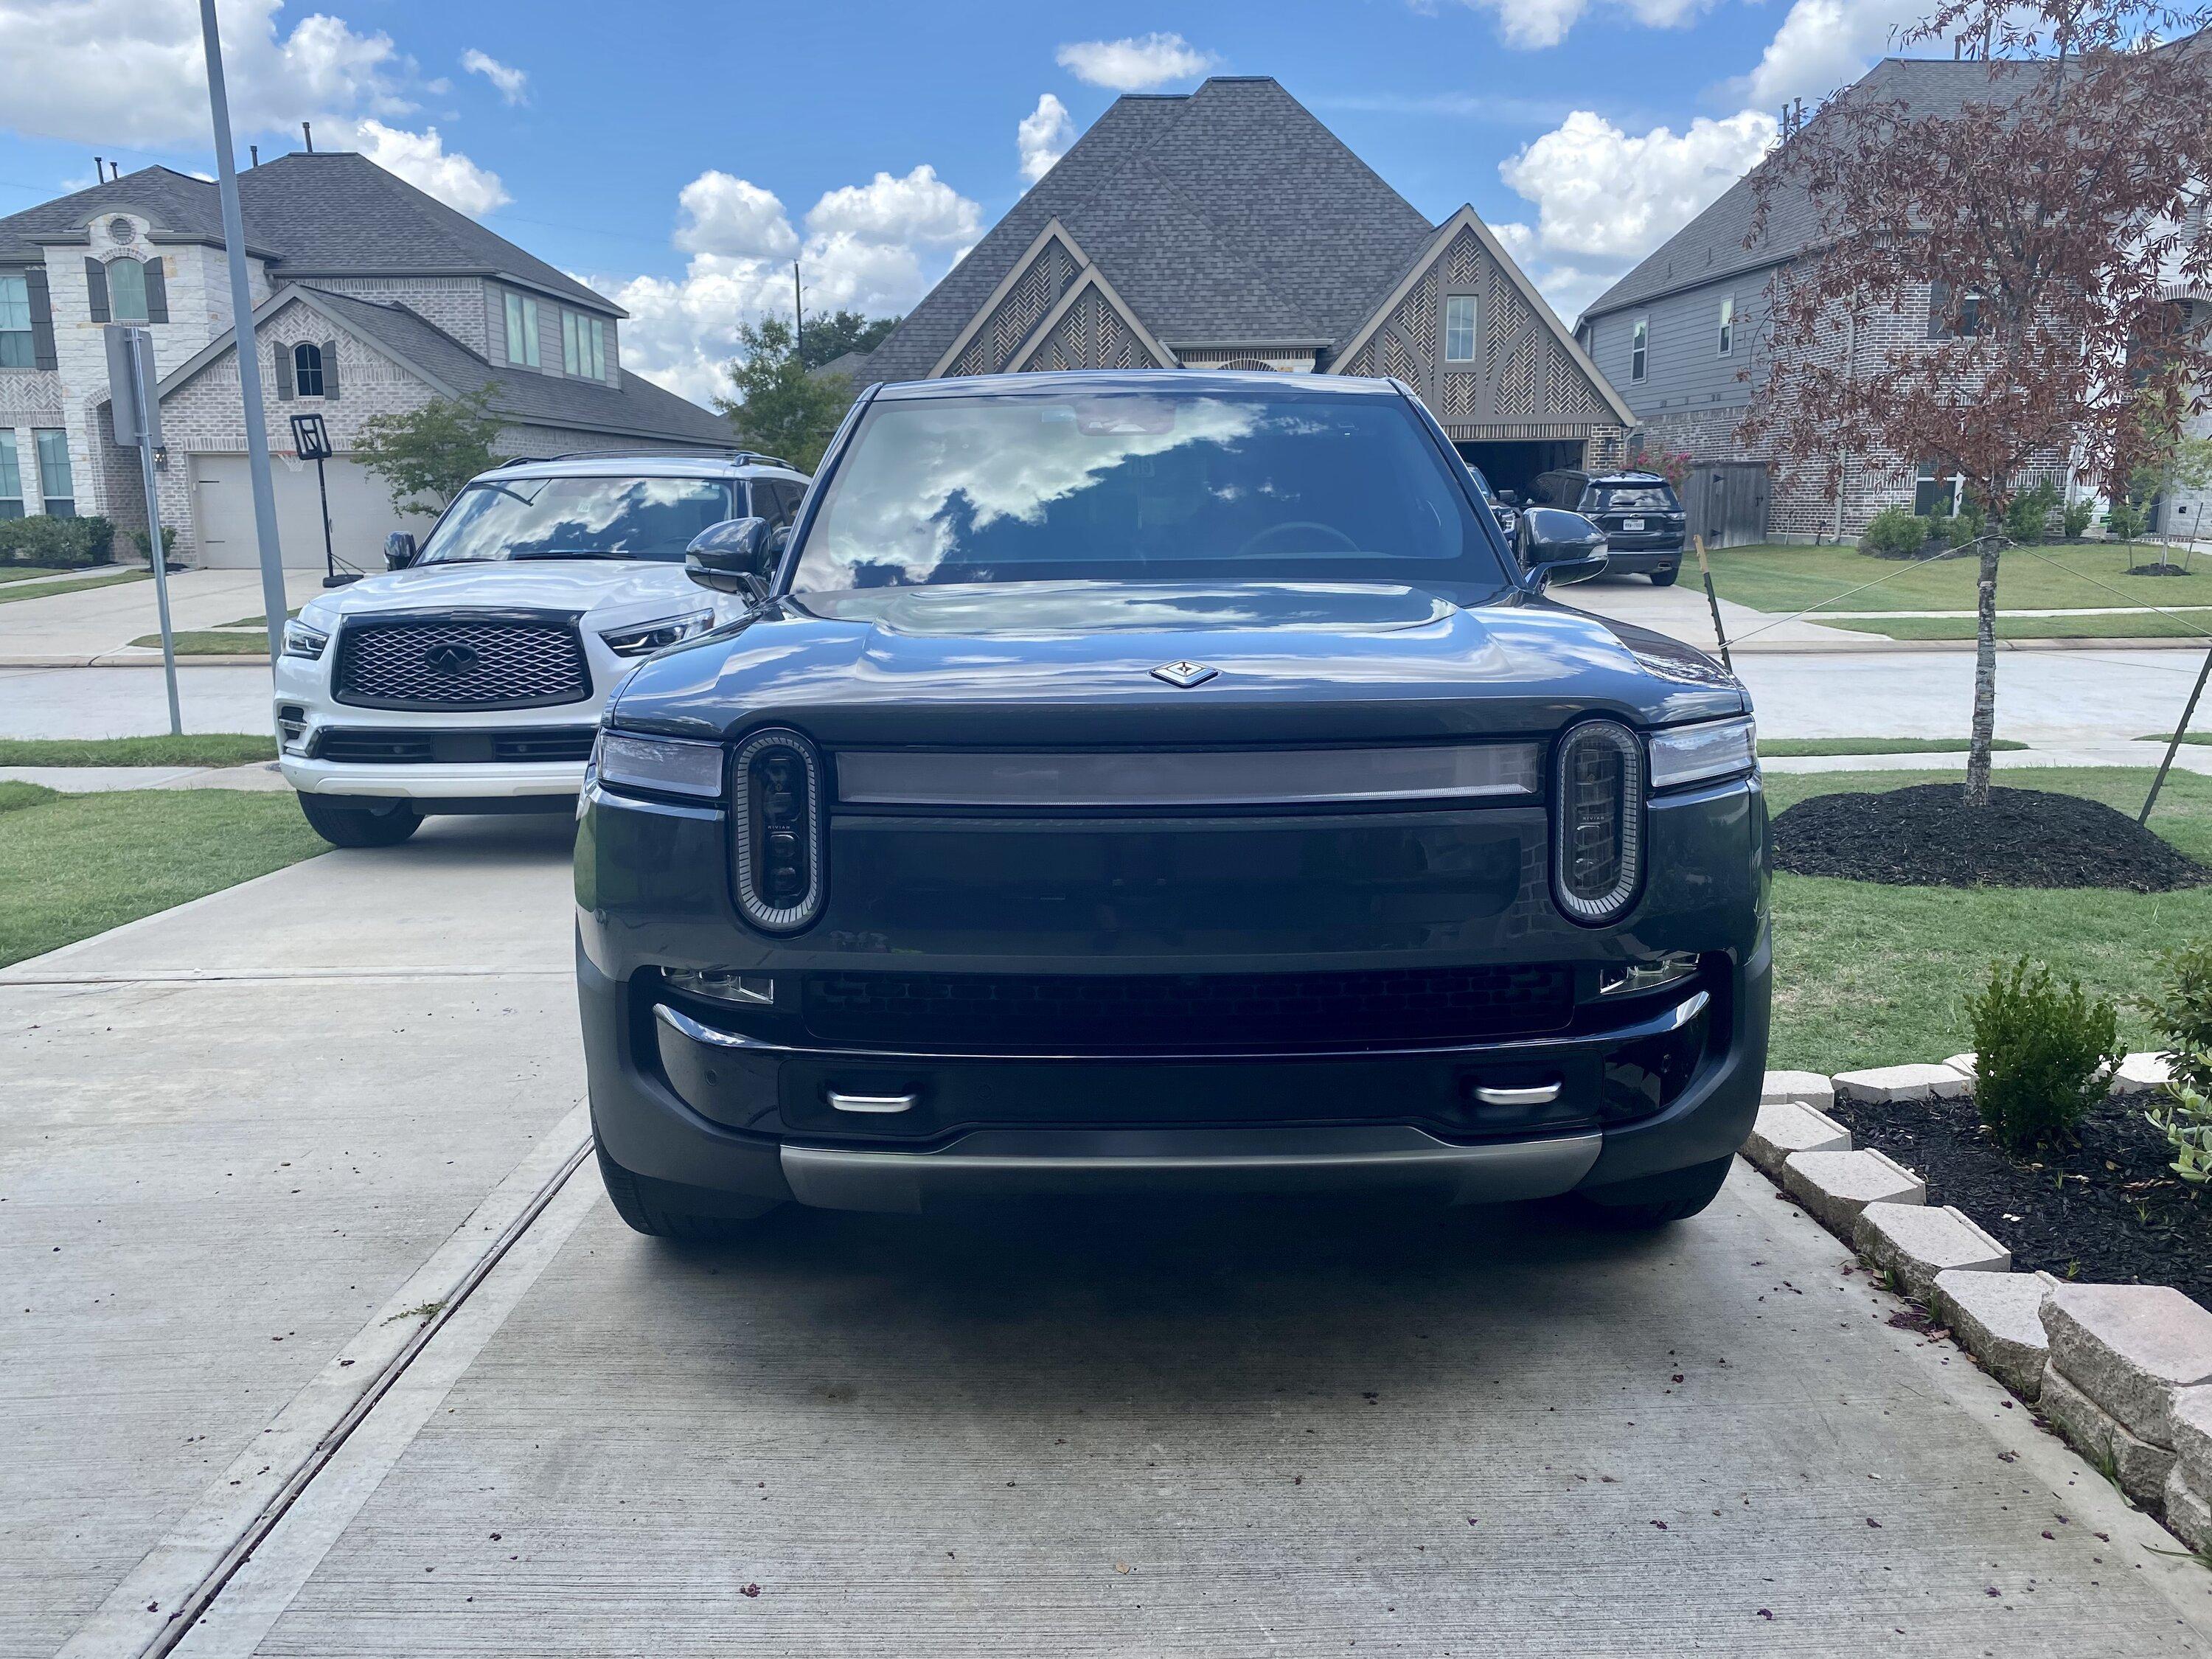
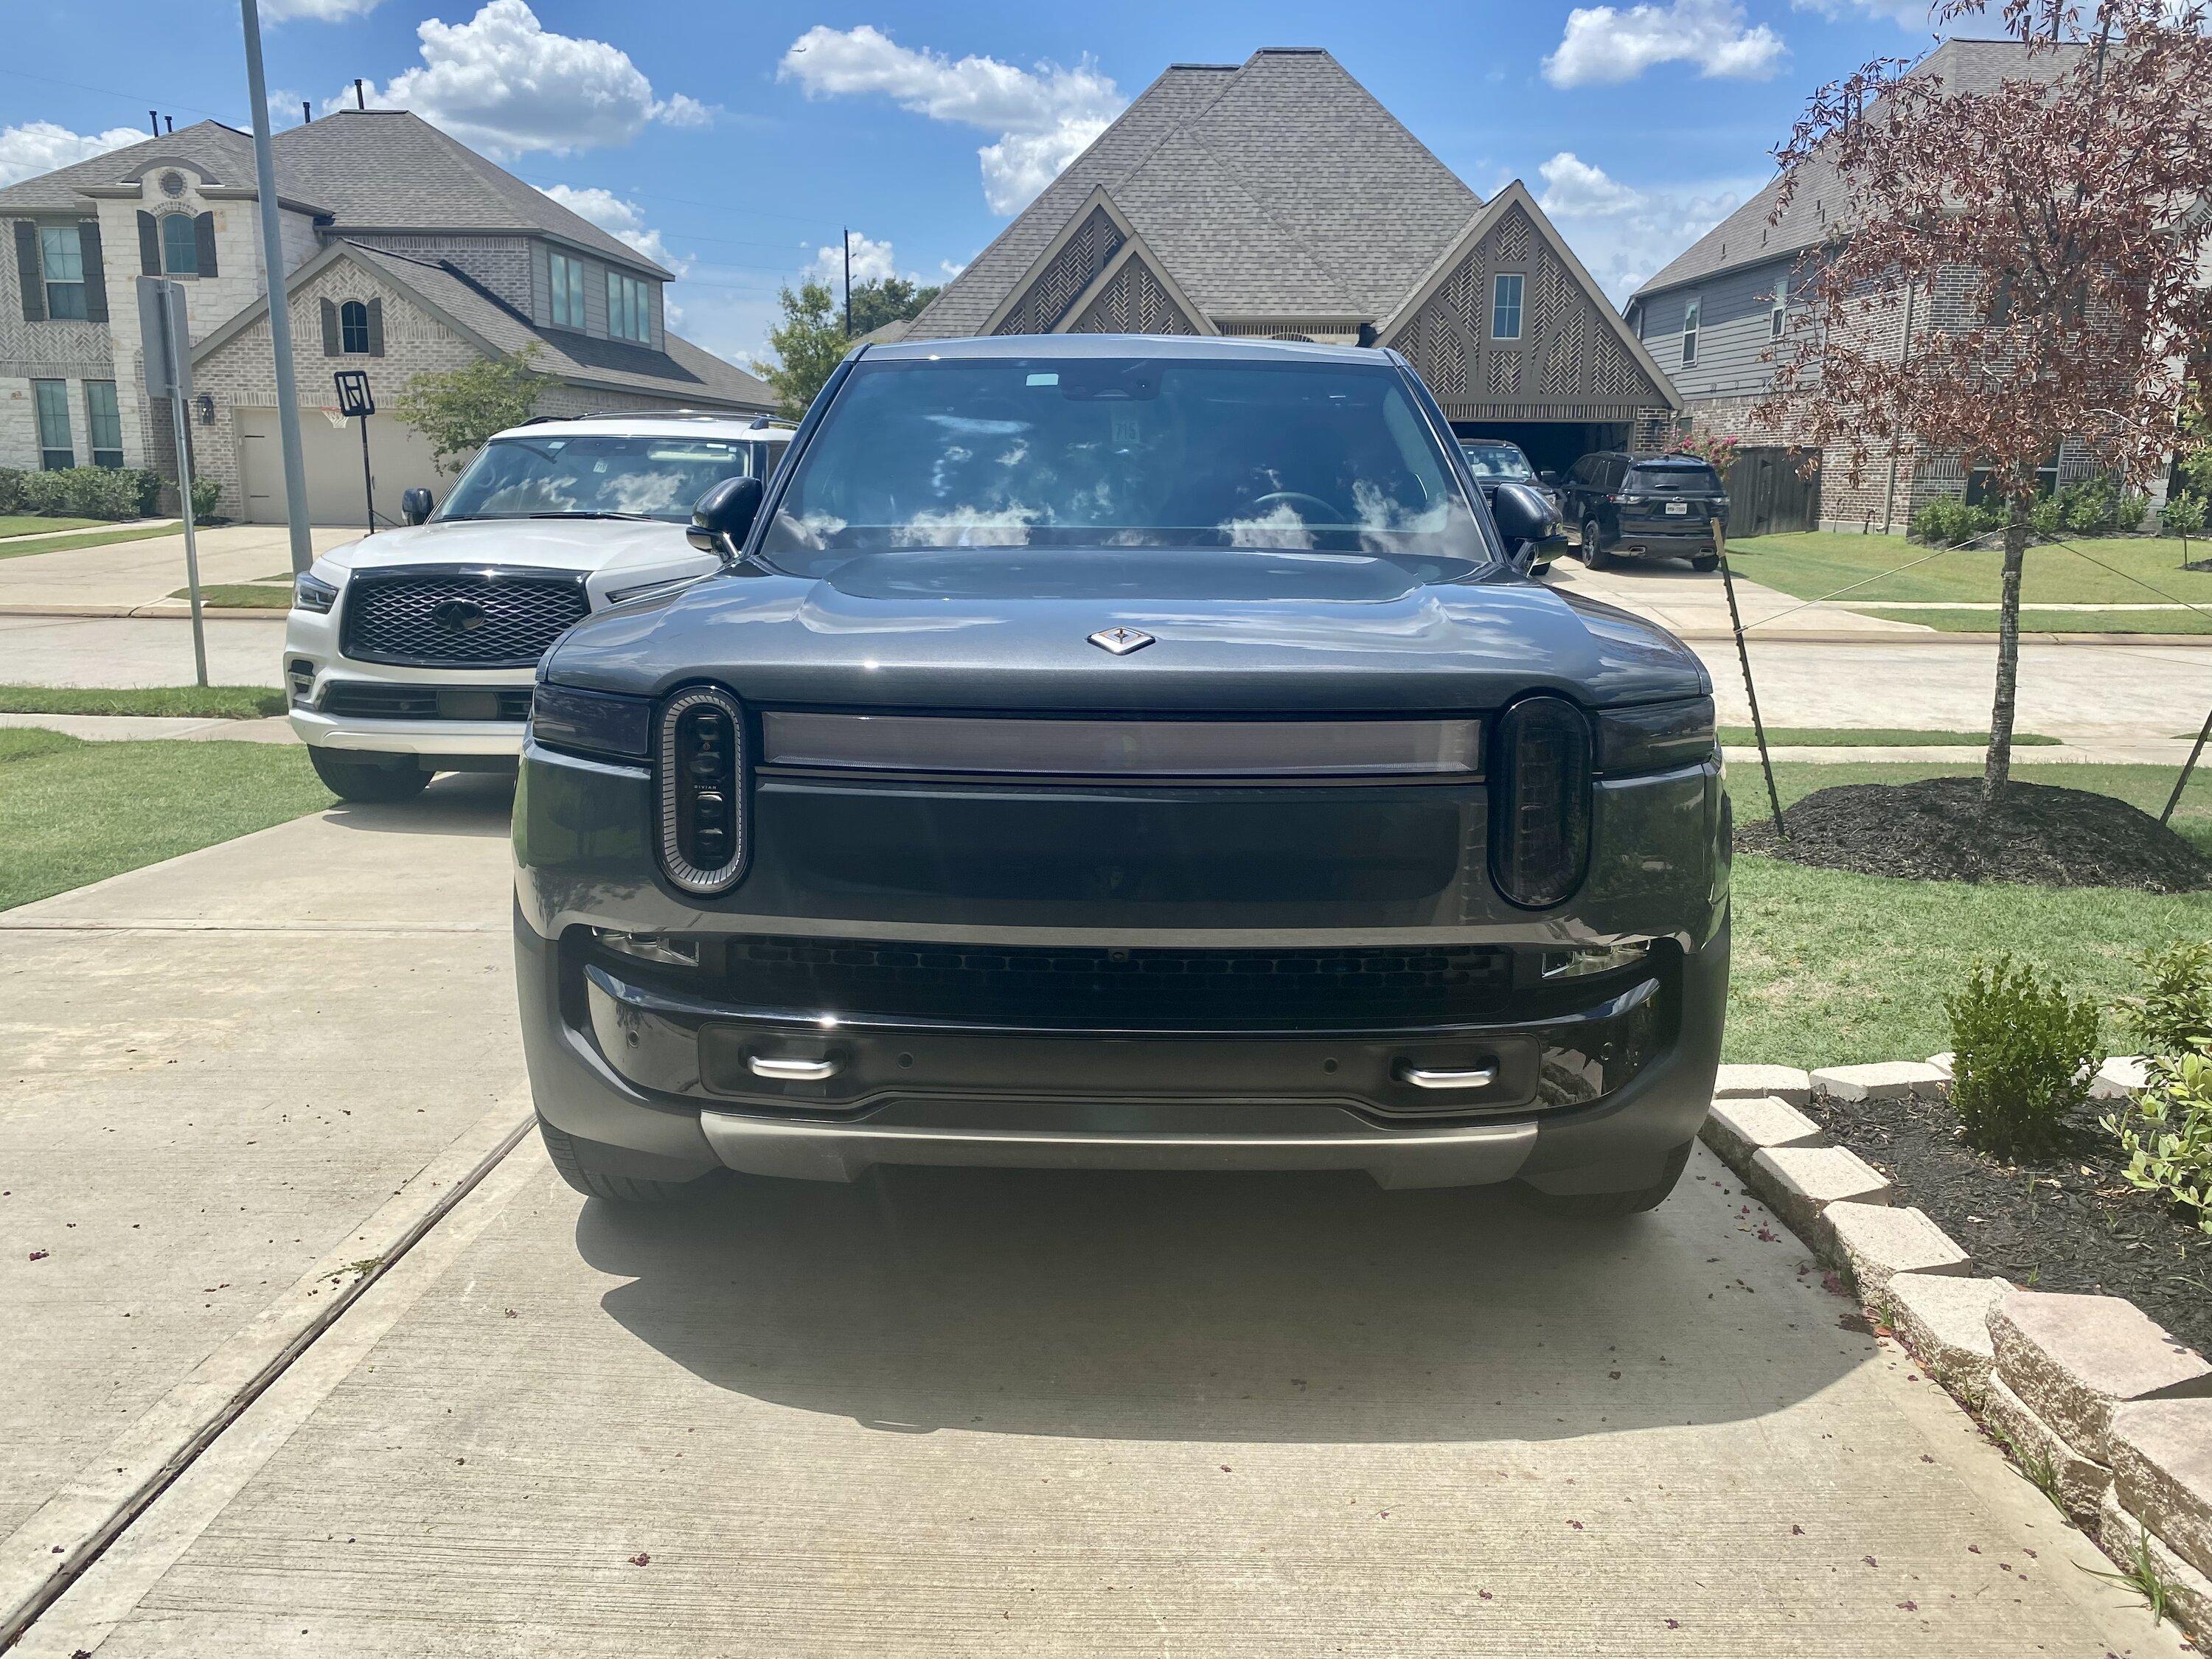
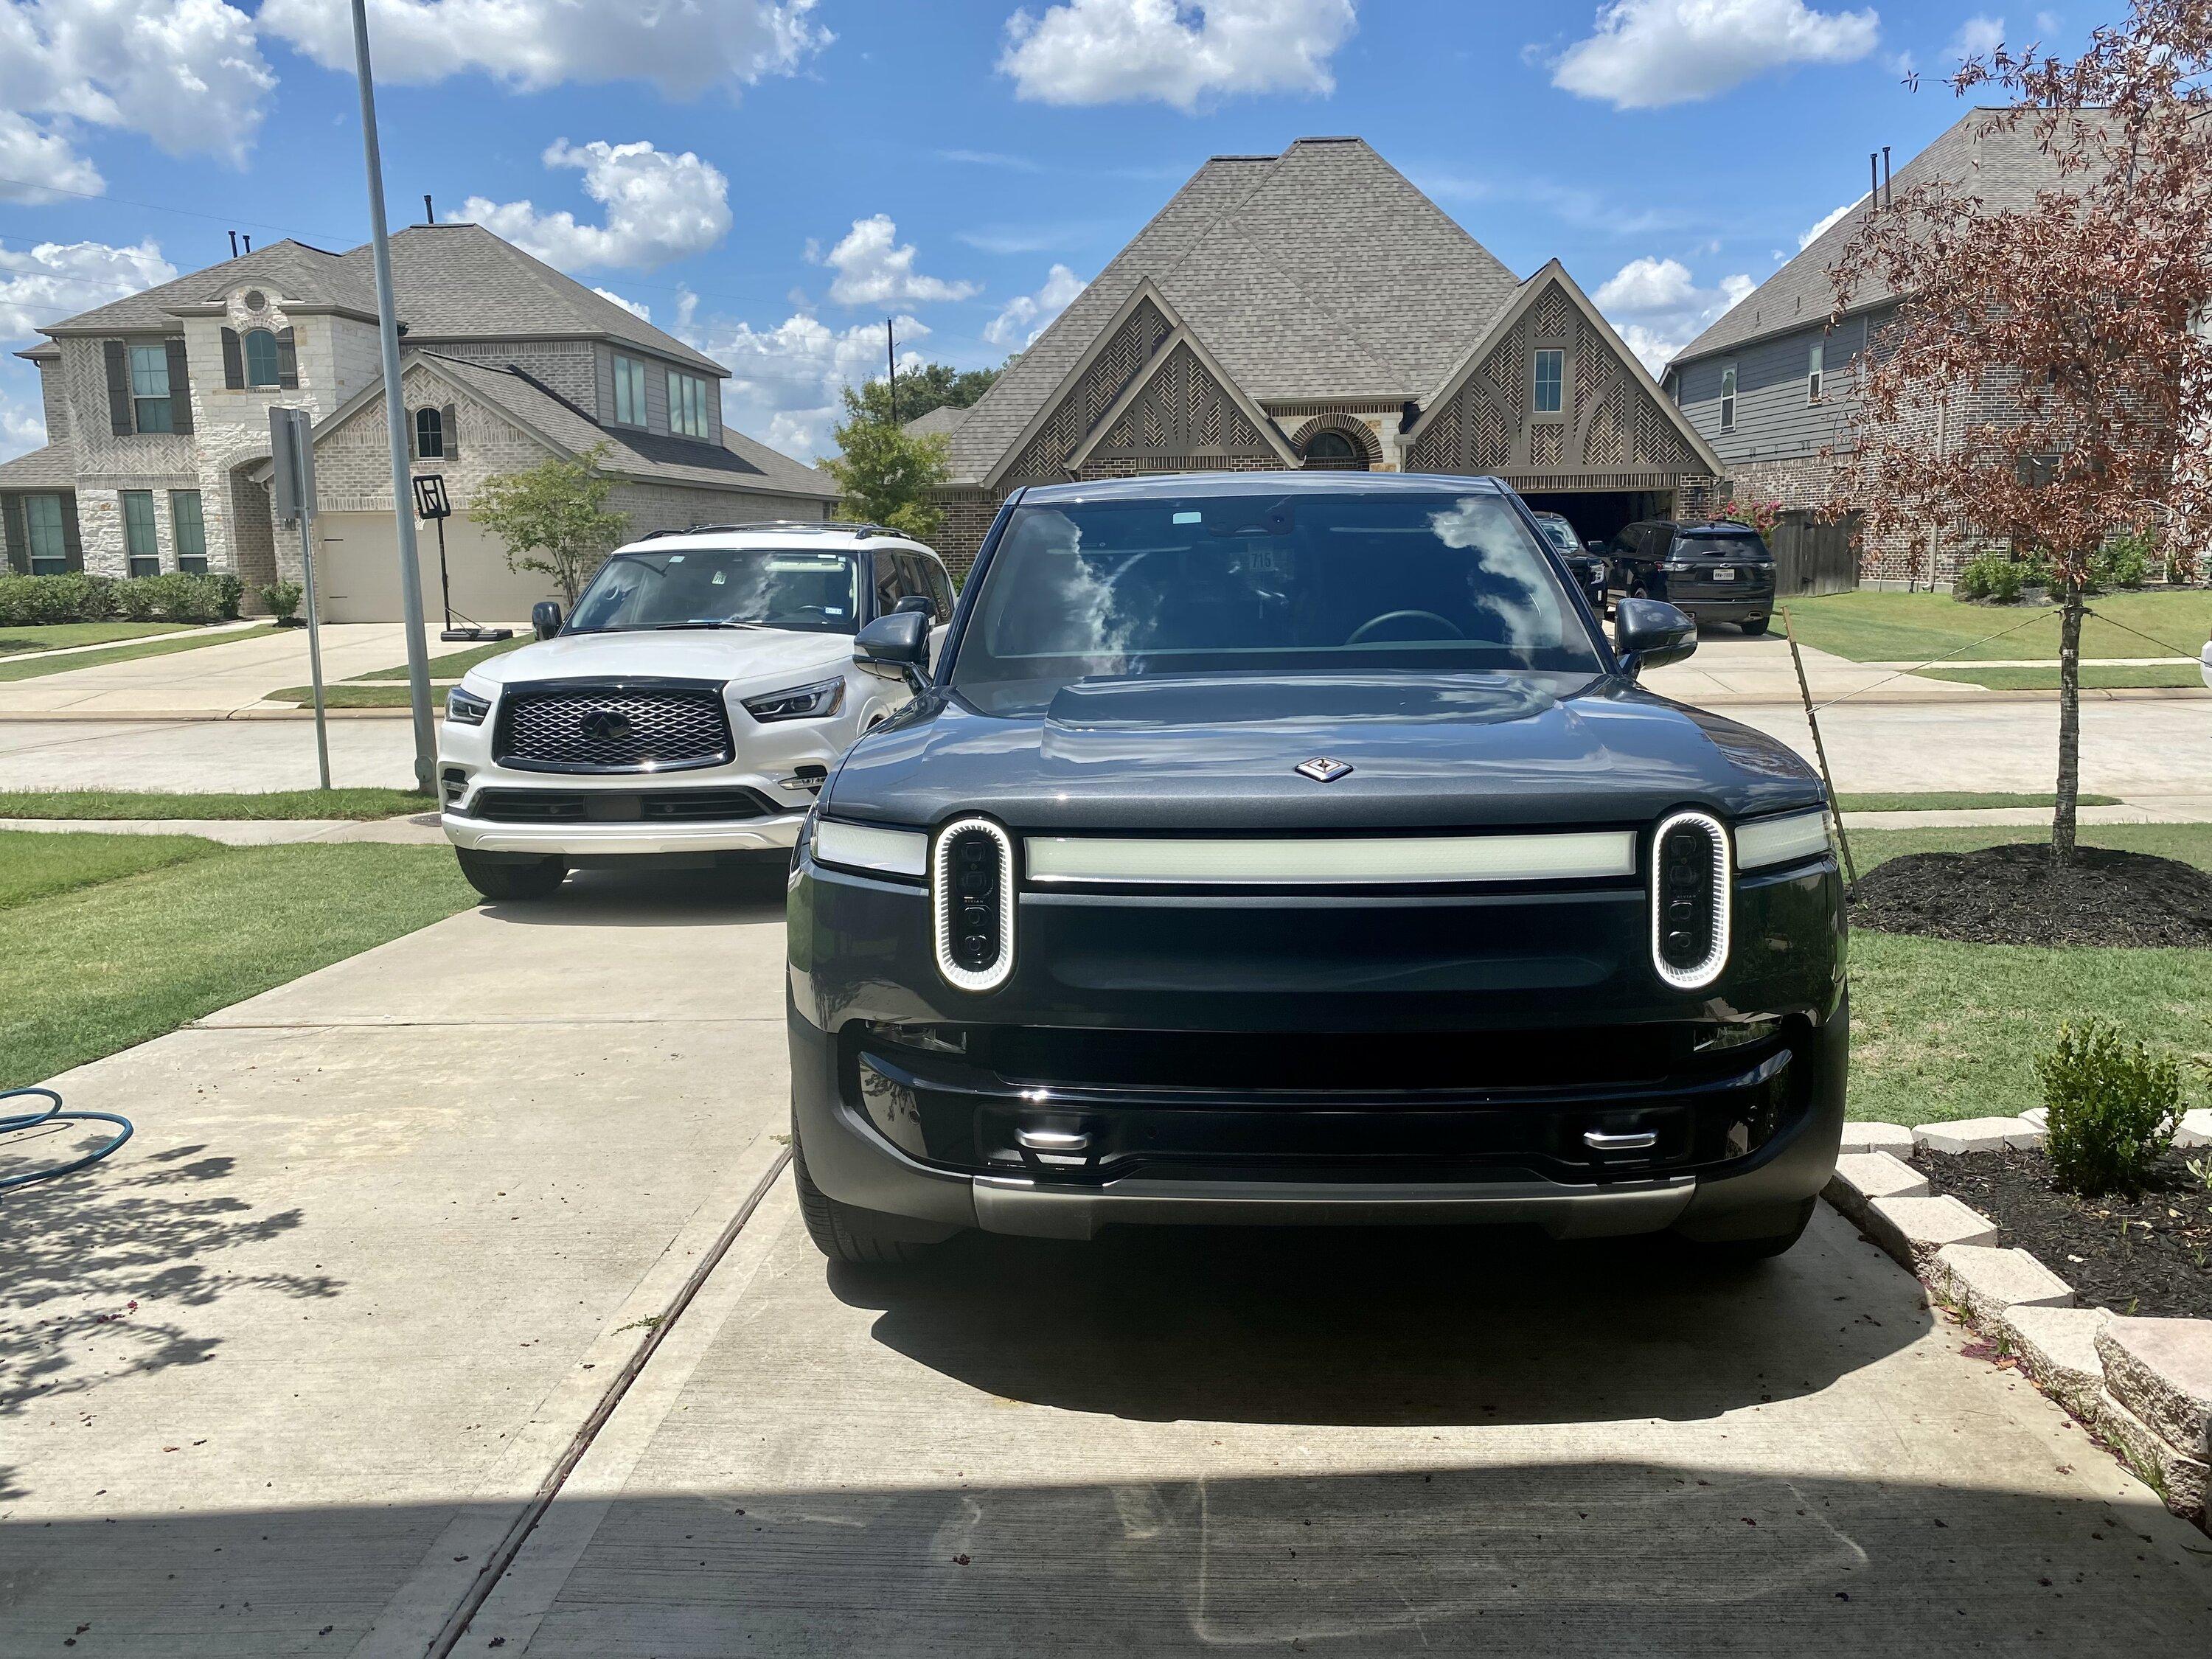
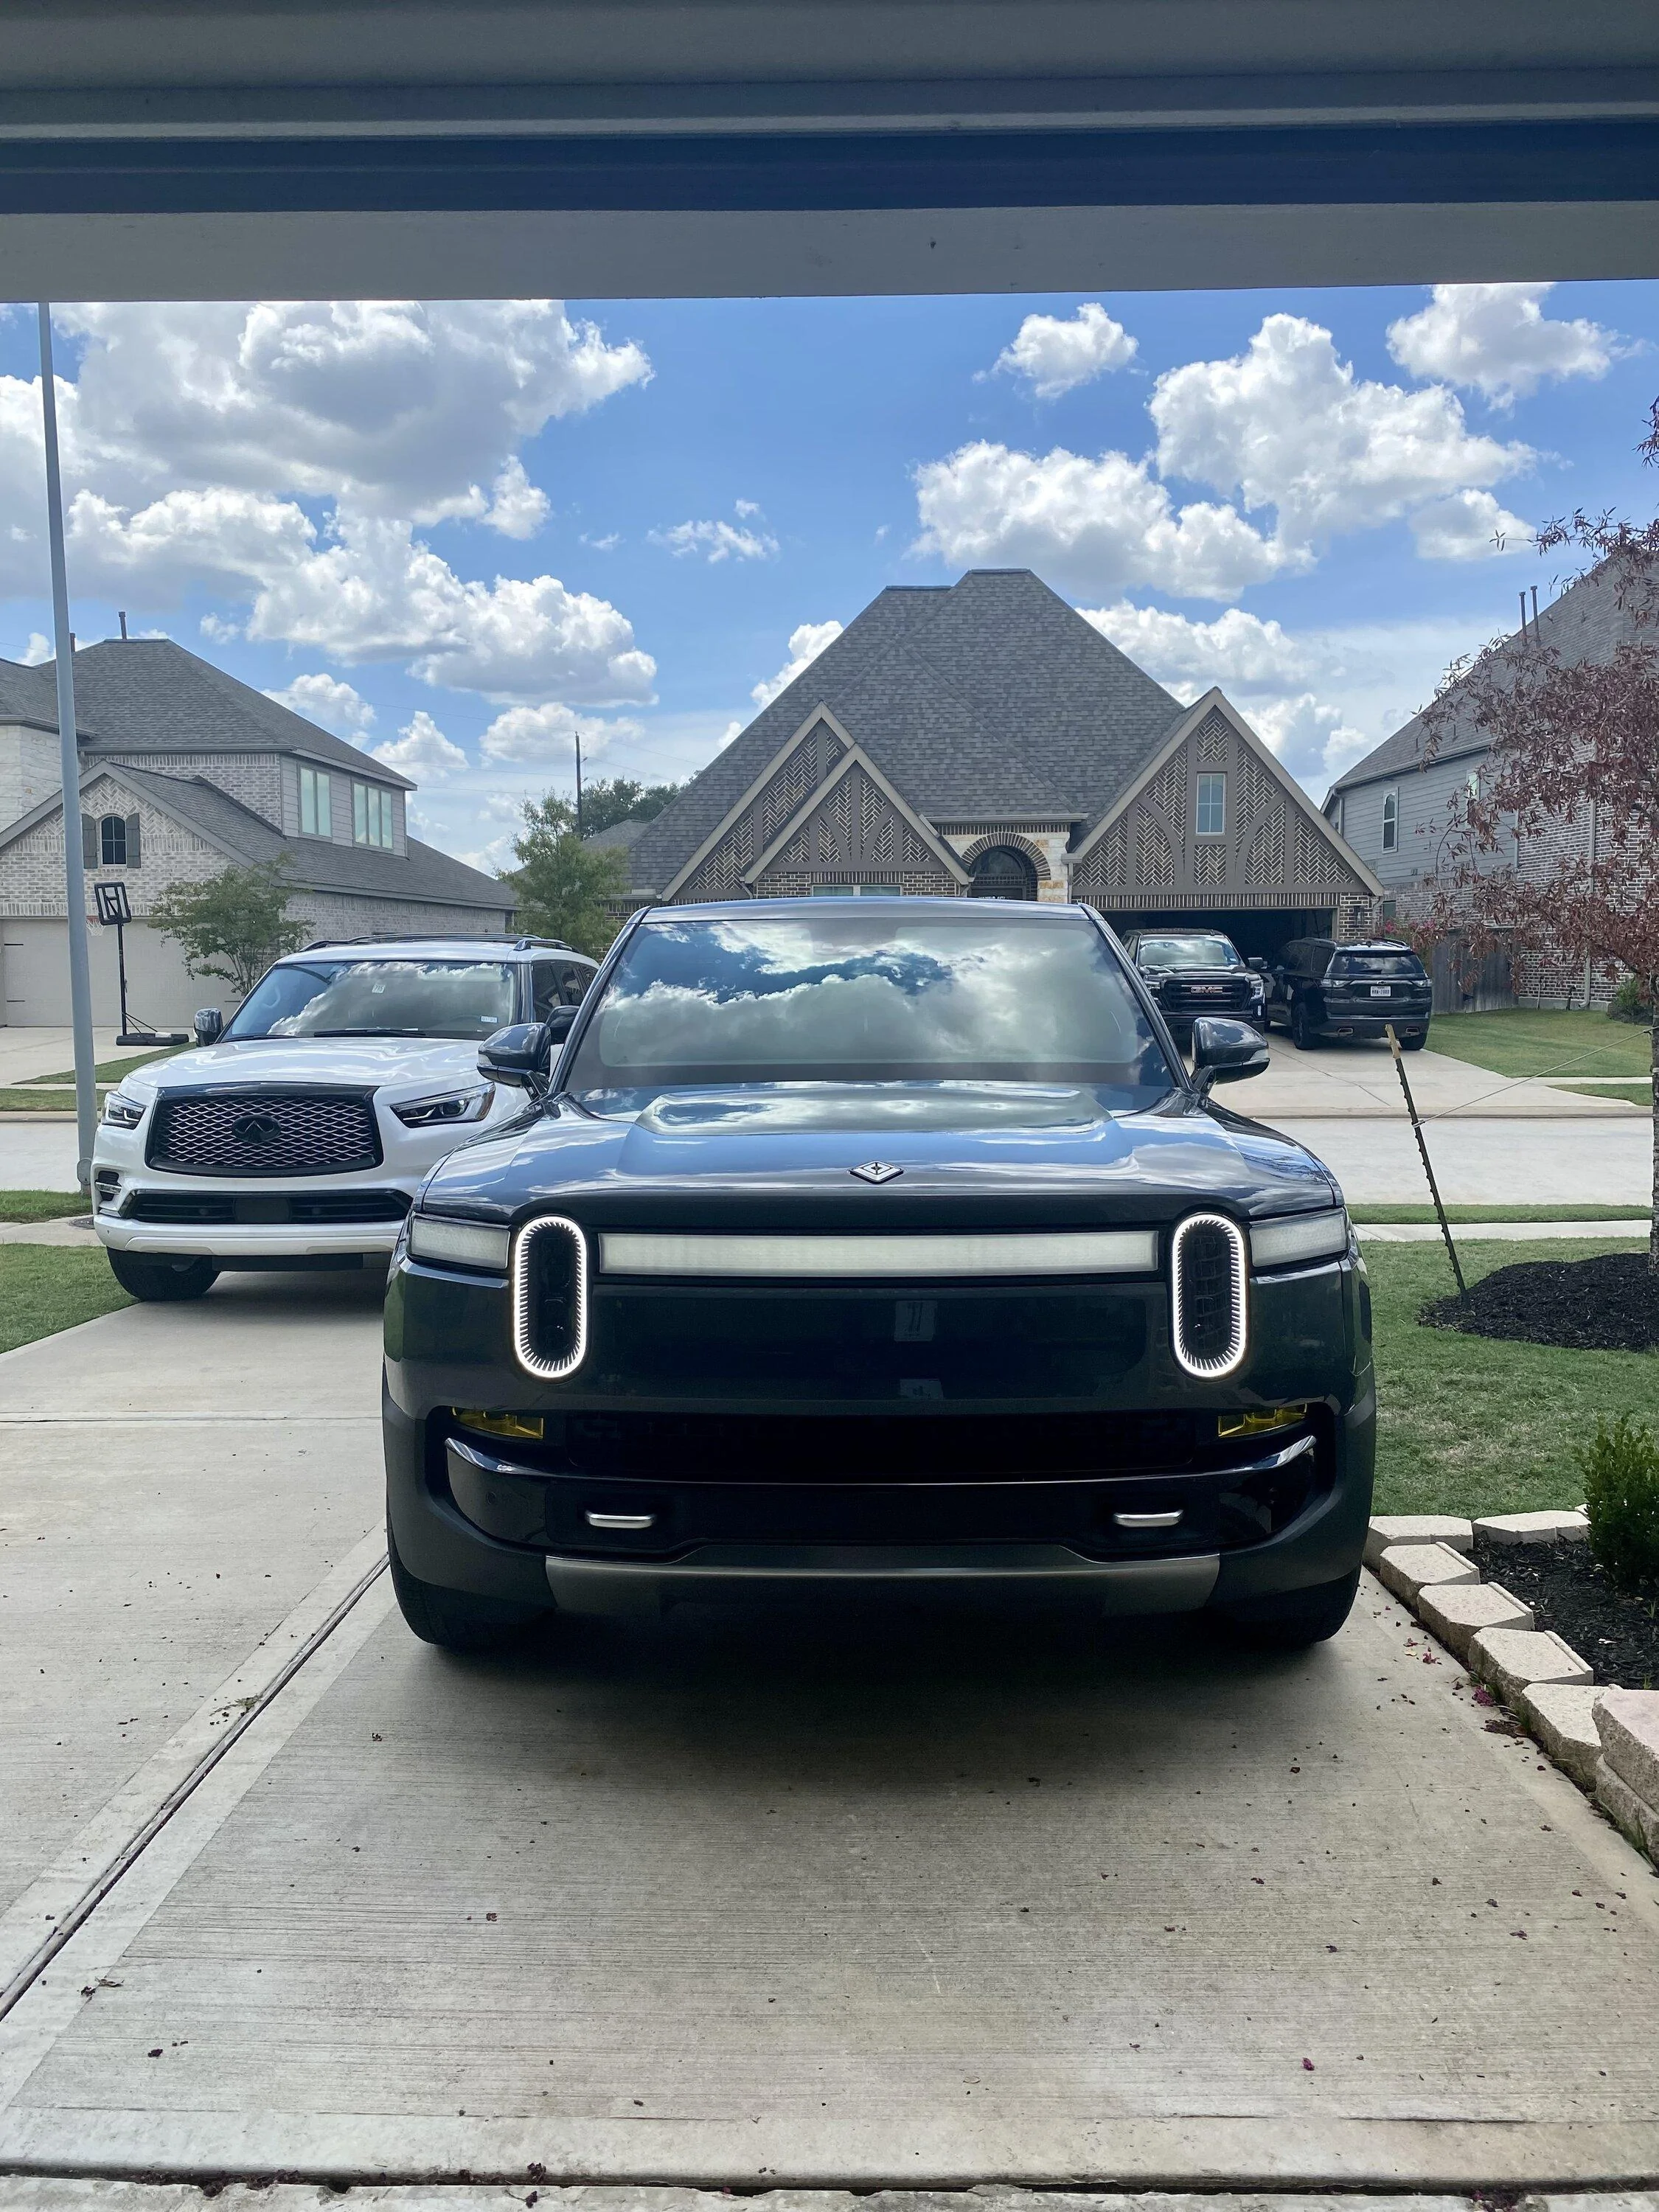
Pic below Light Smoke installed.

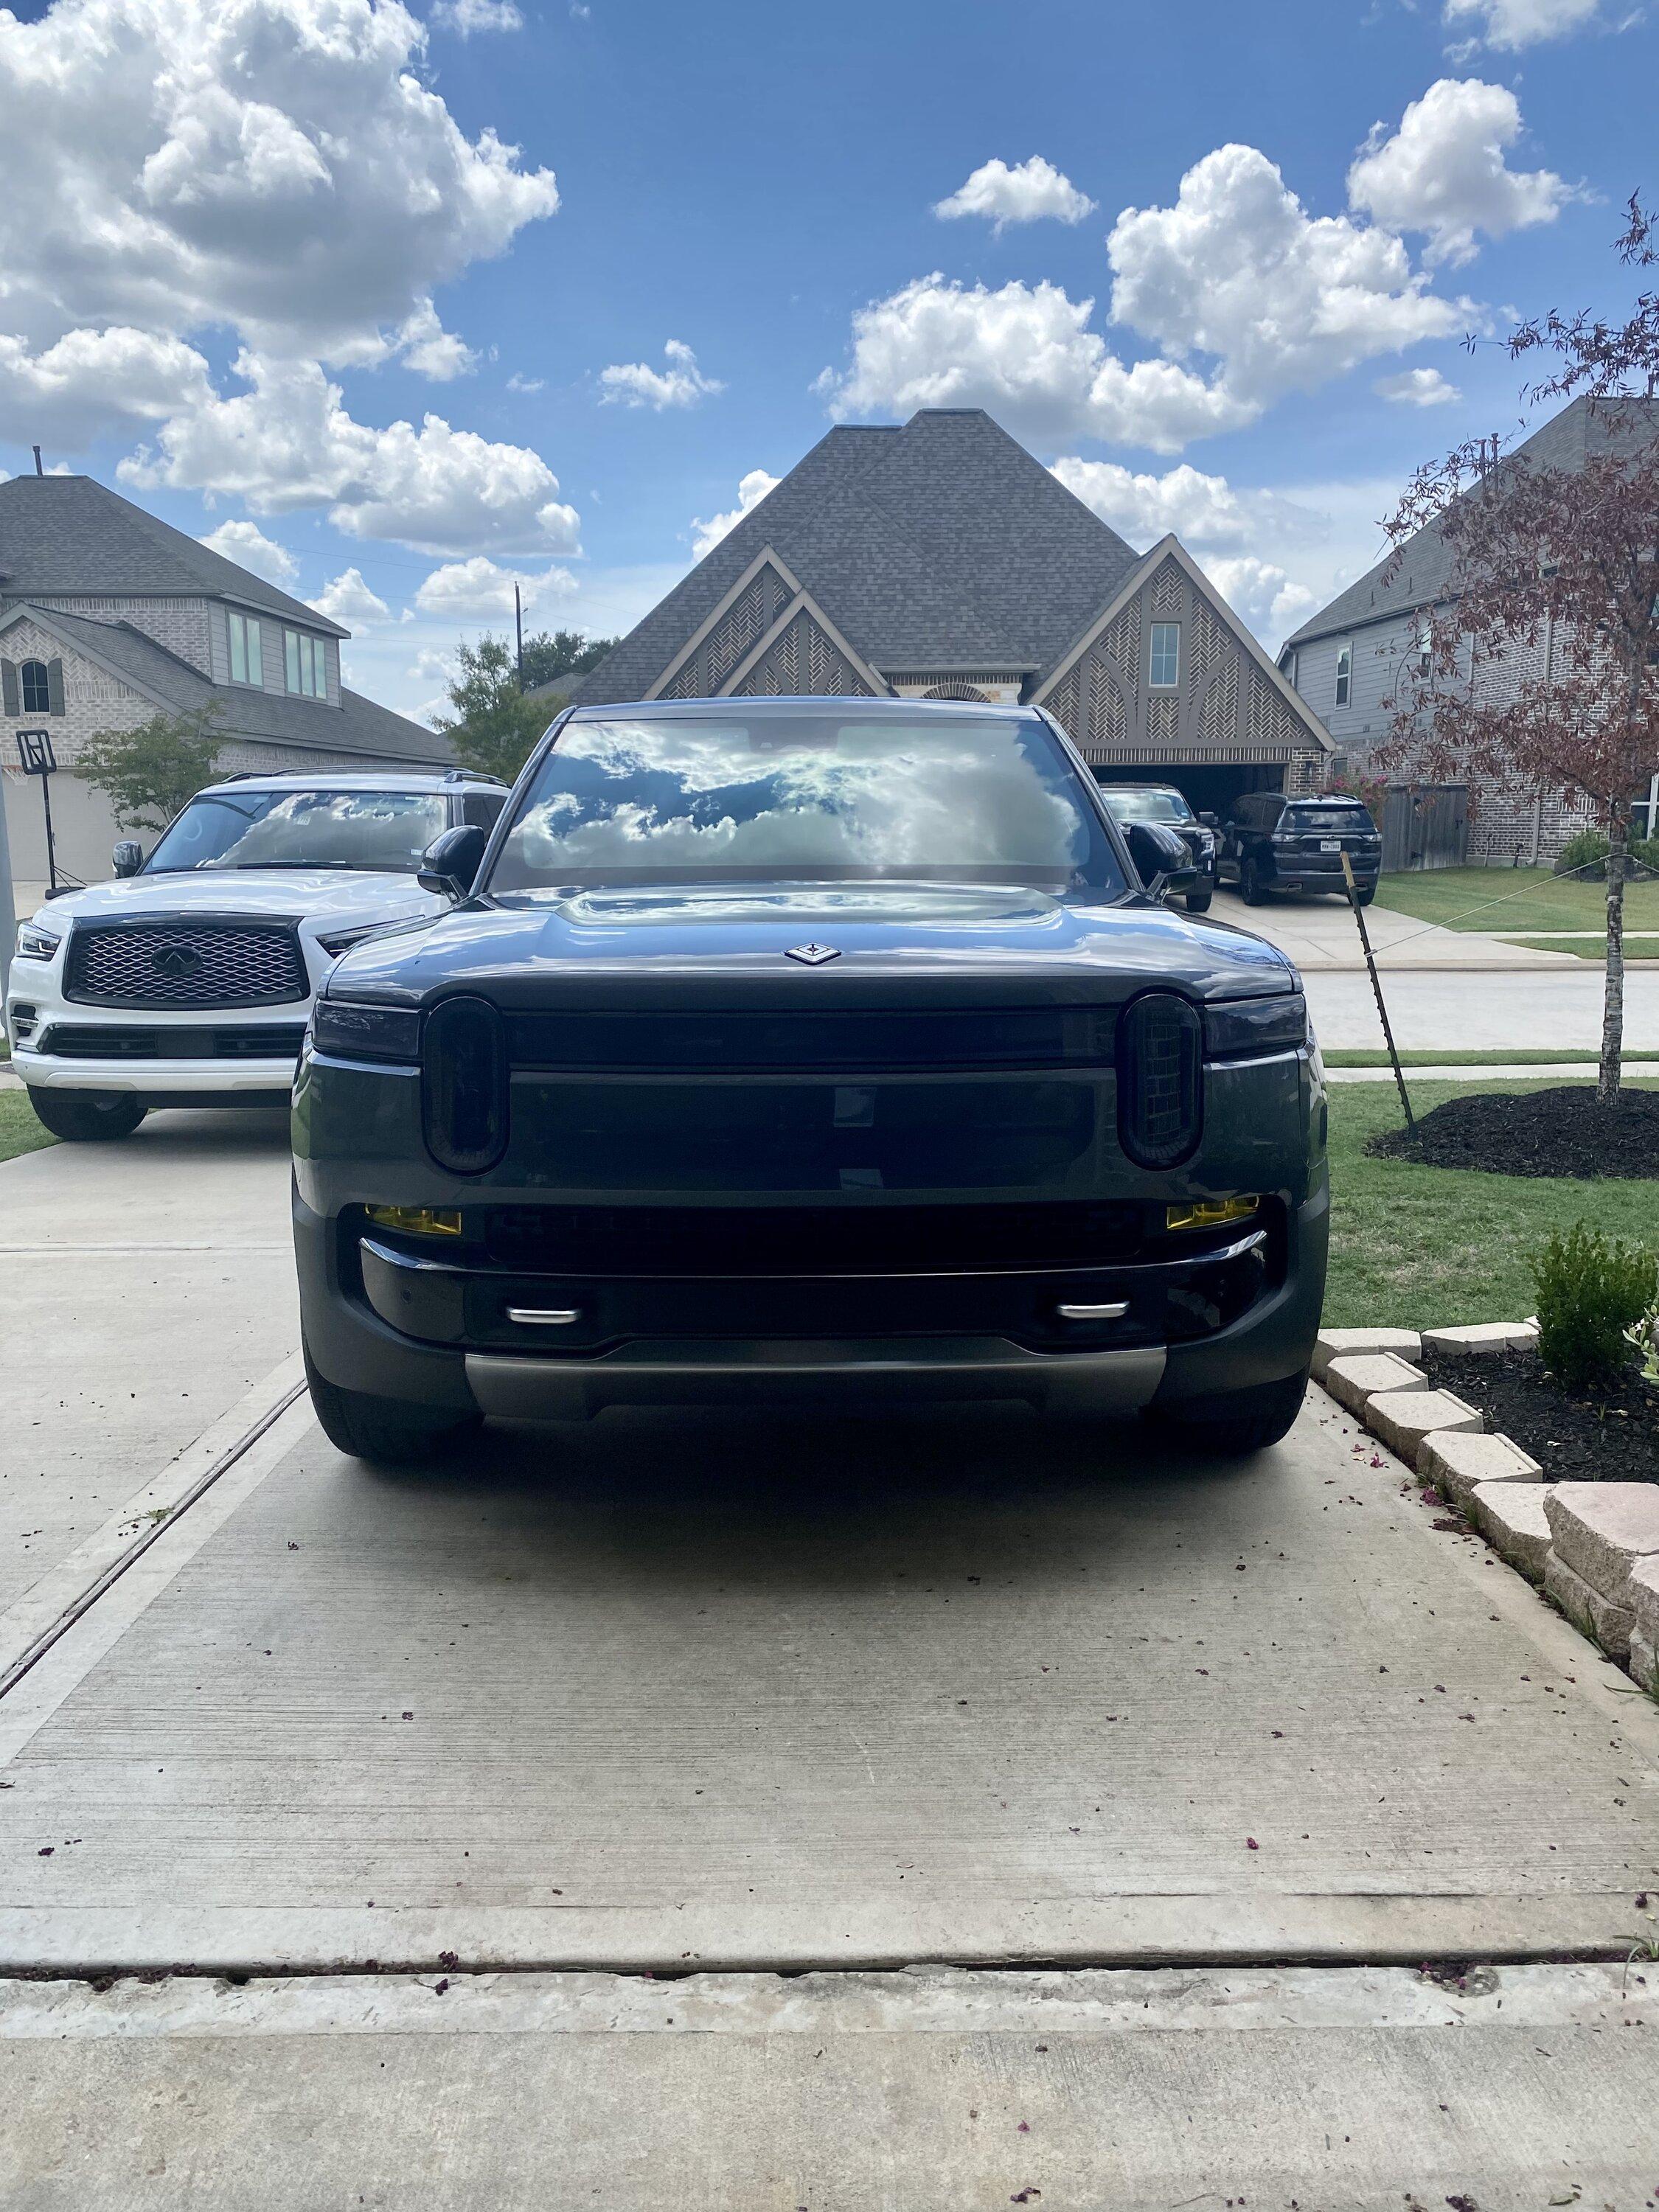
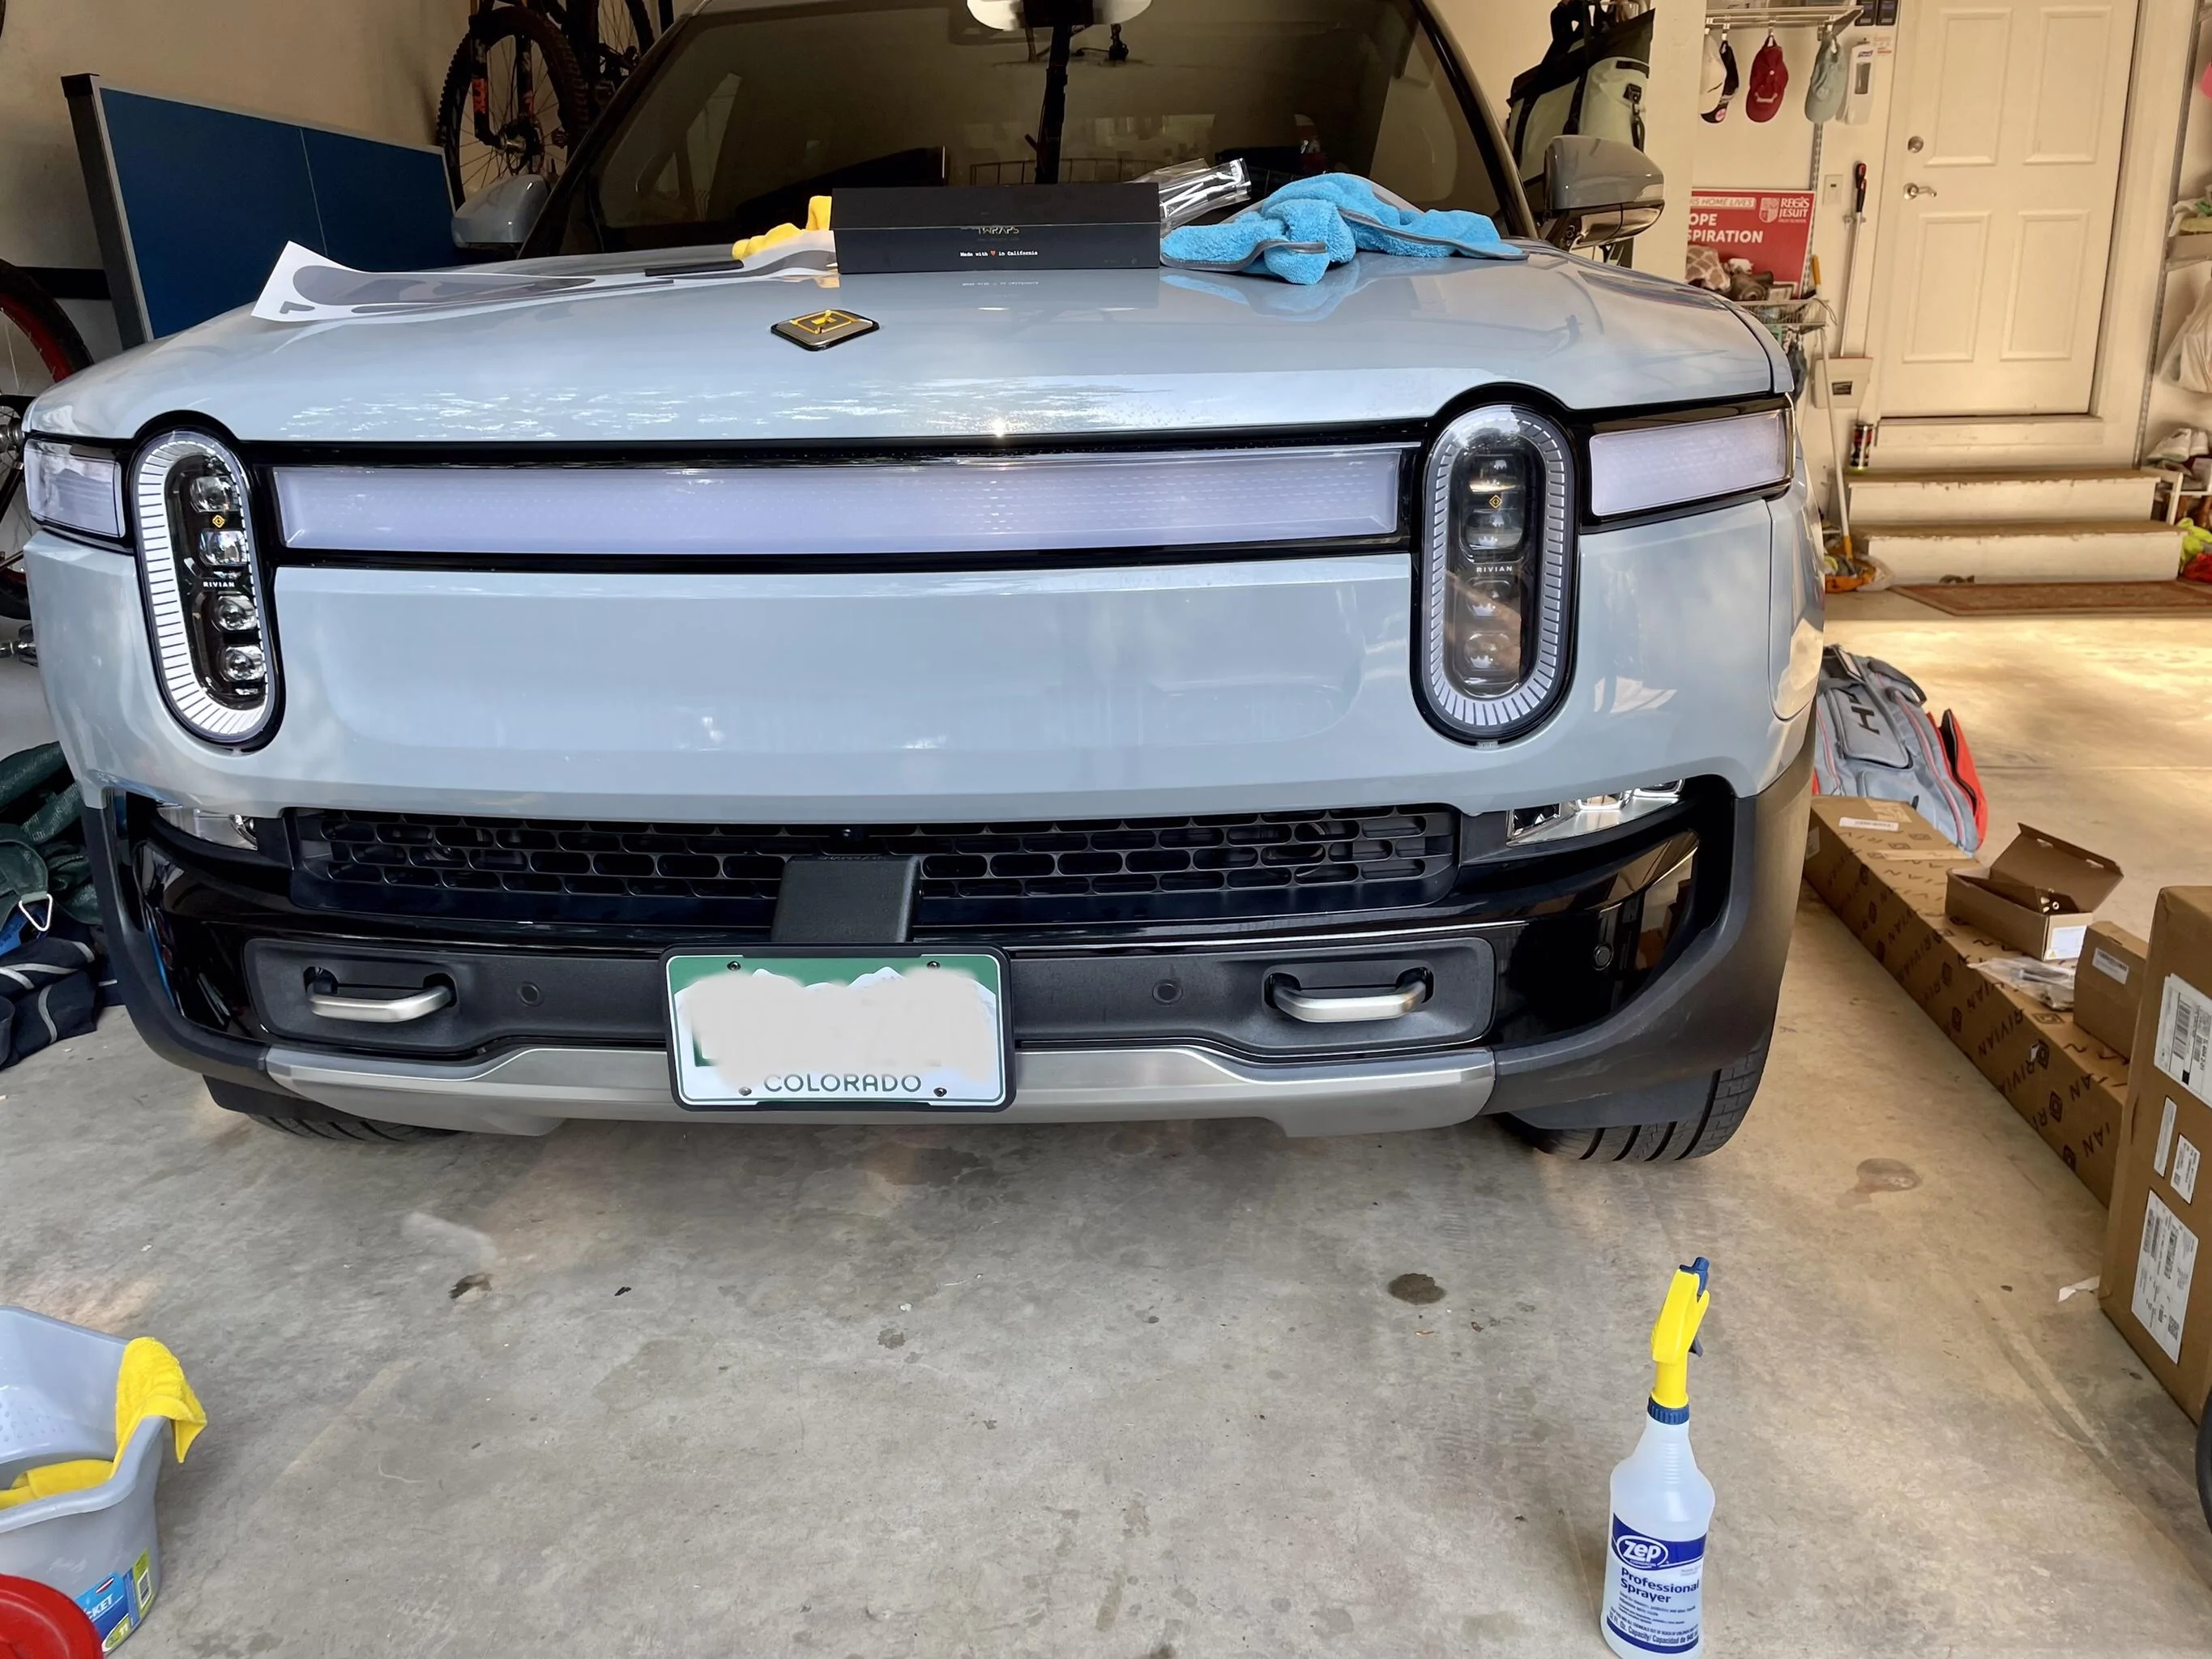
Pic below shows Light Smoke installed in middle light bar and driver headlamp only to show difference to stock (No PPF on driver side bar, passenger side bar, or passenger headlamp yet).
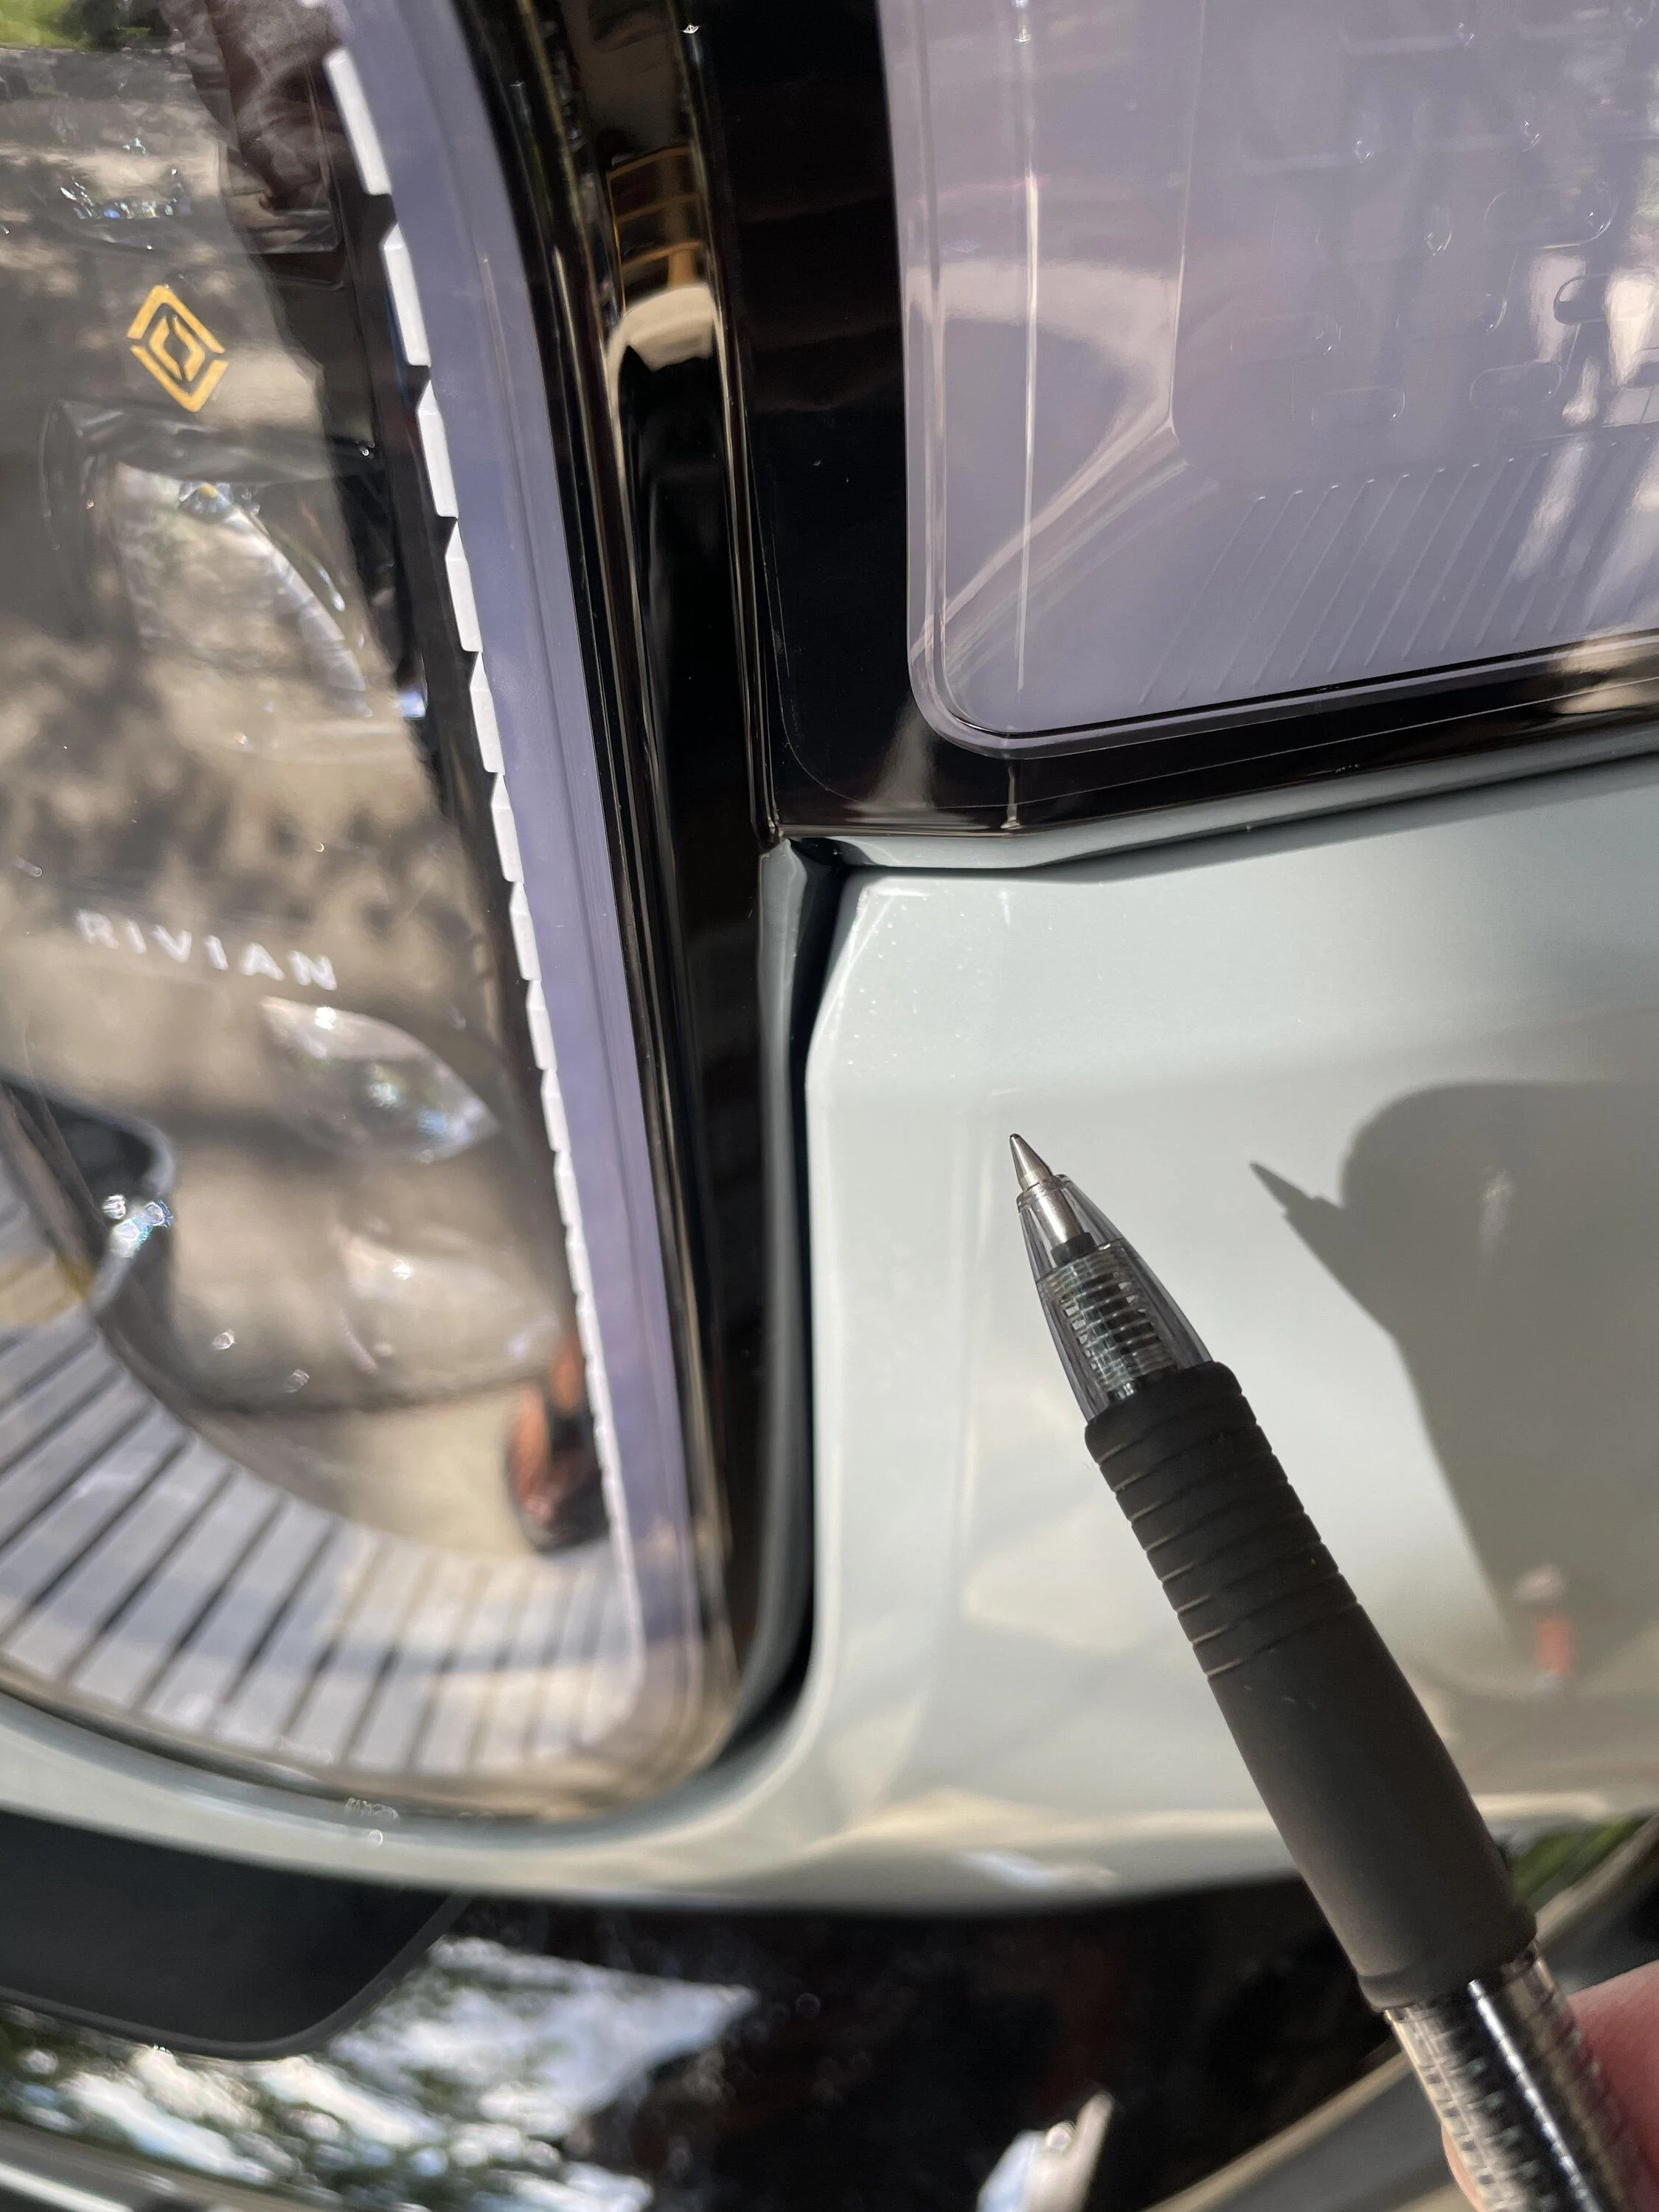
Below two examples where odd angles needed a bit of the hair dryer heat to get PPF to lay flat more easily.

This triple angle is for the full frontal body PPF on one of the two side pieces.
Early feedback is that TWRAPS is a no brainer given quality and expense savings if you have the confidence to DIY. Pucker factor started high but was unwarranted after steep learning curve set in. Having the kit pre cut to the vehicle and a quality material are key. TWRAPS responded super quickly via email with any of my dumb questions.
DIY Install notes below, someone with more experience please chime in and correct any bad advice.
Go slow, be patient. PPF is tough and can be pulled and reinstalled if needed, which I did twice on one of the headlights and it came out great despite being worried about stretching it.
I used a large spray bottle with filtered water and a squirt of Dawn. Others recommend baby shampoo. Kit includes small spray bottles which already include soap just fill with water. Soap gives it slipperyness to move PPF around and softens the adhesive, finding the right amount to also get tack and stickiness is an art but no need to be to finicky. Tack comes when it dries a bit.
Once initial squeegee and placement complete, I then used a hair dryer low settings first on trickier angles and curves to flatten PPF, then on straight lines to flatten angles/curved areas (two shown below). Pros go with a heat gun but I’m already hamfisted so didn’t trust myself on high heat.
Recommend starting on easier/smaller/flatter install areas such as headlights and tailights to get comfortable and then move onto larger more complex body panels.
Do not drop the PPF onto a dirty floor as it will likely need replaced, and note that the small ”P” and “D” PPF indicates Passenger side and Driver side respectively.
Pic below Light Smoke installed.
Pic below shows Light Smoke installed in middle light bar and driver headlamp only to show difference to stock (No PPF on driver side bar, passenger side bar, or passenger headlamp yet).
Below two examples where odd angles needed a bit of the hair dryer heat to get PPF to lay flat more easily.
This triple angle is for the full frontal body PPF on one of the two side pieces.
Sponsored
Last edited: