Sponsored

Master Thread: Review of the EV Sportline RMaxx Running Boards/Sliders (from Team 1EV)

Scoiatael

Well-Known Member
Joined
Sep 20, 2021
Threads
49
Messages
1,162
Reaction score
1,816
Location
Southern CA
Vehicles
2025 R1S, 2024 Mach E
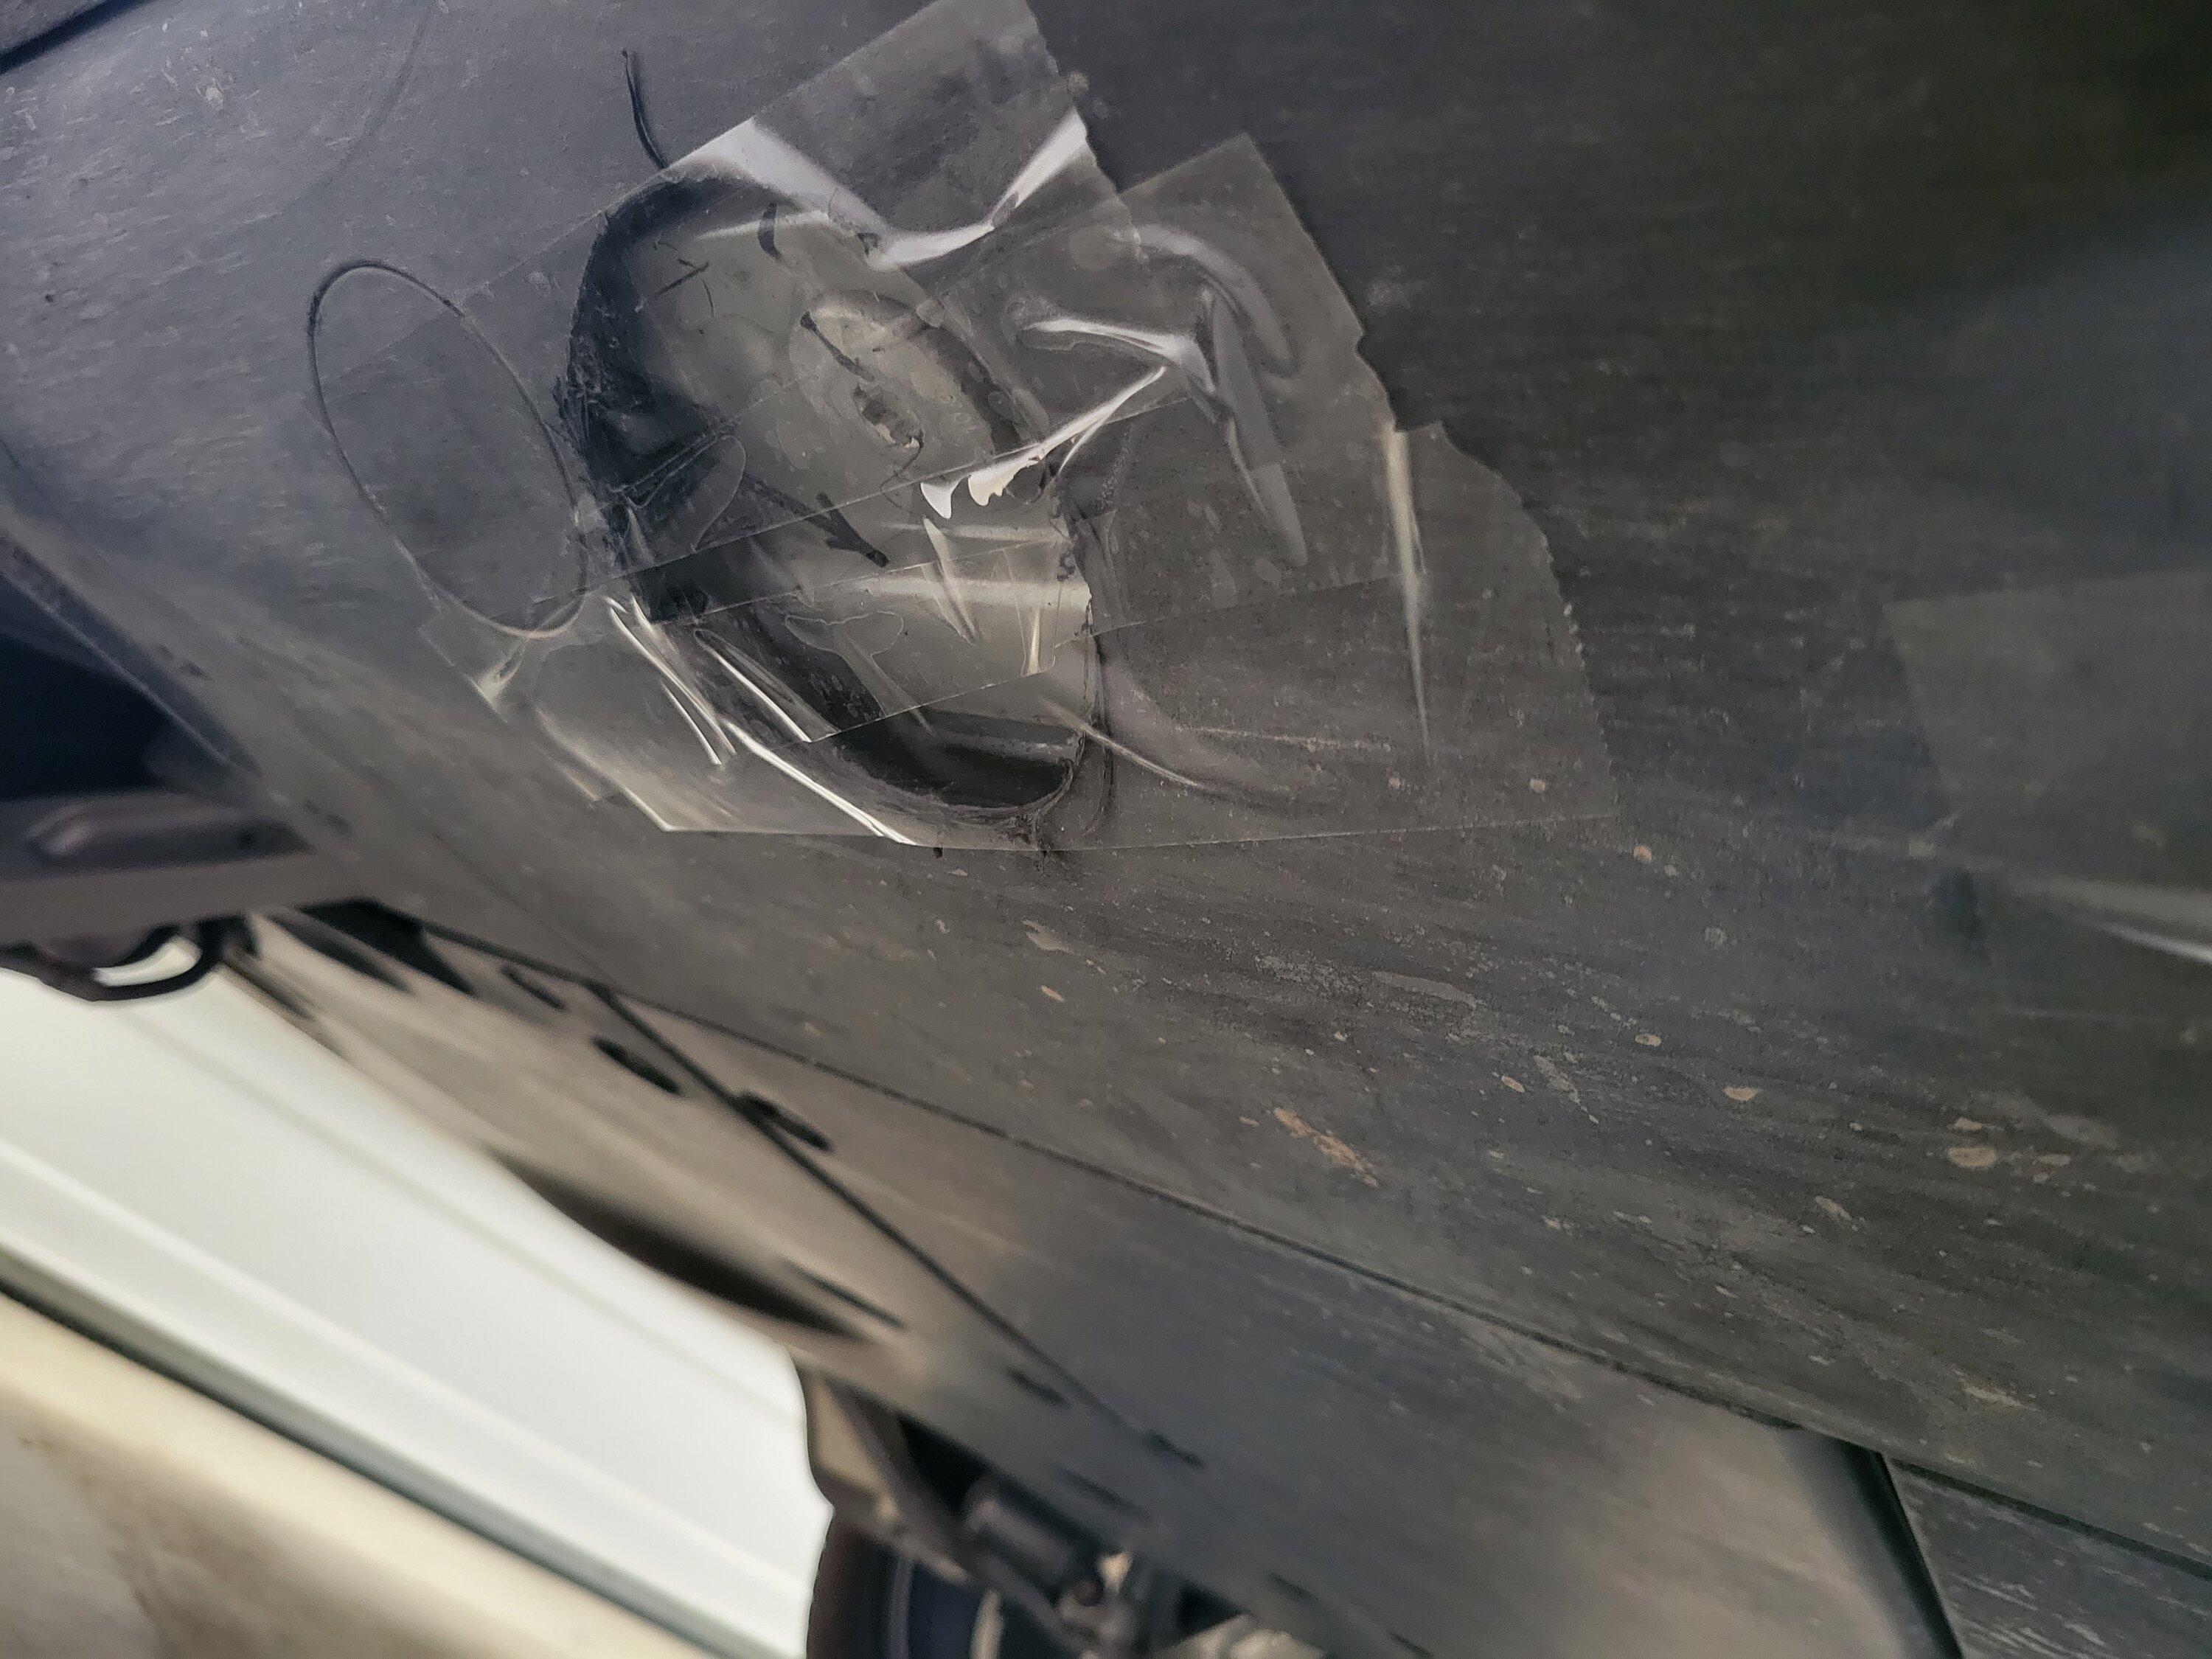
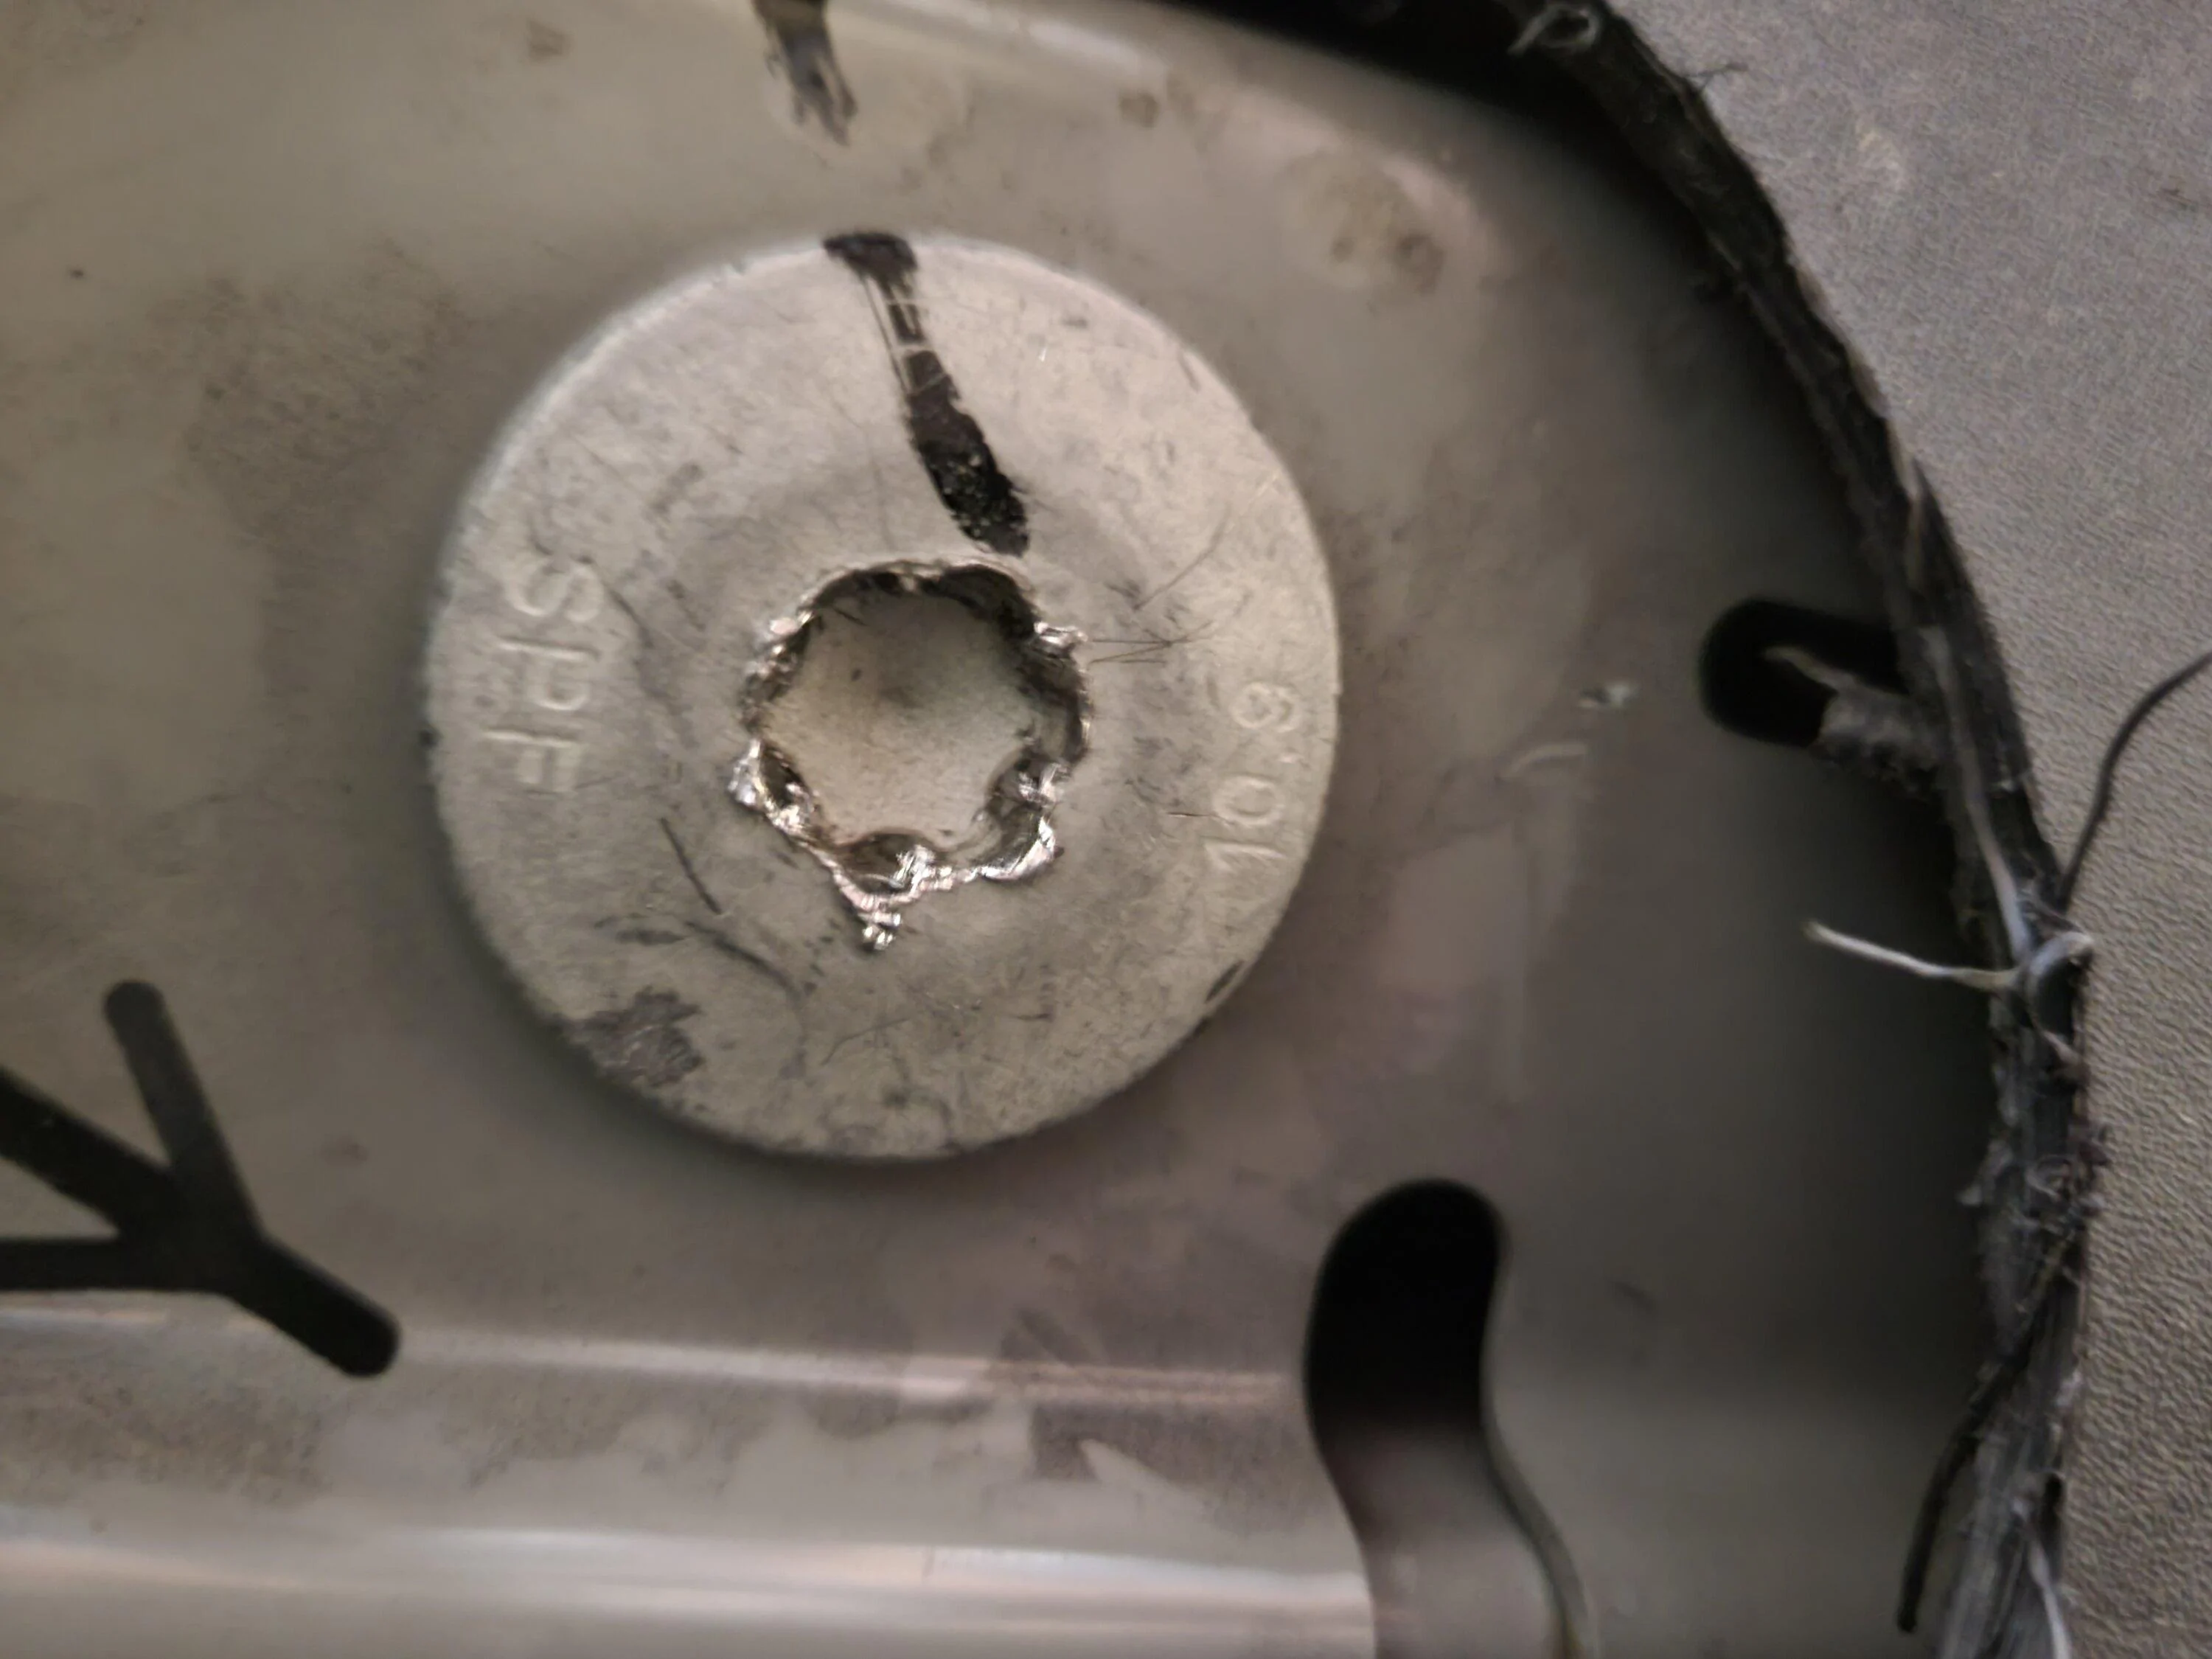
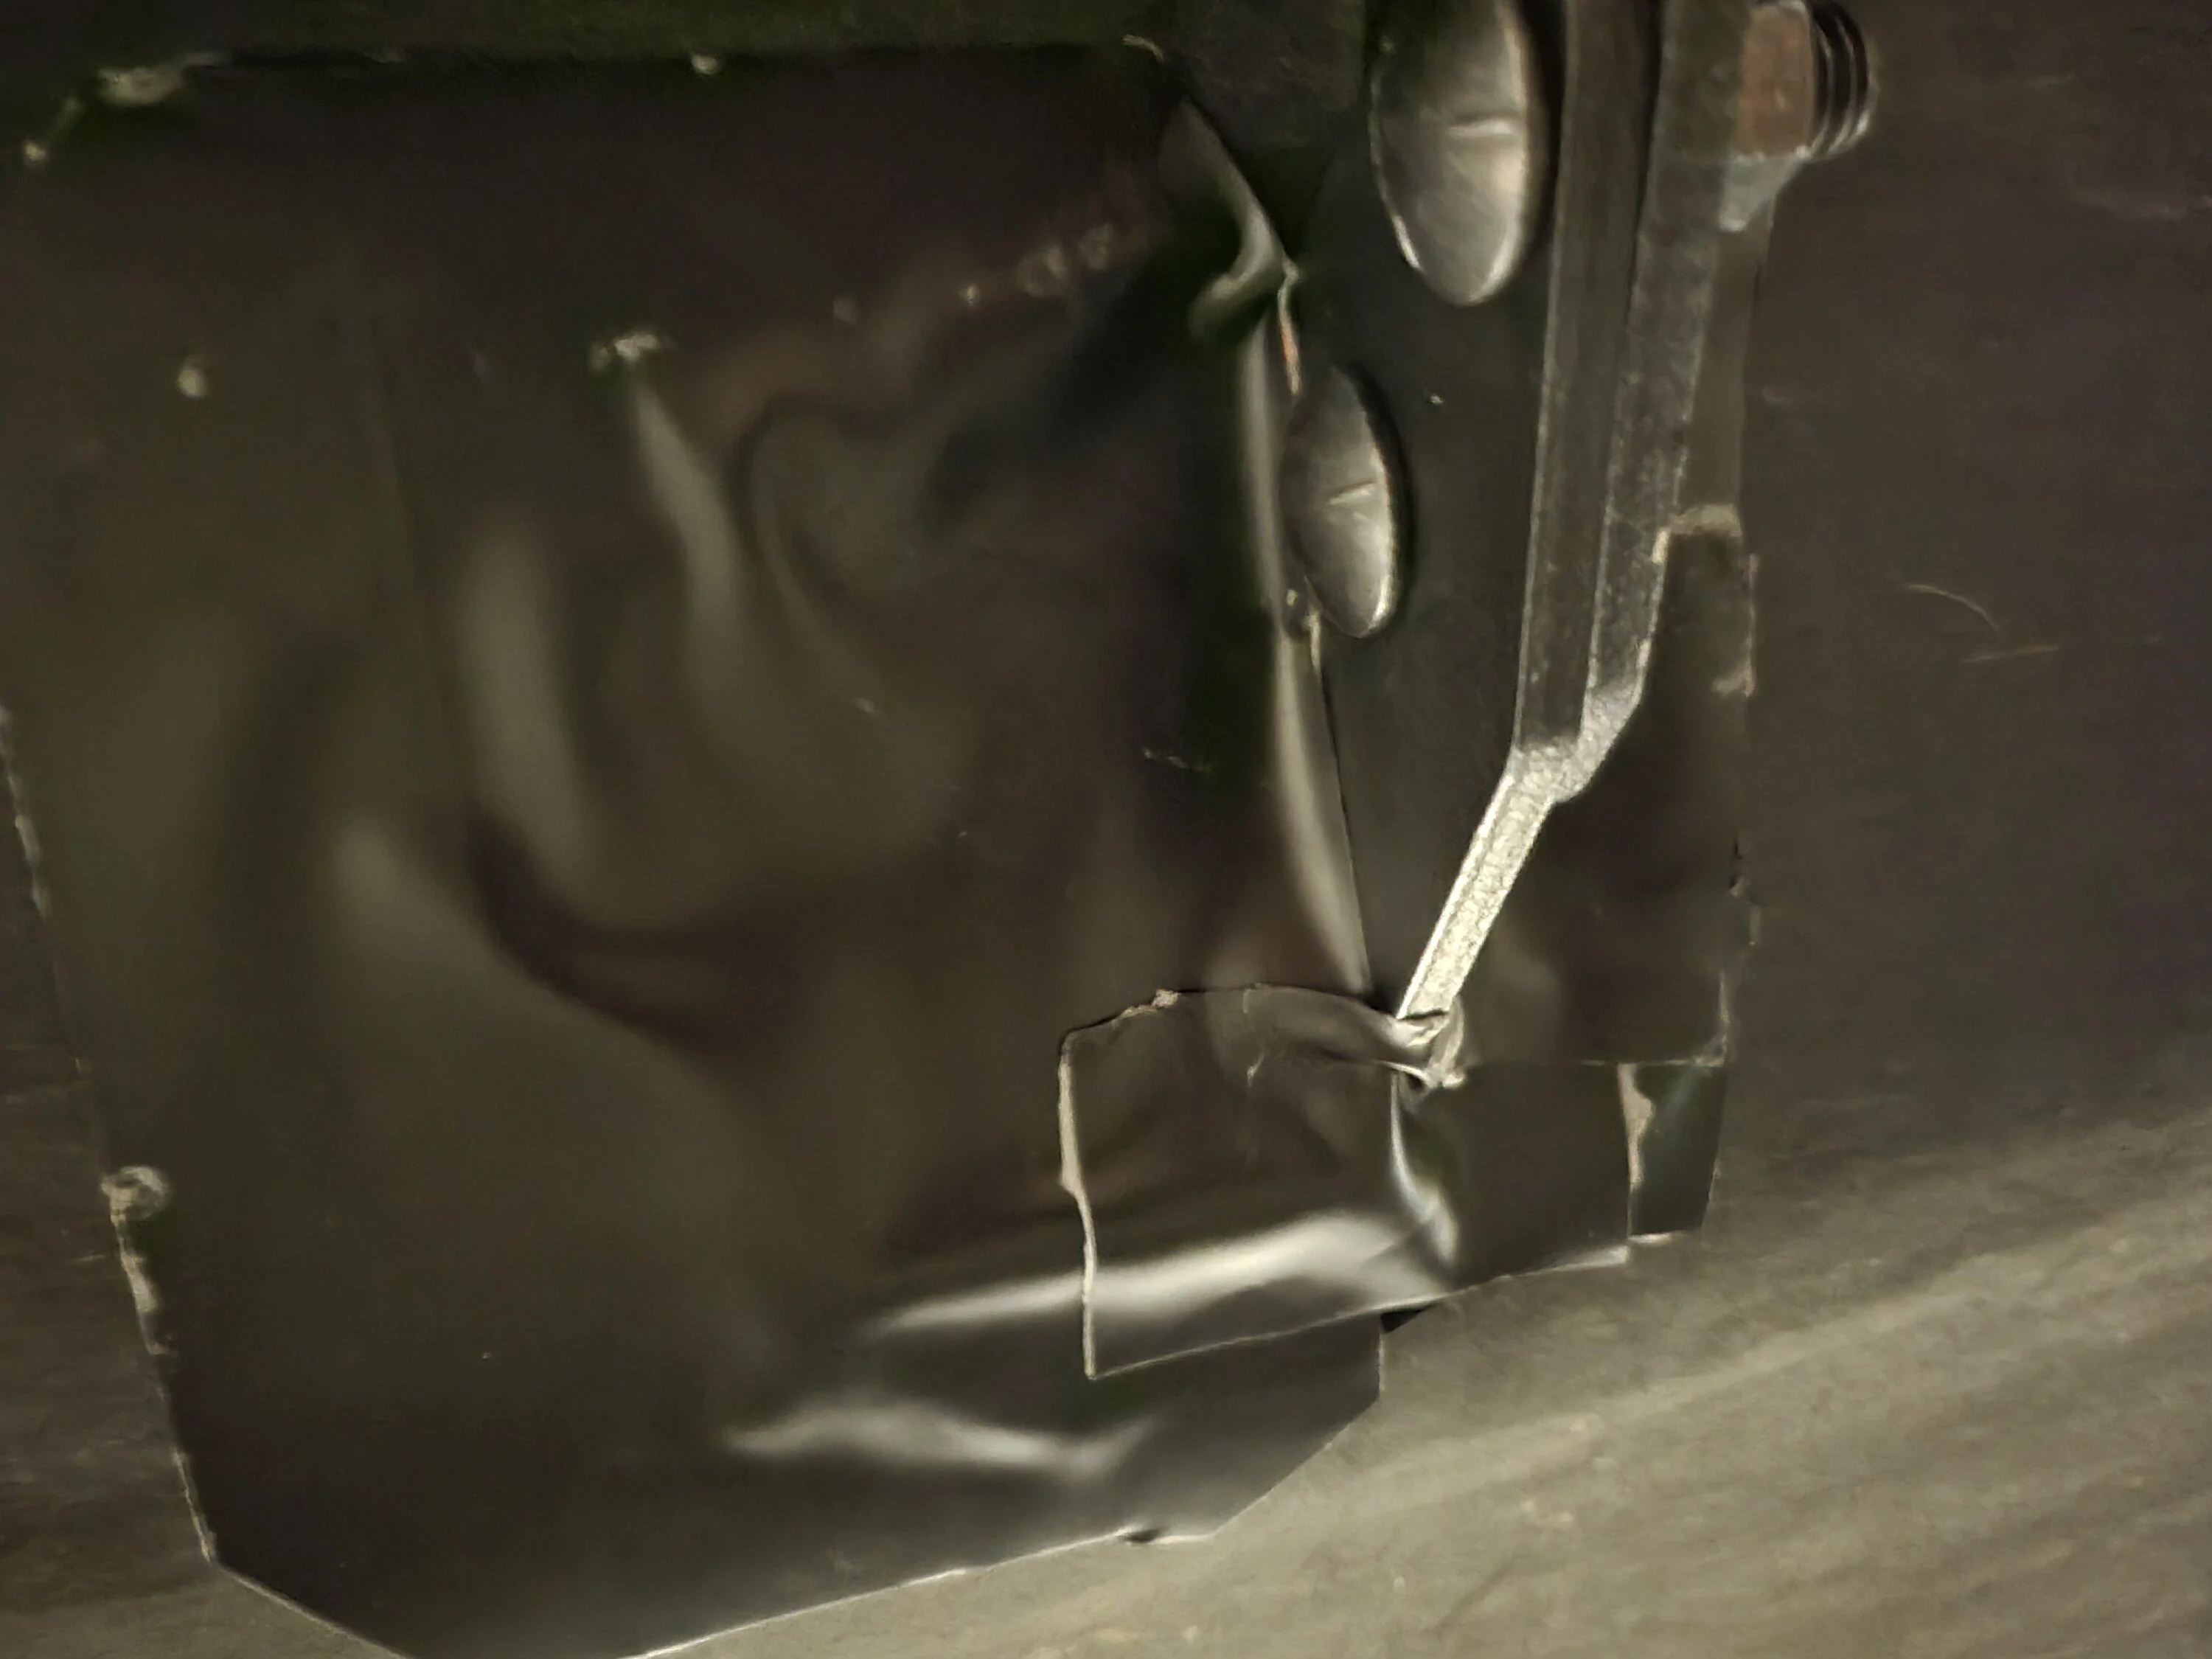
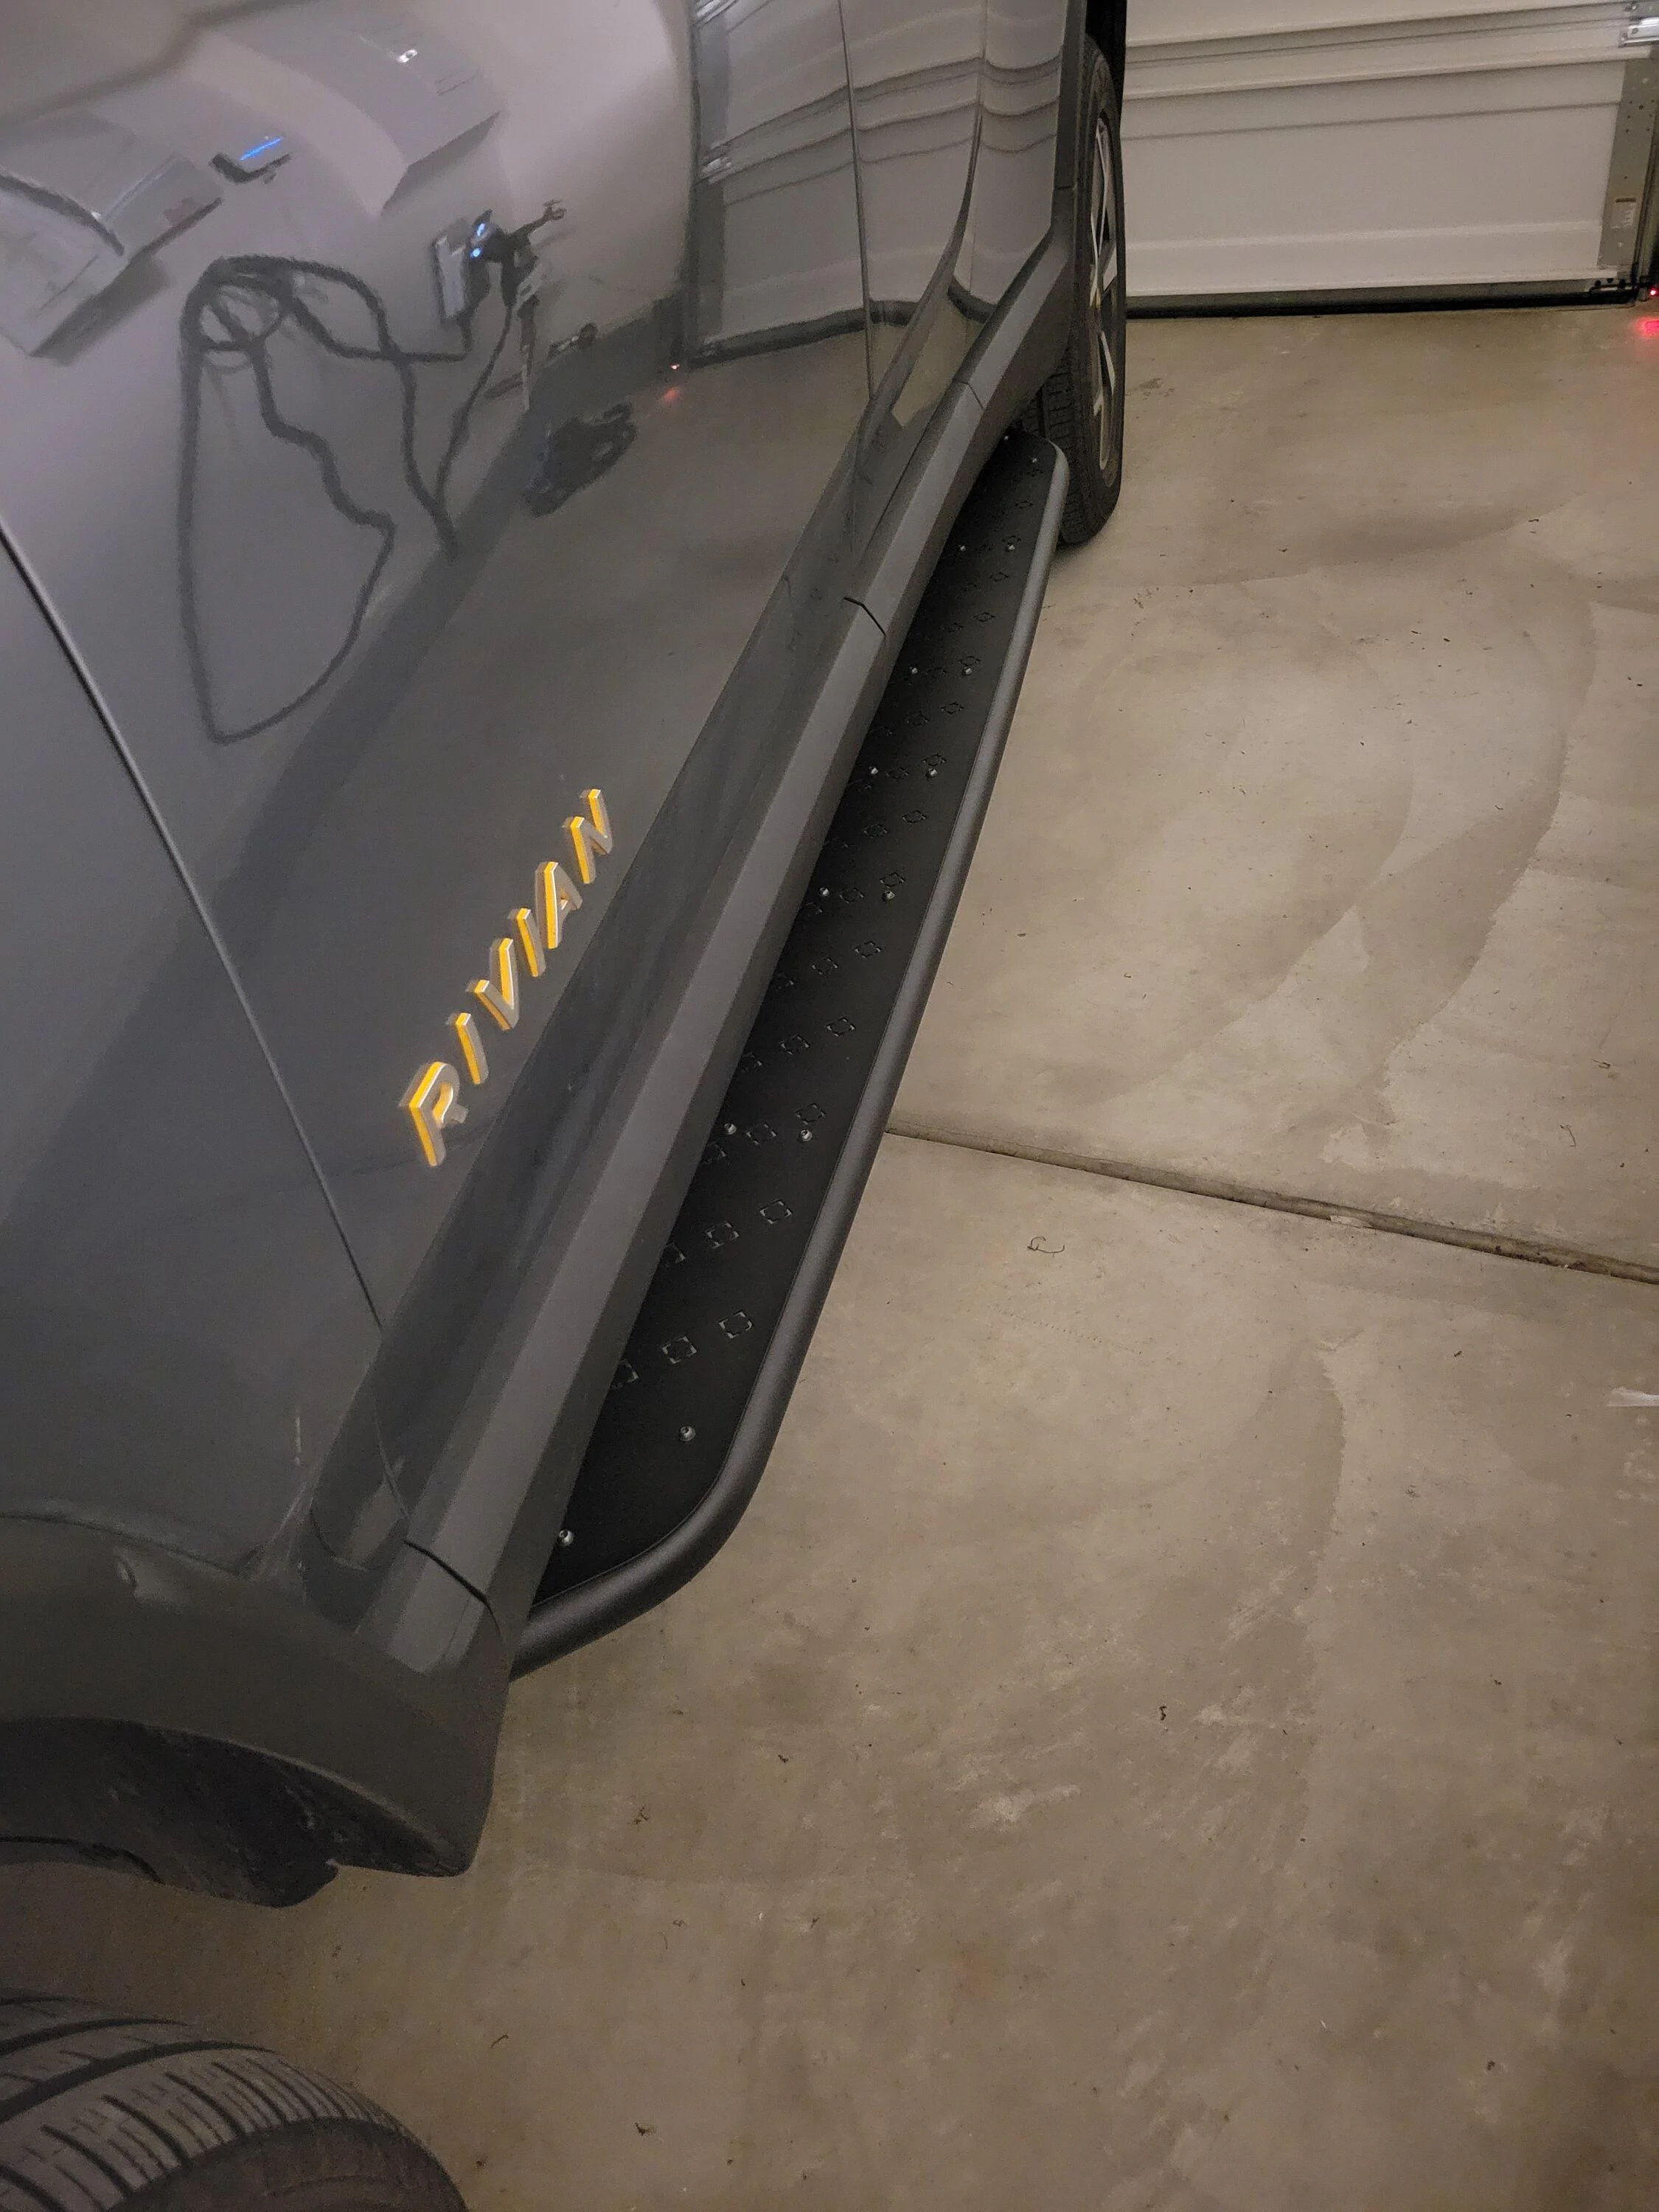
too ashamed to show my tape job underneath .... but in my defense, rushed it one morning during a thunderstorm at 6 am.... Should probably see if I can redo it.
It can't possibly look worse than mine :cool:
Sponsored


mikehmb

Well-Known Member
First Name
Mike
Joined
Jan 12, 2022
Threads
154
Messages
2,303
Reaction score
5,223
Location
SF Bay Area
Vehicles
My name is Mike, and I have a (car) problem
Cross-post

Off topic question for those running 21” Rivian wheels.

So, I picked up a set for summer range and had them mounted yesterday. I drove around running errand ms yesterday (about 40% of battery) on the new wheels. I charged from 35% to 86 percent overnight as I have a busy day today as well. I’m showing 278 miles at 86% which, at 100% equals -324 miles if fully charged. I’m not wearing the aeros and I have the running boards installed. Thoughts? What are your estimated at 100% range (for 21s and 20s)?

B39D9069-C5F3-4361-AFB0-431F8C0DFEFA.jpeg
I pretty consistently get 2.3-2.4 in all-purpose with my 21s, in mixed, every day driving including a lot of short trips and a few long ones mixed in.

It can get pretty close to 3.0 if using Conserve and keeping the speeds 65 and under.
 

connoisseurr

Well-Known Member
First Name
Connor
Joined
Oct 1, 2022
Threads
25
Messages
926
Reaction score
1,322
Location
Northern VA
Vehicles
22 R1T, 23 MYP
Occupation
I encrypt PDFs for Boomers
Clubs
 
Completed my install over the weekend. I spent nearly 2 hours doing panel cuts, as I chose to use the L-shaped cuts. The provided templates were OK and didn't do the best job indicating the locations for cutouts. I used a combination of precision measurement and magnetic bracket location. Definitely more work, but it's a much cleaner install, versus blasting the plastic panel with a 4" hole. L-shaped channels were created with a 1/2" and 3/4" step bit, and rotary saw. Edges were finished with a file and heat gun.

I did encounter an issue with one of the frame bolts, being all the way up against the inside-edge recessed hole on the chassis - requiring one of my brackets needing to be modified. I had to elongate the frame mount bracket bolt hole more inward, to accommodate the shifted frame bolt location.

Otherwise, the installation was effortless, as I had a Milwaukee 1/2" impact, Milwaukee right-angle impact, and a torque wrench for reinstallation of frame bolts

A few other comments about the product:
  • Two chips on step plate edges, that were touched up with wrinkle coat epoxy
  • Minor pitting/chipping on step rail undersides, also coated with wrinkle coat epoxy
  • Surplus of mounting hardware
  • Missing TP55 and T20 driver bits
 
OP
OP
jebinc

jebinc

Well-Known Member
First Name
John
Joined
Oct 5, 2022
Threads
49
Messages
2,310
Reaction score
2,134
Location
Seattle, WA
Vehicles
2021+ Tesla MS Plaid, R1T Adventure
Occupation
Retired
Completed my install over the weekend. I spent nearly 2 hours doing panel cuts, as I chose to use the L-shaped cuts. The provided templates were OK and didn't do the best job indicating the locations for cutouts. I used a combination of precision measurement and magnetic bracket location. Definitely more work, but it's a much cleaner install, versus blasting the plastic panel with a 4" hole. L-shaped channels were created with a 1/2" and 3/4" step bit, and rotary saw. Edges were finished with a file and heat gun.

I did encounter an issue with one of the frame bolts, being all the way up against the inside-edge recessed hole on the chassis - requiring one of my brackets needing to be modified. I had to elongate the frame mount bracket bolt hole more inward, to accommodate the shifted frame bolt location.

Otherwise, the installation was effortless, as I had a Milwaukee 1/2" impact, Milwaukee right-angle impact, and a torque wrench for reinstallation of frame bolts

A few other comments about the product:
  • Two chips on step plate edges, that were touched up with wrinkle coat epoxy
  • Minor pitting/chipping on step rail undersides, also coated with wrinkle coat epoxy
  • Surplus of mounting hardware
  • Missing TP55 and T20 driver bits

Link to said “wrinkle coat epoxy” used? Pictures of the touched up area so we can see how well said touch up epoxy matches?
 

doit82

Well-Known Member
Joined
Jul 12, 2022
Threads
11
Messages
508
Reaction score
499
Location
Vermont
Vehicles
Model Y, R1T
TLDR; Running boards are great, installation takes a while if you aren't used to doing similar things. Get a breaker bar to loosen the body bolts. Total installation time around 5 hours spread across 4 days.

Finally finished my installation. Ended up splitting things into steps across 4 days. This is the first modification I've ever done to a vehicle on the exterior.

Day 1 - Unpack everything, screw the faceplates onto the running board body. Took roughly 45 minutes to unpack, screw everything on and pack it back up in the box.

20230411_200043.jpg


Day 2 - Drill holes for to access the bolts for the brackets. Used a 100mm hole saw from Amazon. Once I figured out how to properly orientate the guides I printed from the ev sportsline website, things went pretty smoothly. I covered the holes with shipping tape to temporarily keep everything clean. Overall I think this took about an hour.


20230412_135252.jpg


Day 3 - Unscrew the body bolts and attach the running board brackets. I managed to successfully do this with a small 3/8 drive ratchet wrench for 3 of the bolts on the passenger side, but ended up stripping the last bolt badly. Ended up getting a $15 breaker bar from Walmart and made short work of the driver side bolts. Overall this took about 1.5 hours. Would have been faster if I just started with the breaker bar and if Amazon had delivered my torque wrench instead of an empty box.

20230413_134856.jpg


Day 4 - Talked with the engineer who designed the running boards, and he confirmed it would be fine if I just attached 3 of the 4 passenger brackets. Great customer support from ev sportsline in this matter. Ended up using a box for a desk to hold up the running boards, I put the truck in low setting, and was able to attach them pretty easily. I used an old adjustable wrench I had to tighten the nuts. Attached the passenger running boards before lunch and the driver side ones after dinner. I ended up using the gorilla tape method of sealing the holes, which ended up looking pretty messy. Overall this was probably another 2 hours.


20230414_190511.jpg


Tools I used, hole saw and drill not pictured. I ended up using the foam padding from the box to sit on and lean on while under the truck.

20230414_195234.jpg


How the unattached bracket looks
20230414_195349.jpg


My horrible gorilla tape job

20230414_204146.jpg


Finished product. Very happy with the running boards, they feel infinitely more sturdy than the ones I had on my F150 Lariat and Chevy Colorado.


20230414_140228.jpg


20230414_204946.jpg
Great write up. Embarrassed to admit i stripped a bolt as well so Im also running 3 of 4 brackets on the driver side. I stripped the third from the front which seems like if you are missing one that (or the 4th) is the best given the close proximity of the last two brackets.
 

Sponsored

connoisseurr

Well-Known Member
First Name
Connor
Joined
Oct 1, 2022
Threads
25
Messages
926
Reaction score
1,322
Location
Northern VA
Vehicles
22 R1T, 23 MYP
Occupation
I encrypt PDFs for Boomers
Clubs
 
Link to said “wrinkle coat epoxy” used? Pictures of the touched up area so we can see how well said touch up epoxy matches?
PJ1 Fast Black Wrinkle. I've used this a dozen times on anything black wrinkle coated (bumpers, hitch mounts, engine bay parts, etc.). Super durable and is always a near match.

Truck is with PPF shop for the next week, so I'll grab a few photos when it comes back.
 
Last edited:
OP
OP
jebinc

jebinc

Well-Known Member
First Name
John
Joined
Oct 5, 2022
Threads
49
Messages
2,310
Reaction score
2,134
Location
Seattle, WA
Vehicles
2021+ Tesla MS Plaid, R1T Adventure
Occupation
Retired
Never got a chance to post pictures of my install, but it’s nothing we haven’t seen before…

IMG_2992.jpeg

IMG_2994.jpeg
Looks great, but where are the welting and Gorilla patch pictures?!
 
Last edited:

connoisseurr

Well-Known Member
First Name
Connor
Joined
Oct 1, 2022
Threads
25
Messages
926
Reaction score
1,322
Location
Northern VA
Vehicles
22 R1T, 23 MYP
Occupation
I encrypt PDFs for Boomers
Clubs
 
Looks great, but where are the welting and Gorilla patch pictures?!
Didn't snap yet. No welting mod for me (yet). I'm having a hard time getting myself to like it. Also instead of 4" holes, I opted to cut the "L channels for each bracket, so minimal Gorilla patch was needed.
 

dleepnw

Well-Known Member
Joined
May 13, 2021
Threads
148
Messages
3,012
Reaction score
3,420
Location
WA
Vehicles
Rivian, Toyota, Lexus
Clubs
 
Didn't snap yet. No welting mod for me (yet). I'm having a hard time getting myself to like it. Also instead of 4" holes, I opted to cut the "L channels for each bracket, so minimal Gorilla patch was needed.
did remove the panels to cut the L channels or cut them while still attached to the truck?
 

Sponsored

the_mace

Well-Known Member
First Name
Rob
Joined
Apr 8, 2022
Threads
11
Messages
414
Reaction score
343
Location
Boston, MA
Vehicles
Tesla Model S75D, Ford F350 Diesel, Mercedes GLC30
Occupation
CTO
What are people paying on shipping on the EVSportline running boards? I ordered in march and they charged $206.27 for shipping plus $16 shipping insurance. They havent shipped yet.
 
OP
OP
jebinc

jebinc

Well-Known Member
First Name
John
Joined
Oct 5, 2022
Threads
49
Messages
2,310
Reaction score
2,134
Location
Seattle, WA
Vehicles
2021+ Tesla MS Plaid, R1T Adventure
Occupation
Retired
What are people paying on shipping on the EVSportline running boards? I ordered in march and they charged $206.27 for shipping plus $16 shipping insurance. They havent shipped yet.
Zero. Preorders didn’t pay shipping - but we waited a long while. Those numbers seem reasonable, given the weight and box size. It’s a beast!
 

LL75

Well-Known Member
First Name
lance
Joined
Sep 21, 2022
Threads
44
Messages
1,756
Reaction score
1,282
Location
Dallas
Vehicles
R1S, R1T, Silverado, F150, RangeRover Evoque
What are people paying on shipping on the EVSportline running boards? I ordered in march and they charged $206.27 for shipping plus $16 shipping insurance. They havent shipped yet.
According to the owner, it should be end of this month. Yes, I got charged as well 2 months ago.
 

the_mace

Well-Known Member
First Name
Rob
Joined
Apr 8, 2022
Threads
11
Messages
414
Reaction score
343
Location
Boston, MA
Vehicles
Tesla Model S75D, Ford F350 Diesel, Mercedes GLC30
Occupation
CTO
Zero. Preorders didn’t pay shipping - but we waited a long while. Those numbers seem reasonable, given the weight and box size. It’s a beast!
The heavier (124lbs vs 76lbs for 1EV running boards) Weistec rock sliders are $169.47 to ship to the same address. I dont need rock sliders and they're more expensive. I was just comparing the shipping costs.
Sponsored


Top