BeanEW
Well-Known Member
- First Name
- Eugene
- Joined
- Nov 16, 2020
- Threads
- 20
- Messages
- 495
- Reaction score
- 599
- Location
- SF California
- Vehicles
- R1S
- Occupation
- Retired
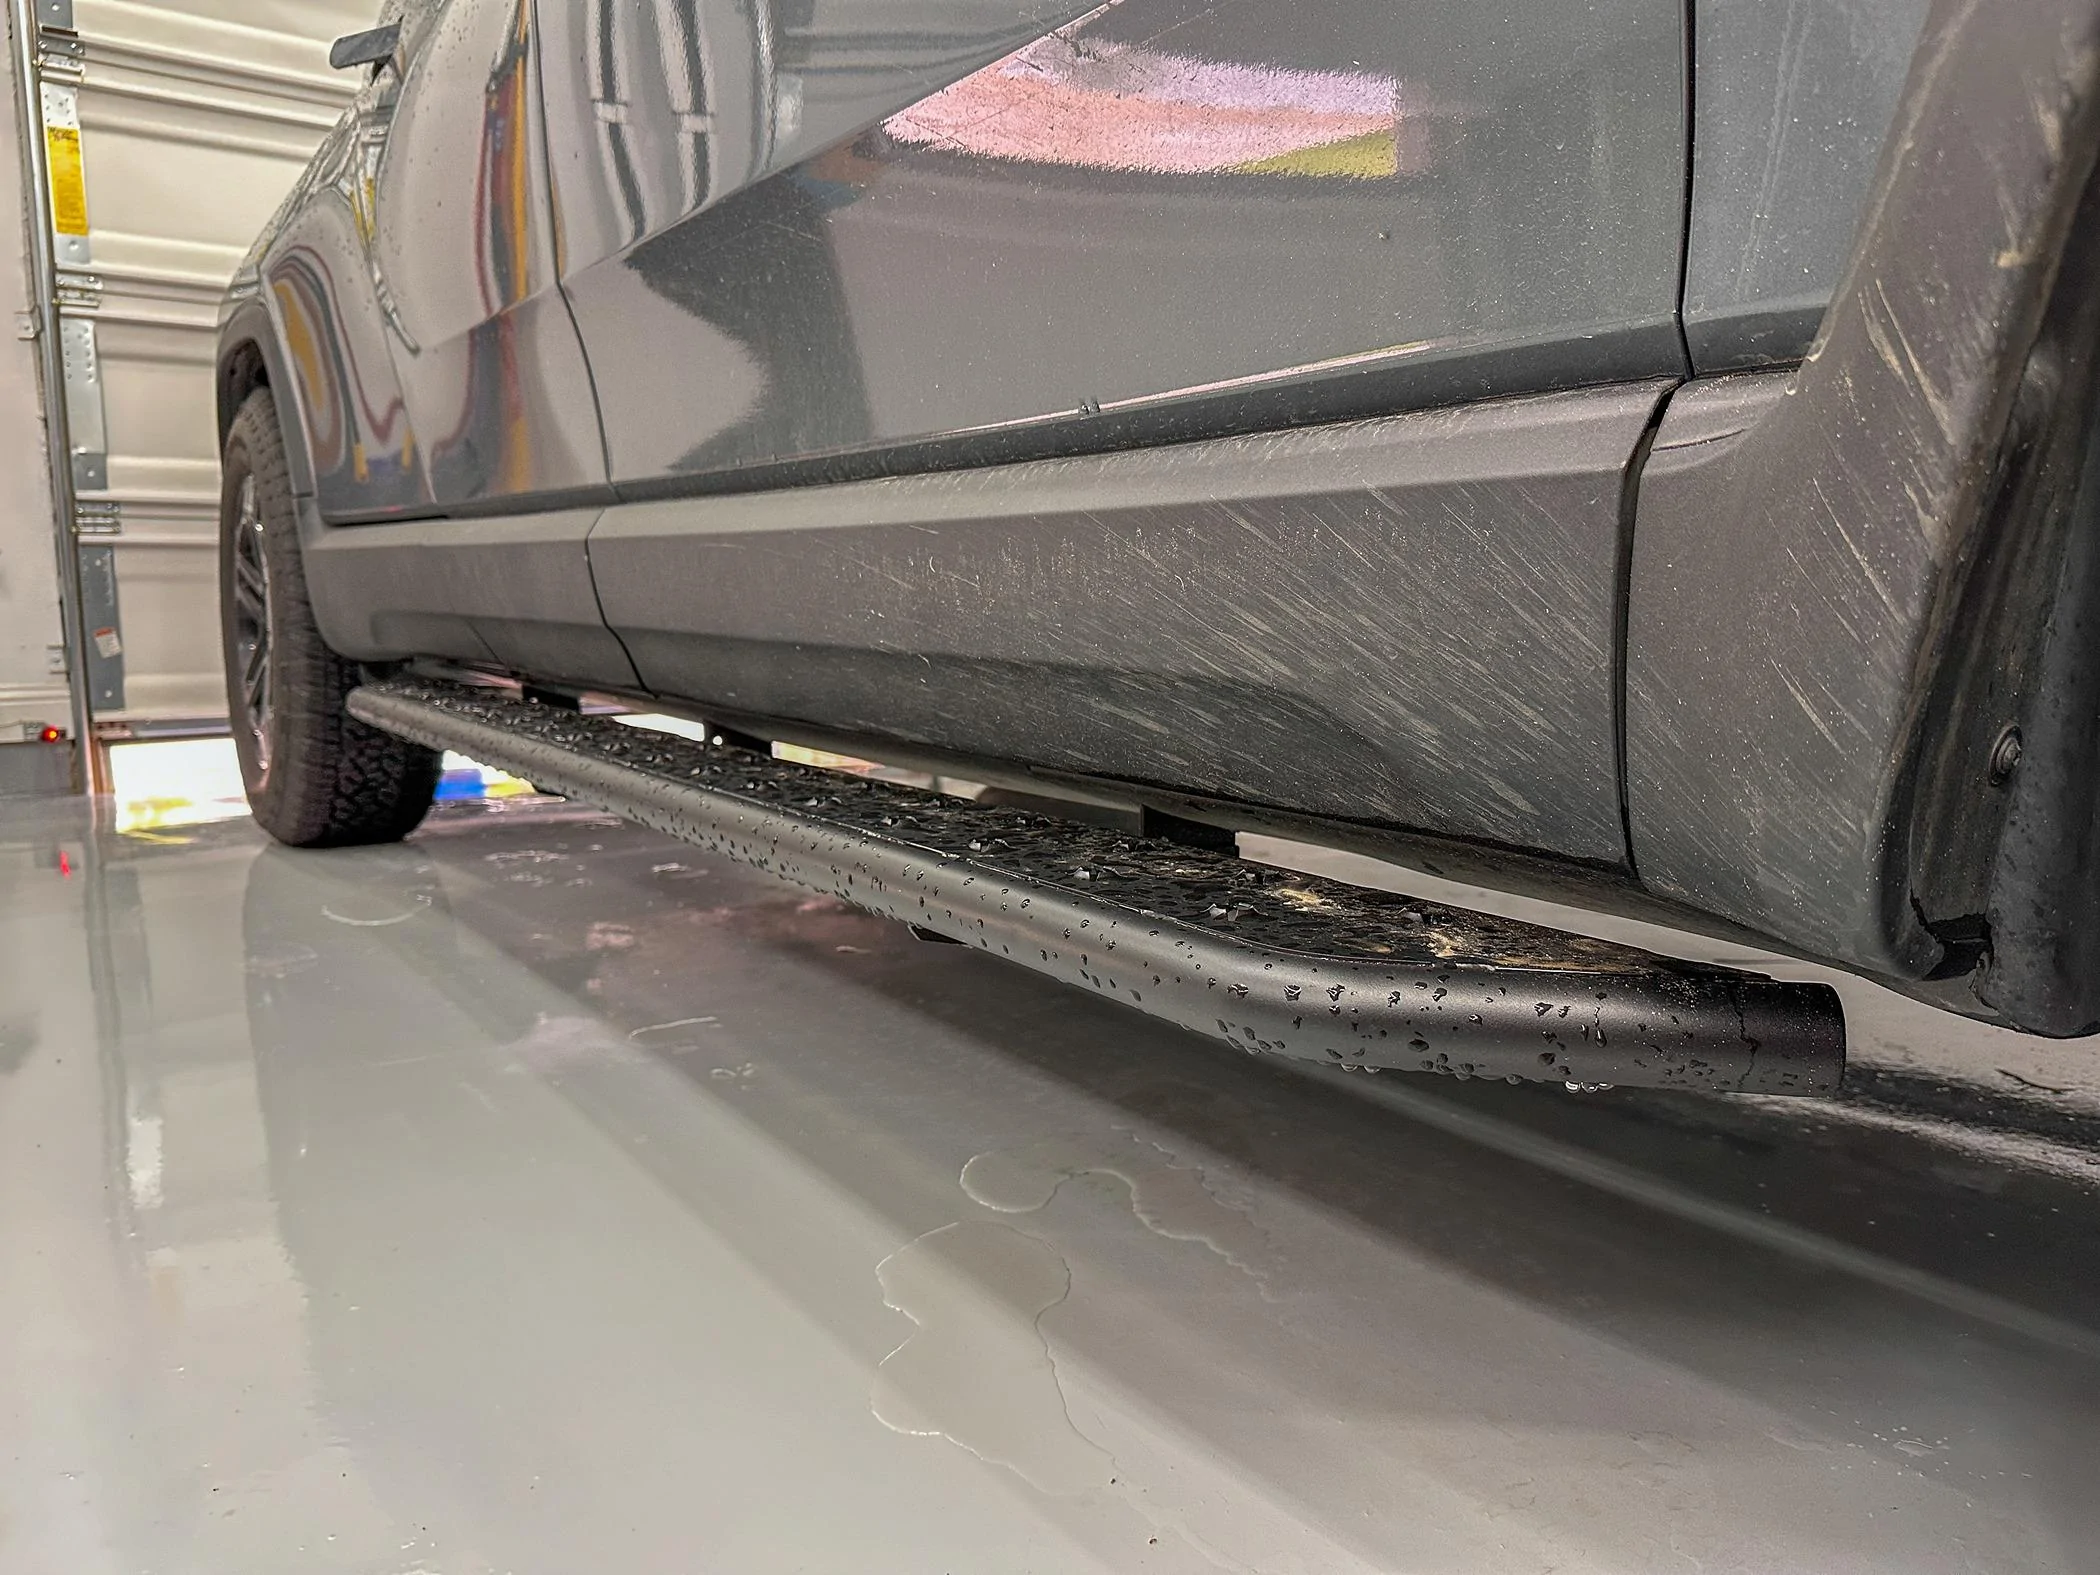
stainless steel and the non-slip surface. The installation video was icing on the cake.May I ask what made you consider these over the EV Sportline boards?
Sponsored