GA_Rivian
Well-Known Member
- Thread starter
- #1
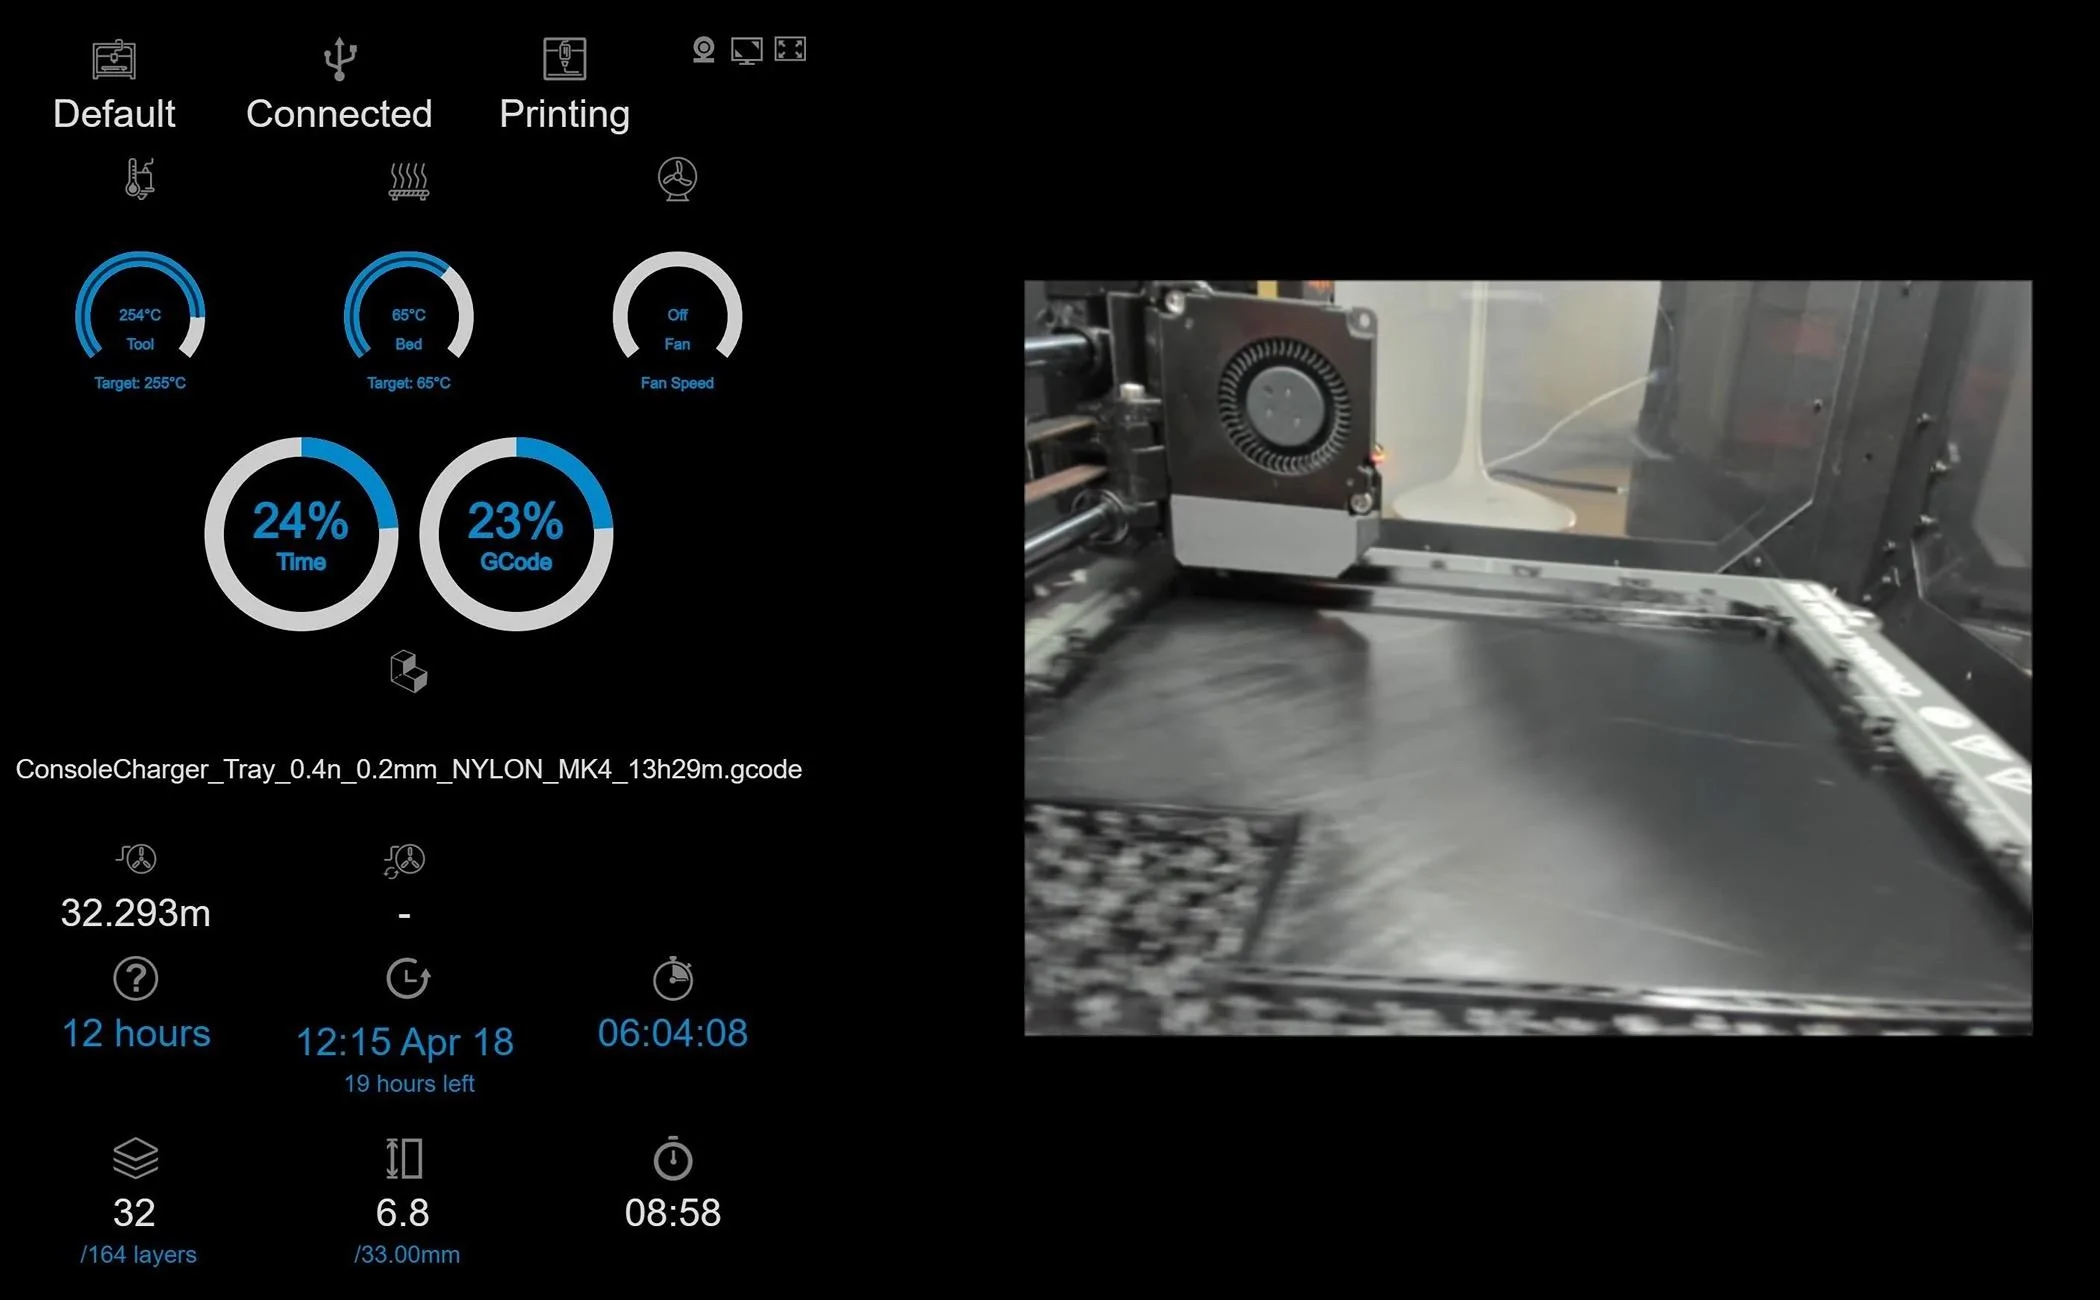
I pulled out the console puck charger in our R1T because neither of our phones can use it, and decided to turn the space into a small tray.
Model (FreeCAD) and .stl file on printables.com. It's not a uniform space, unfortunately; the bumps on the side are to accomodate protrusions, and the box in the back is for the original USB connector; I didn't want to push it down below because it might interfere with the pop-out drink tray. Not perfect, but usable.

Model (FreeCAD) and .stl file on printables.com. It's not a uniform space, unfortunately; the bumps on the side are to accomodate protrusions, and the box in the back is for the original USB connector; I didn't want to push it down below because it might interfere with the pop-out drink tray. Not perfect, but usable.

Sponsored

")
