OP
OP
HighVoltOverland
Well-Known Member
- Joined
- Jul 6, 2021
- Threads
- 21
- Messages
- 752
- Reaction score
- 1,564
- Location
- Laguna Beach
- Vehicles
- GW/OC R1T | Tesla MY
- Occupation
- Retired-ish
- Thread starter
- #16
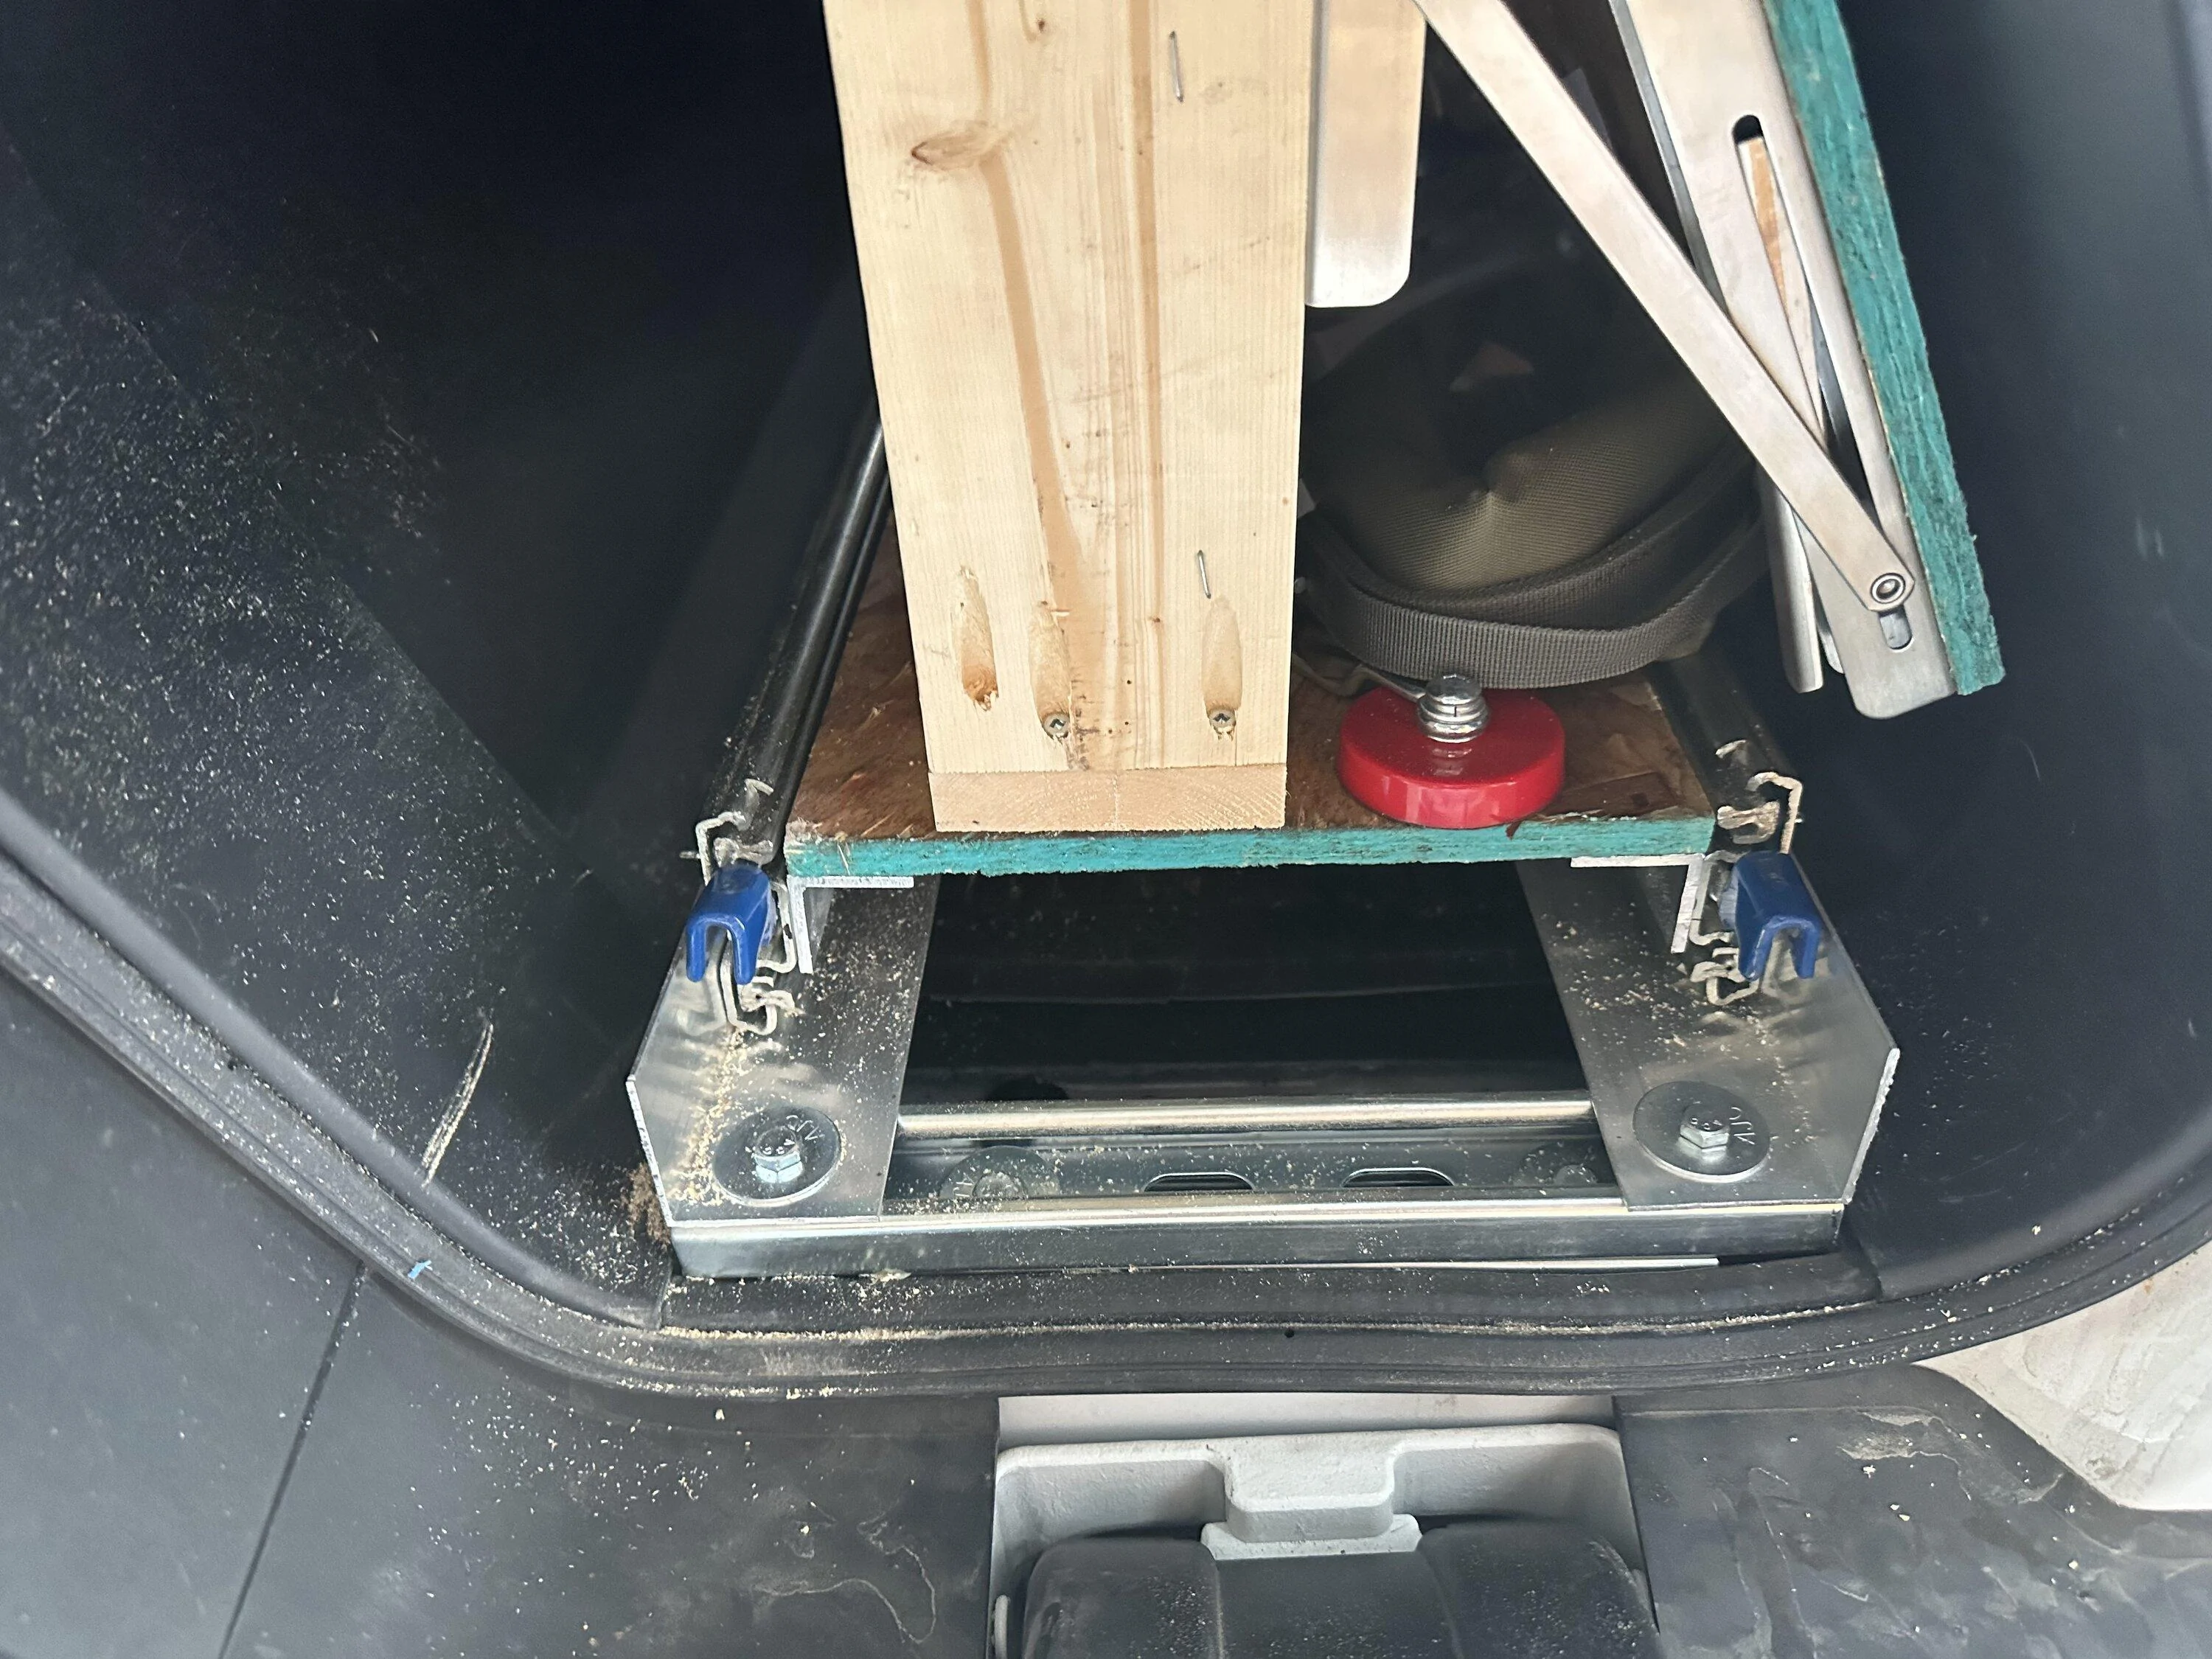
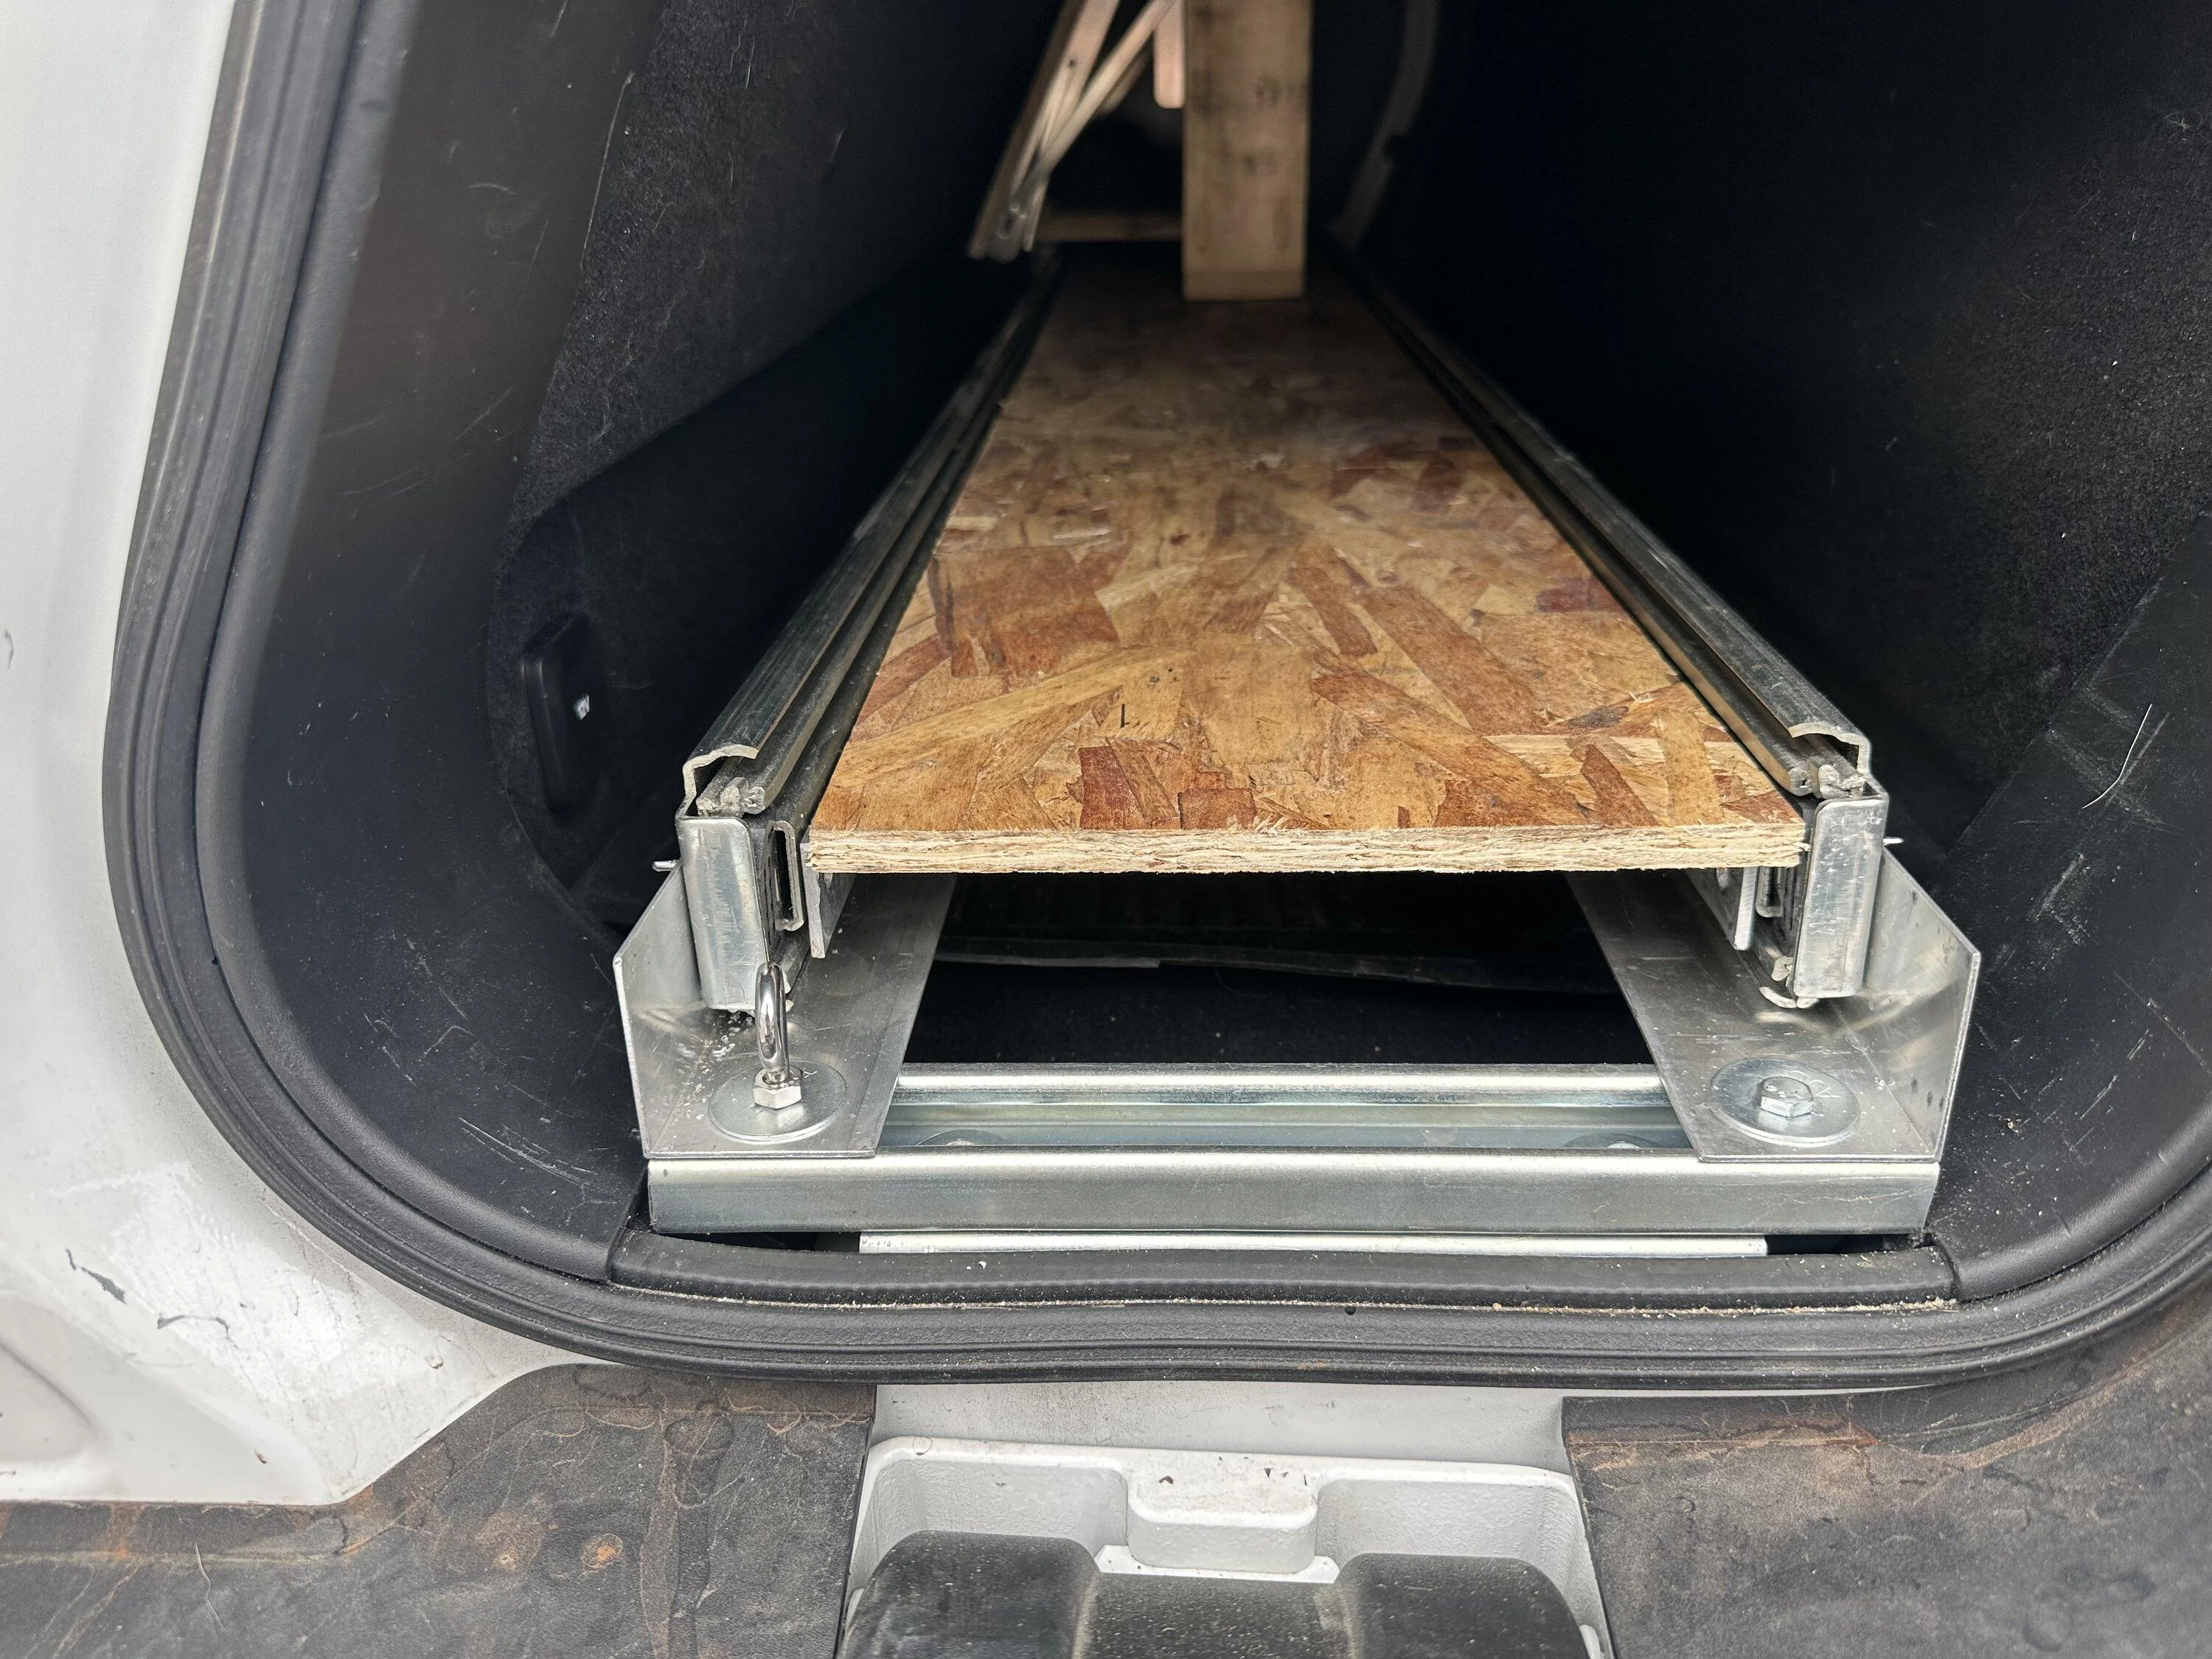
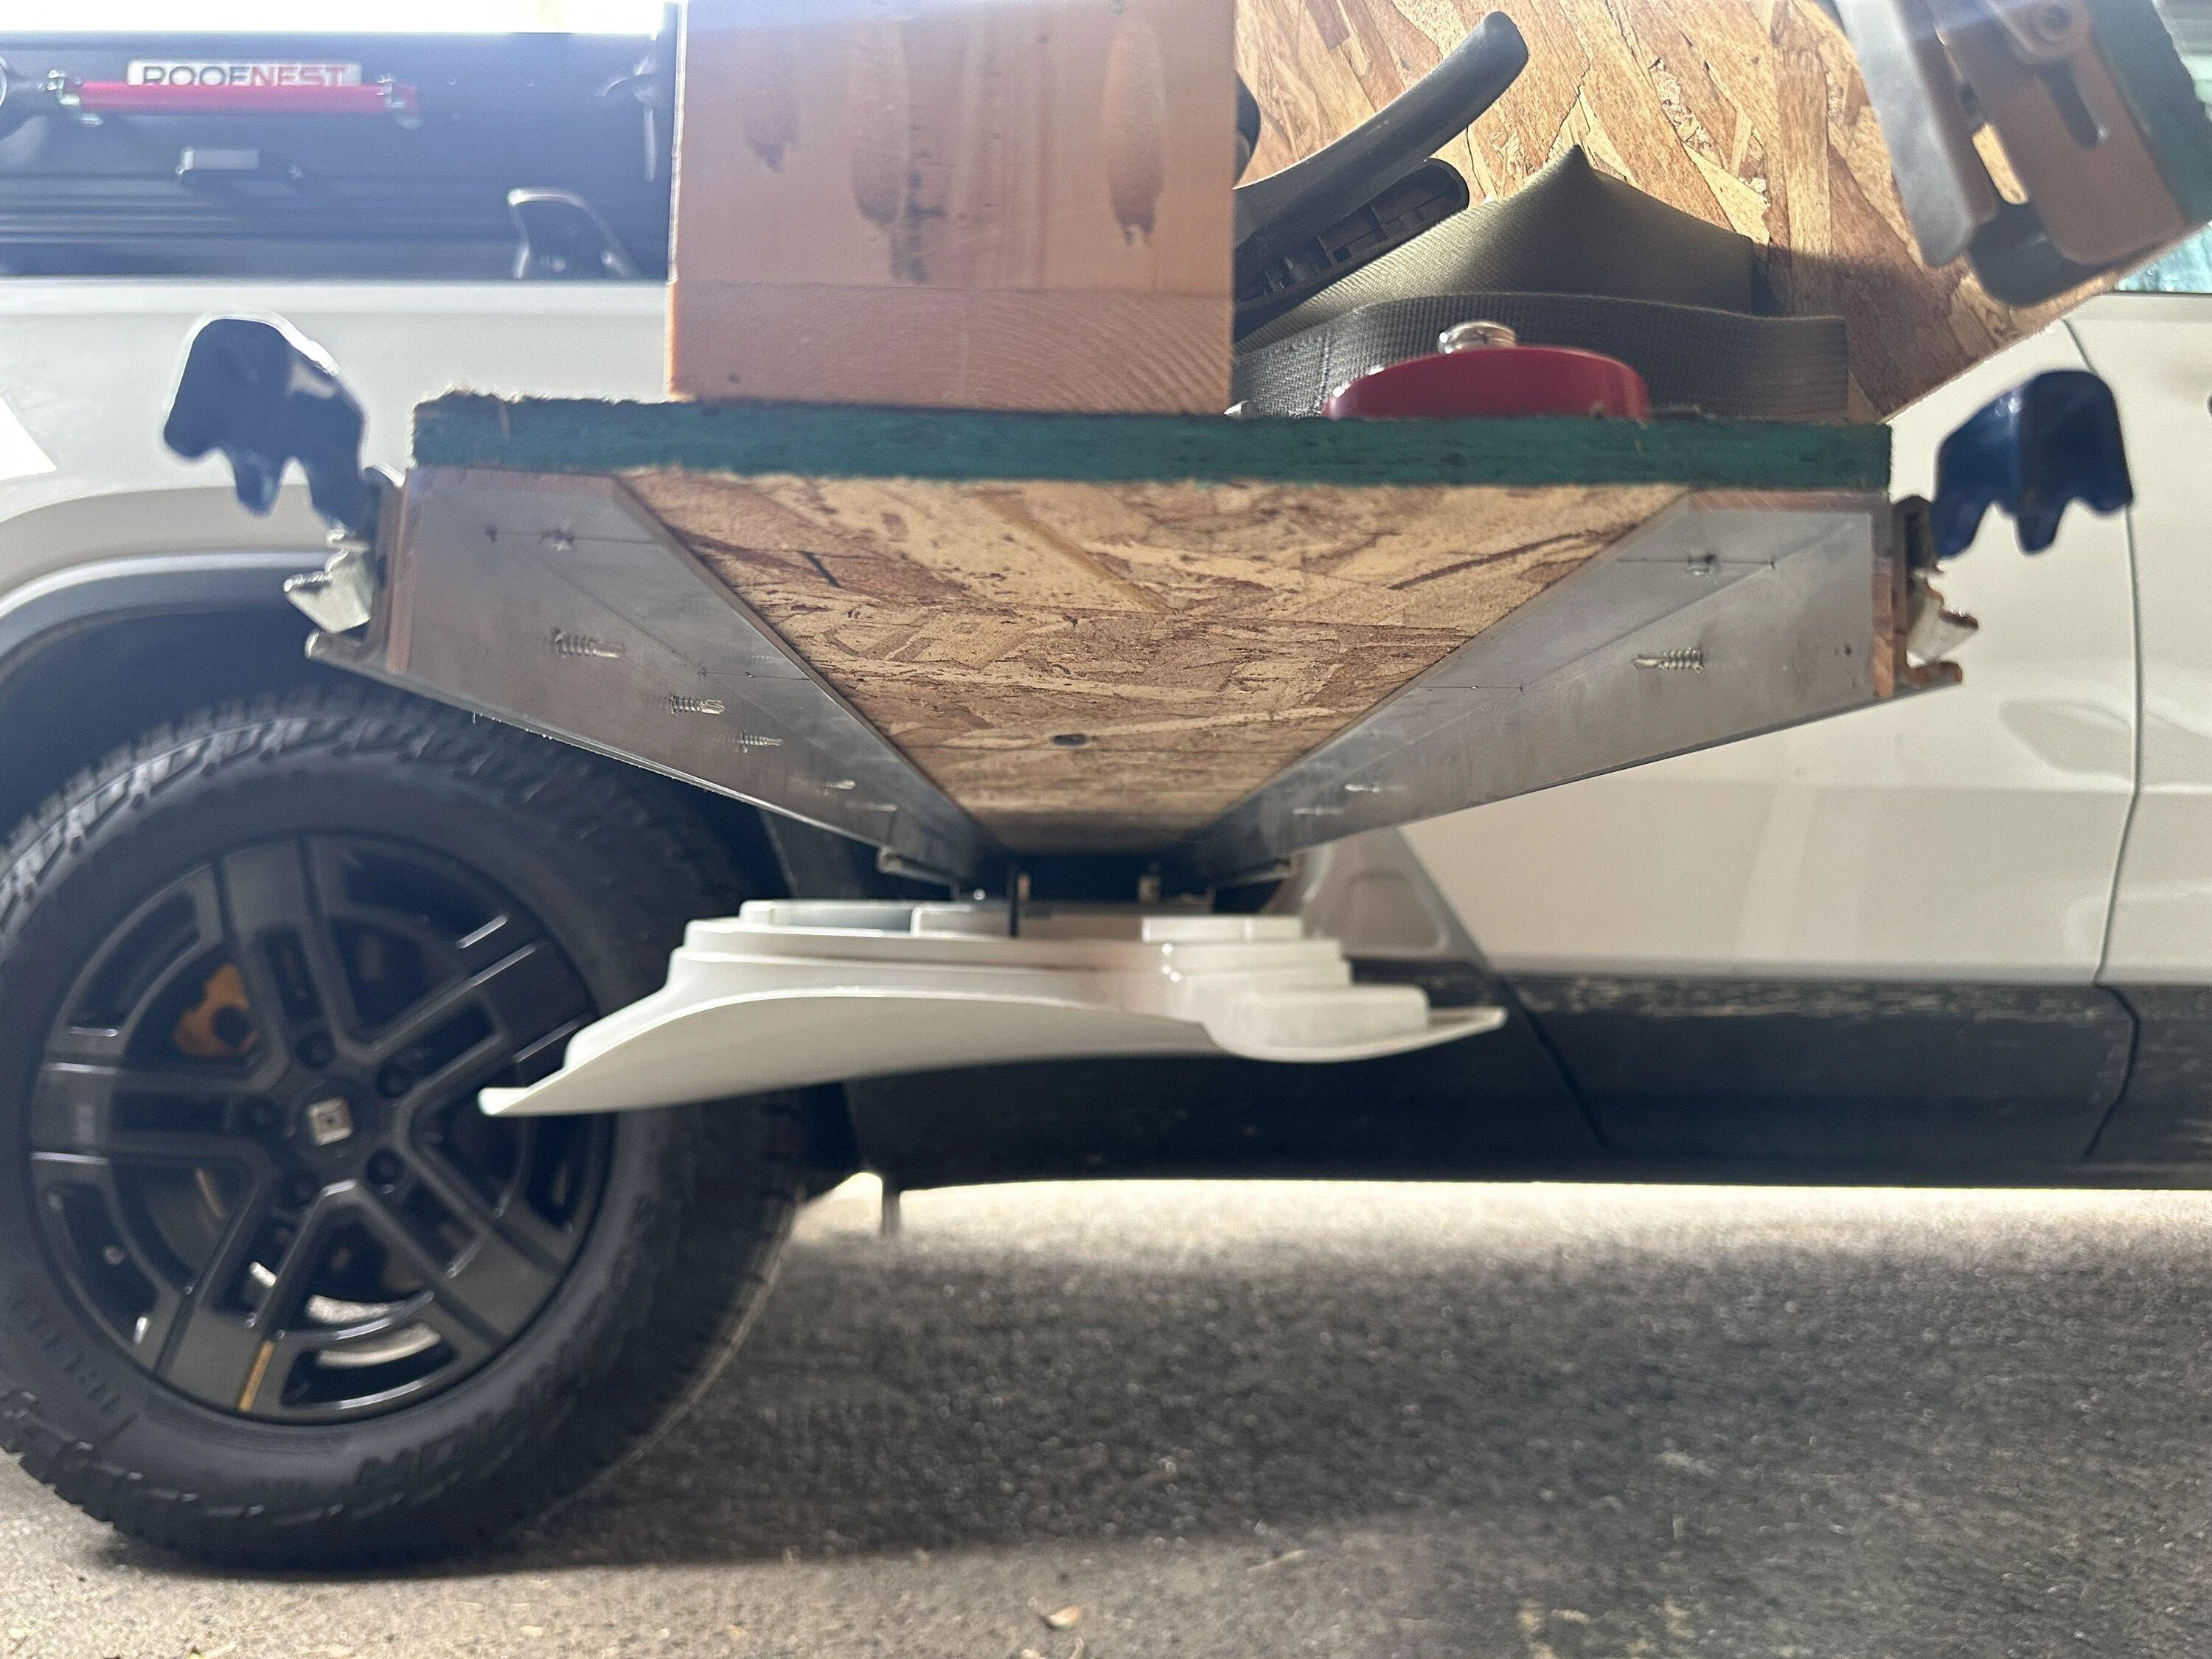
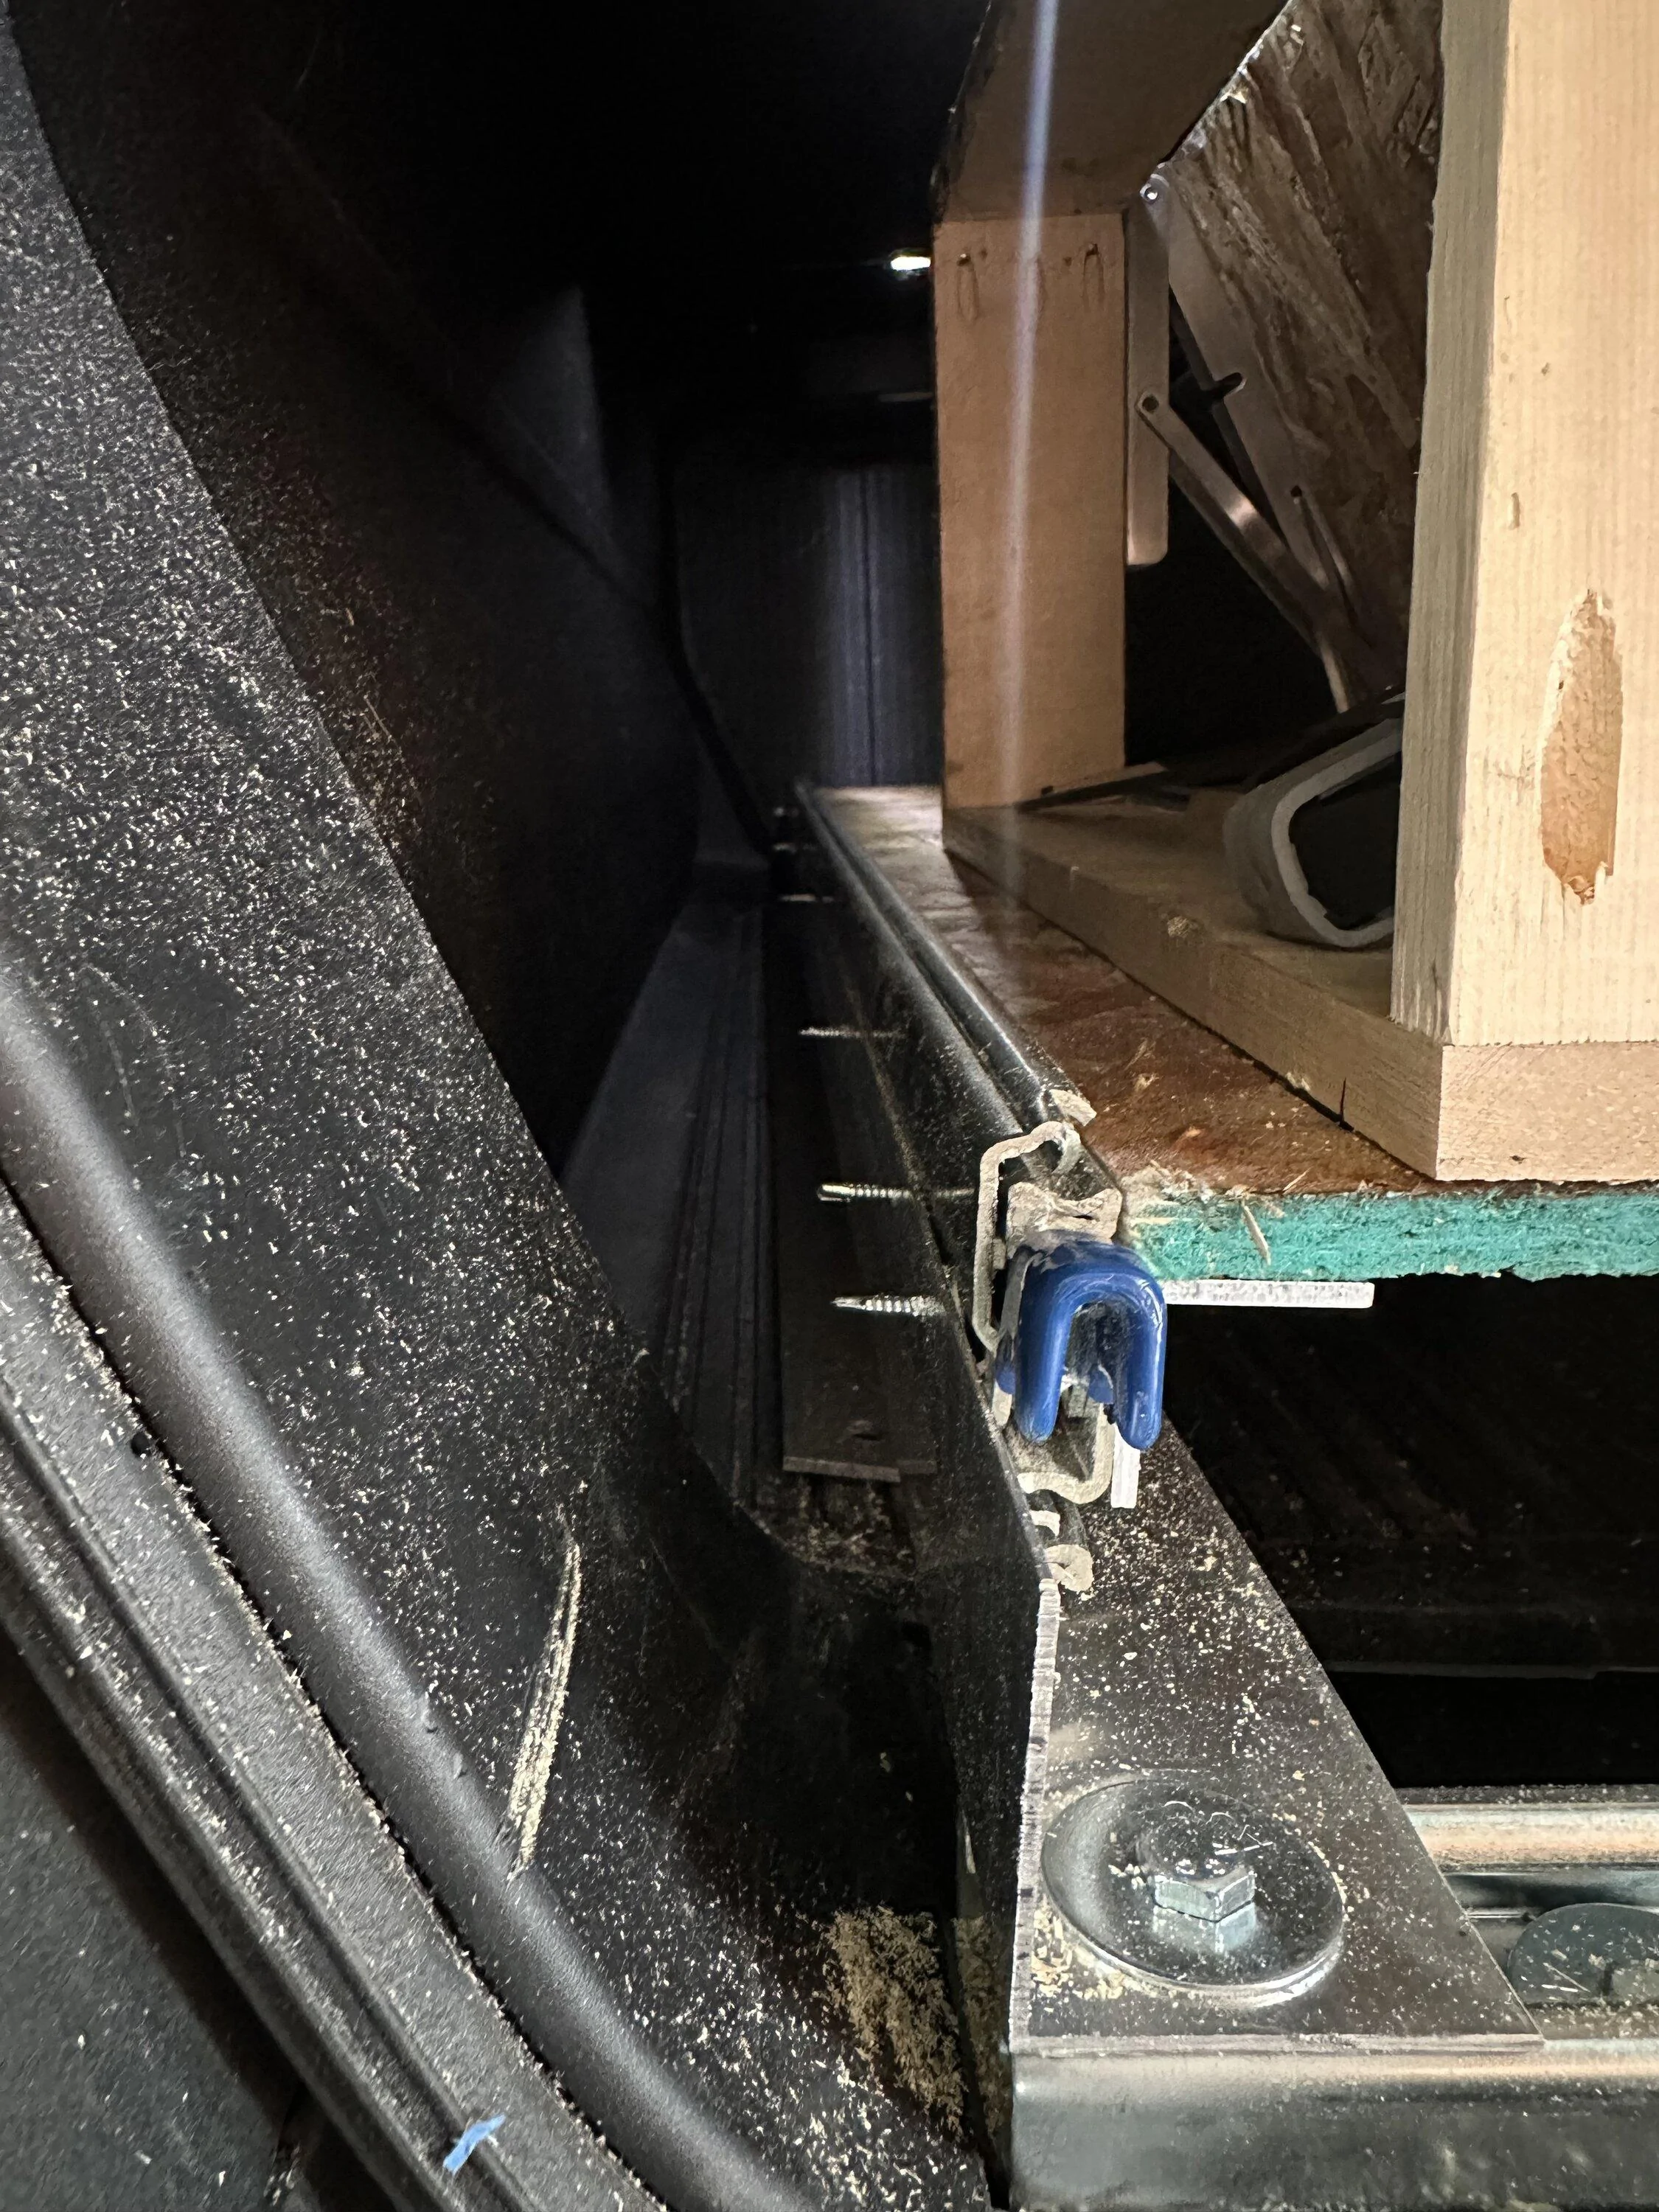
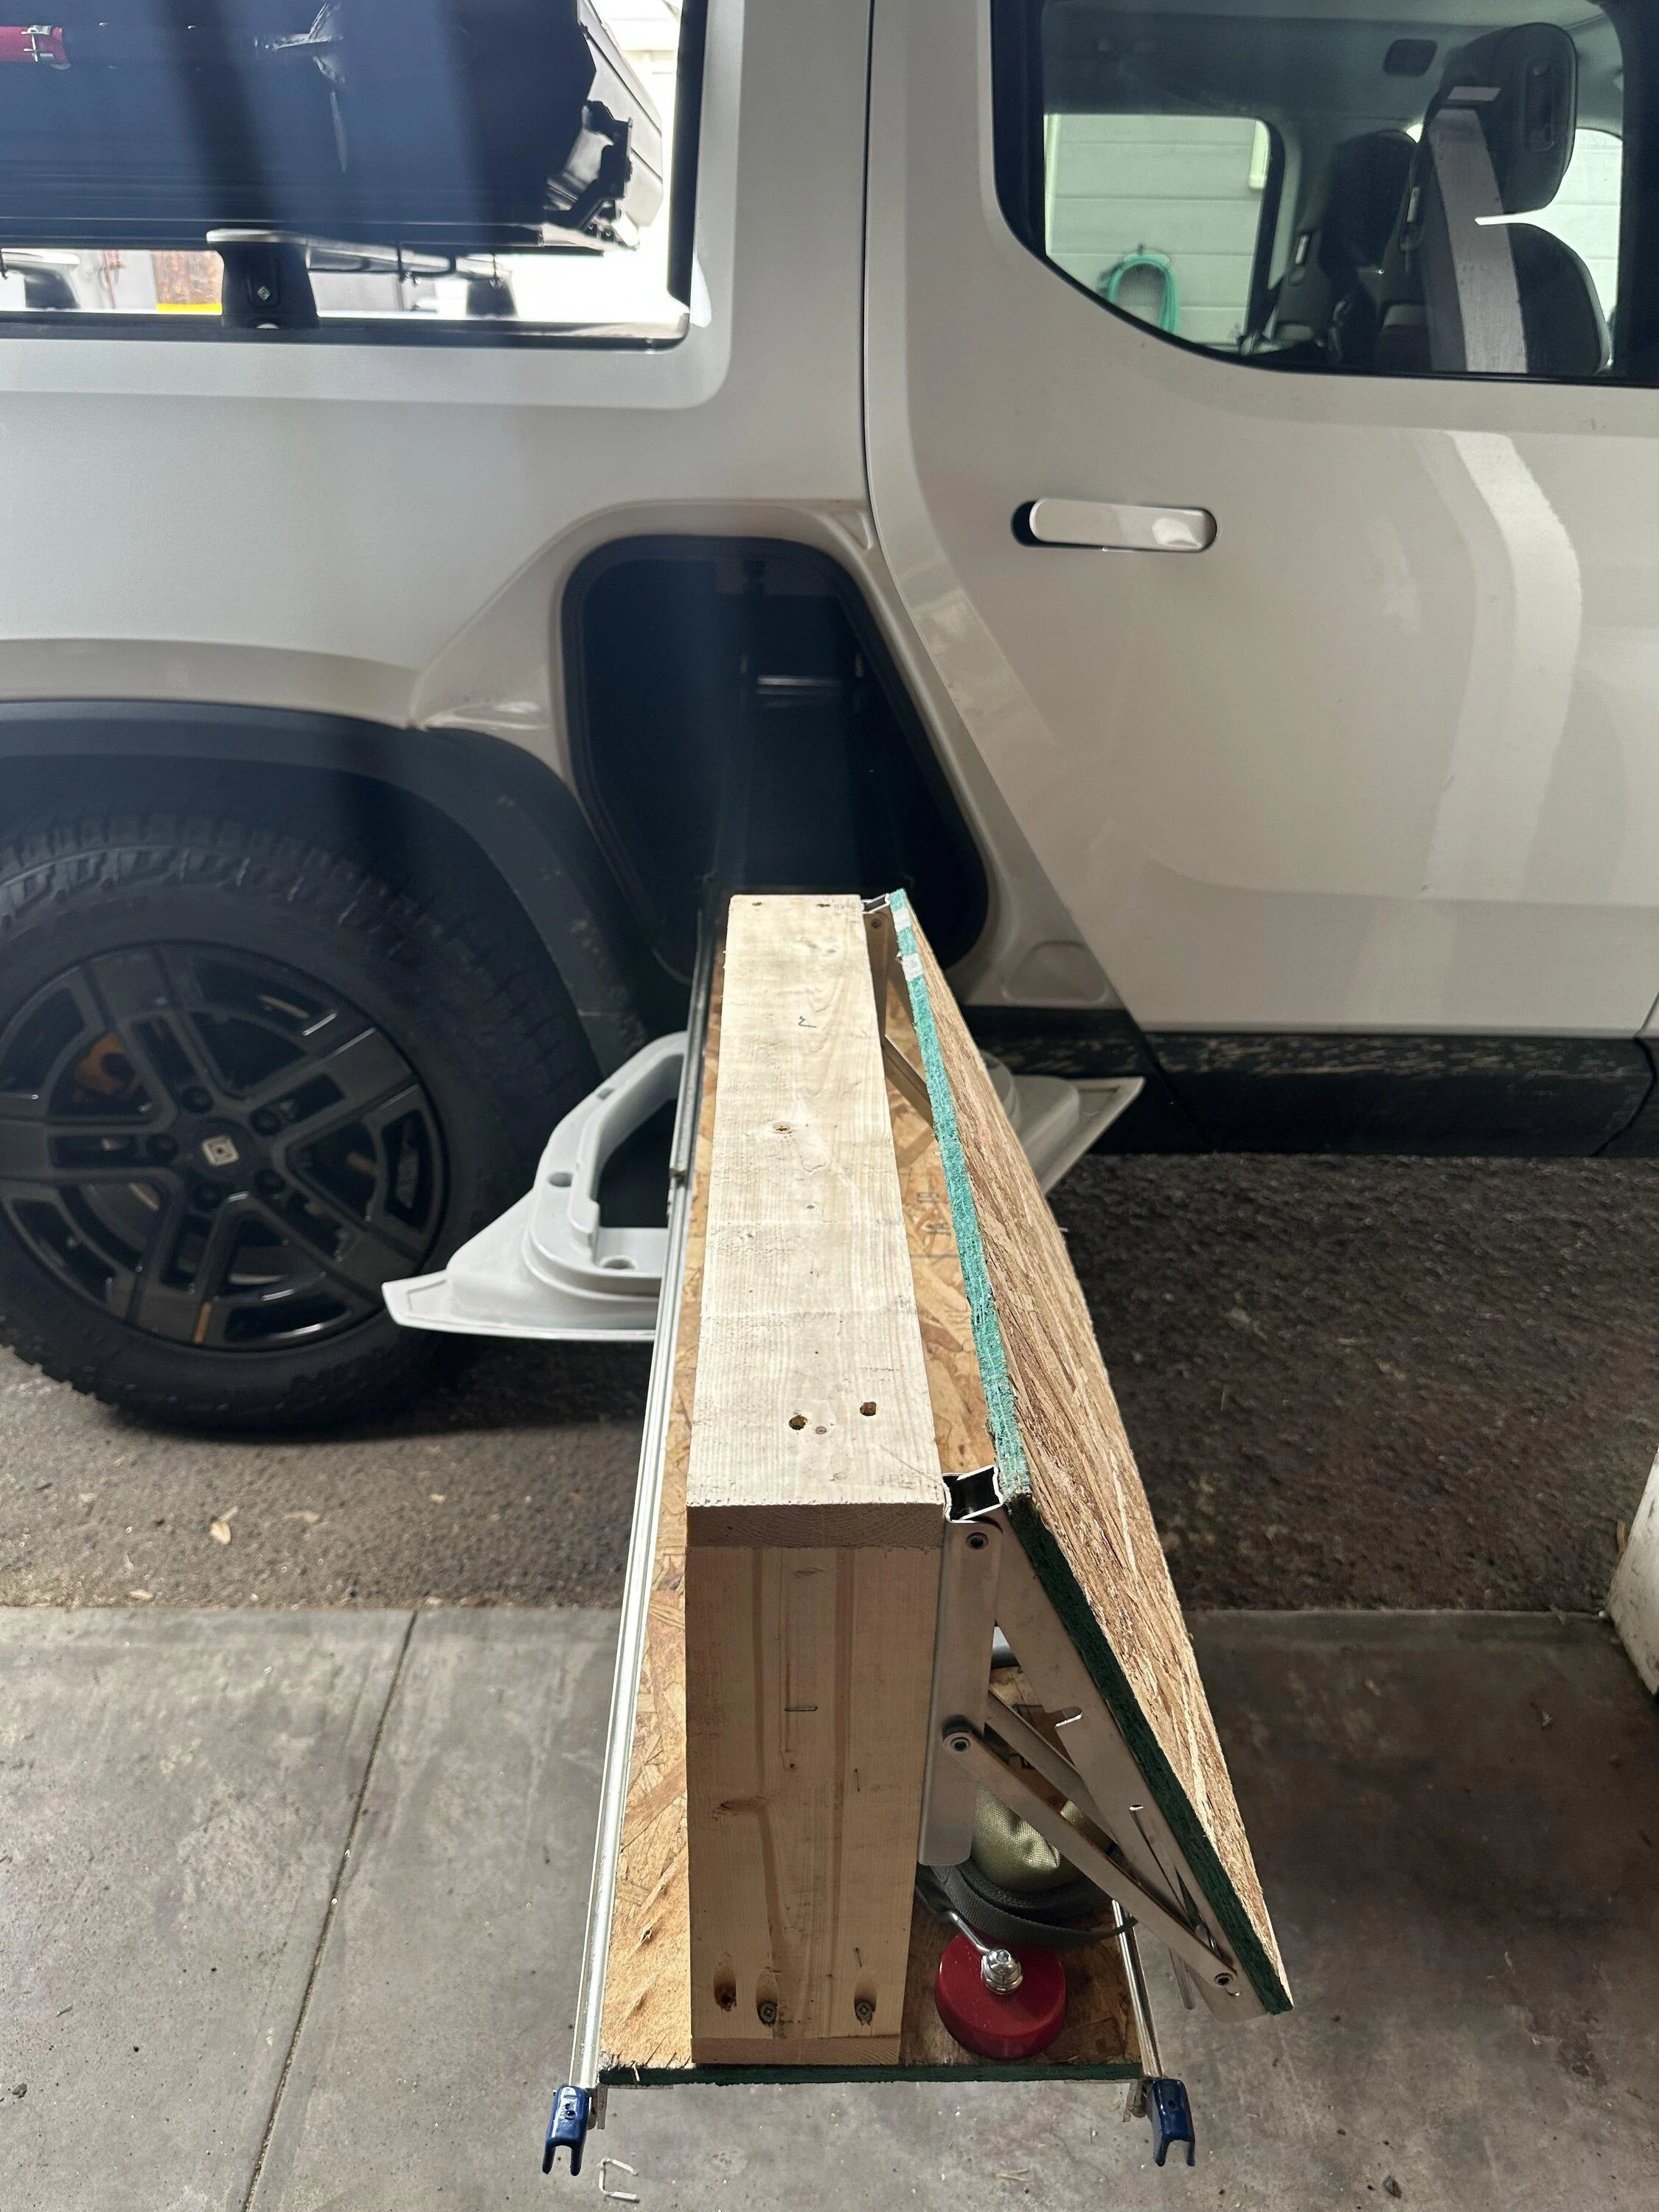
V3.0 Is delayed as the Amazon supplier I used sent 2040 instead of the 1020 I ordered.
(The hardware that came is like ~67% scale of what I needed)
I'm going to be trying an order through Tnutz, the price is substantially lower than McMaster/Grainger/8020
Tnutz = ~$95
Grainger just the extrusion = ~$325
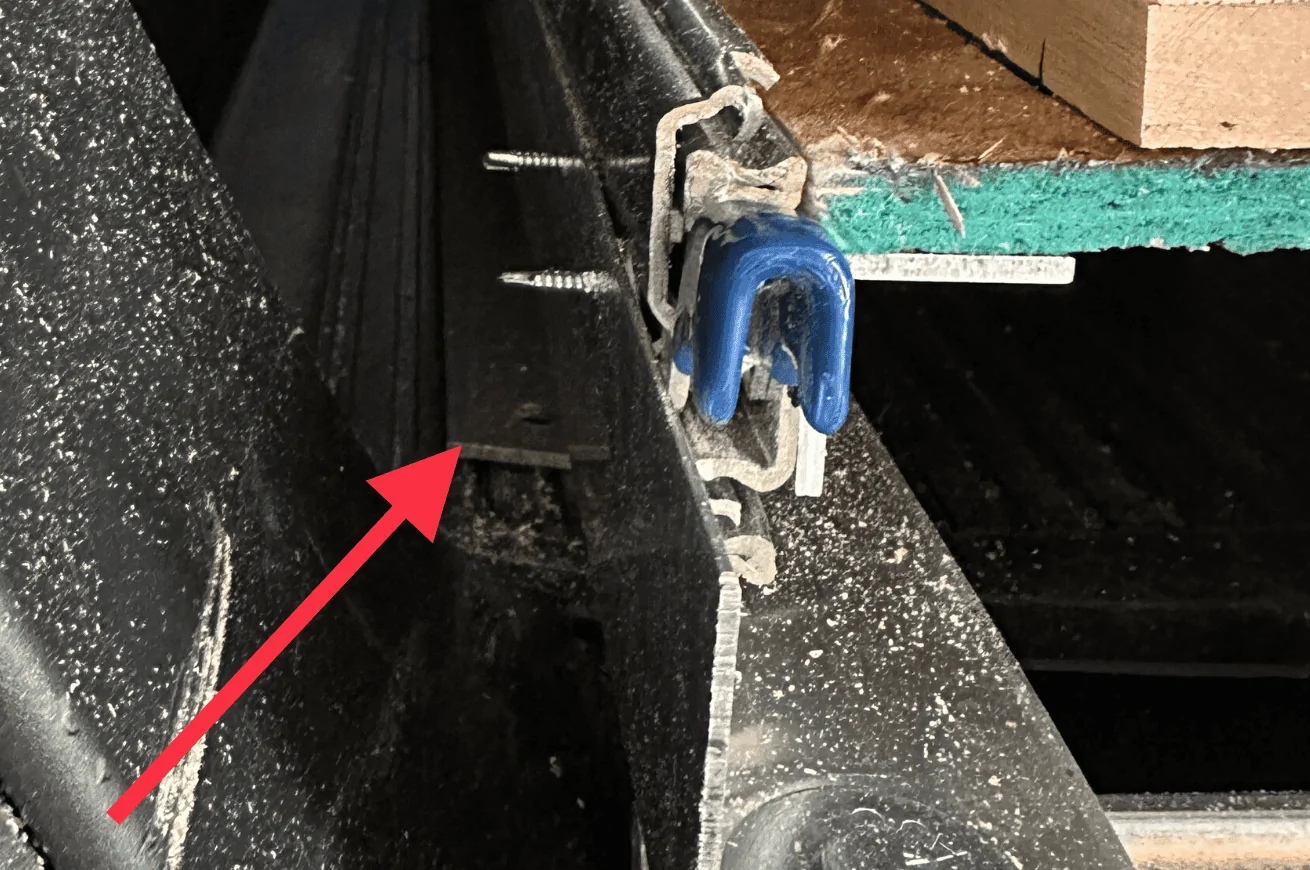
My understanding is the cost difference is in the metals strength:
Tnutz: 6063-T6 - Yield Strength: 23 KSI
80/20: 6105-T5 - Yield Strength: 40 KSI
Might pay for the full rated if the Tnutz leaves me wanting
We'll see what I get.
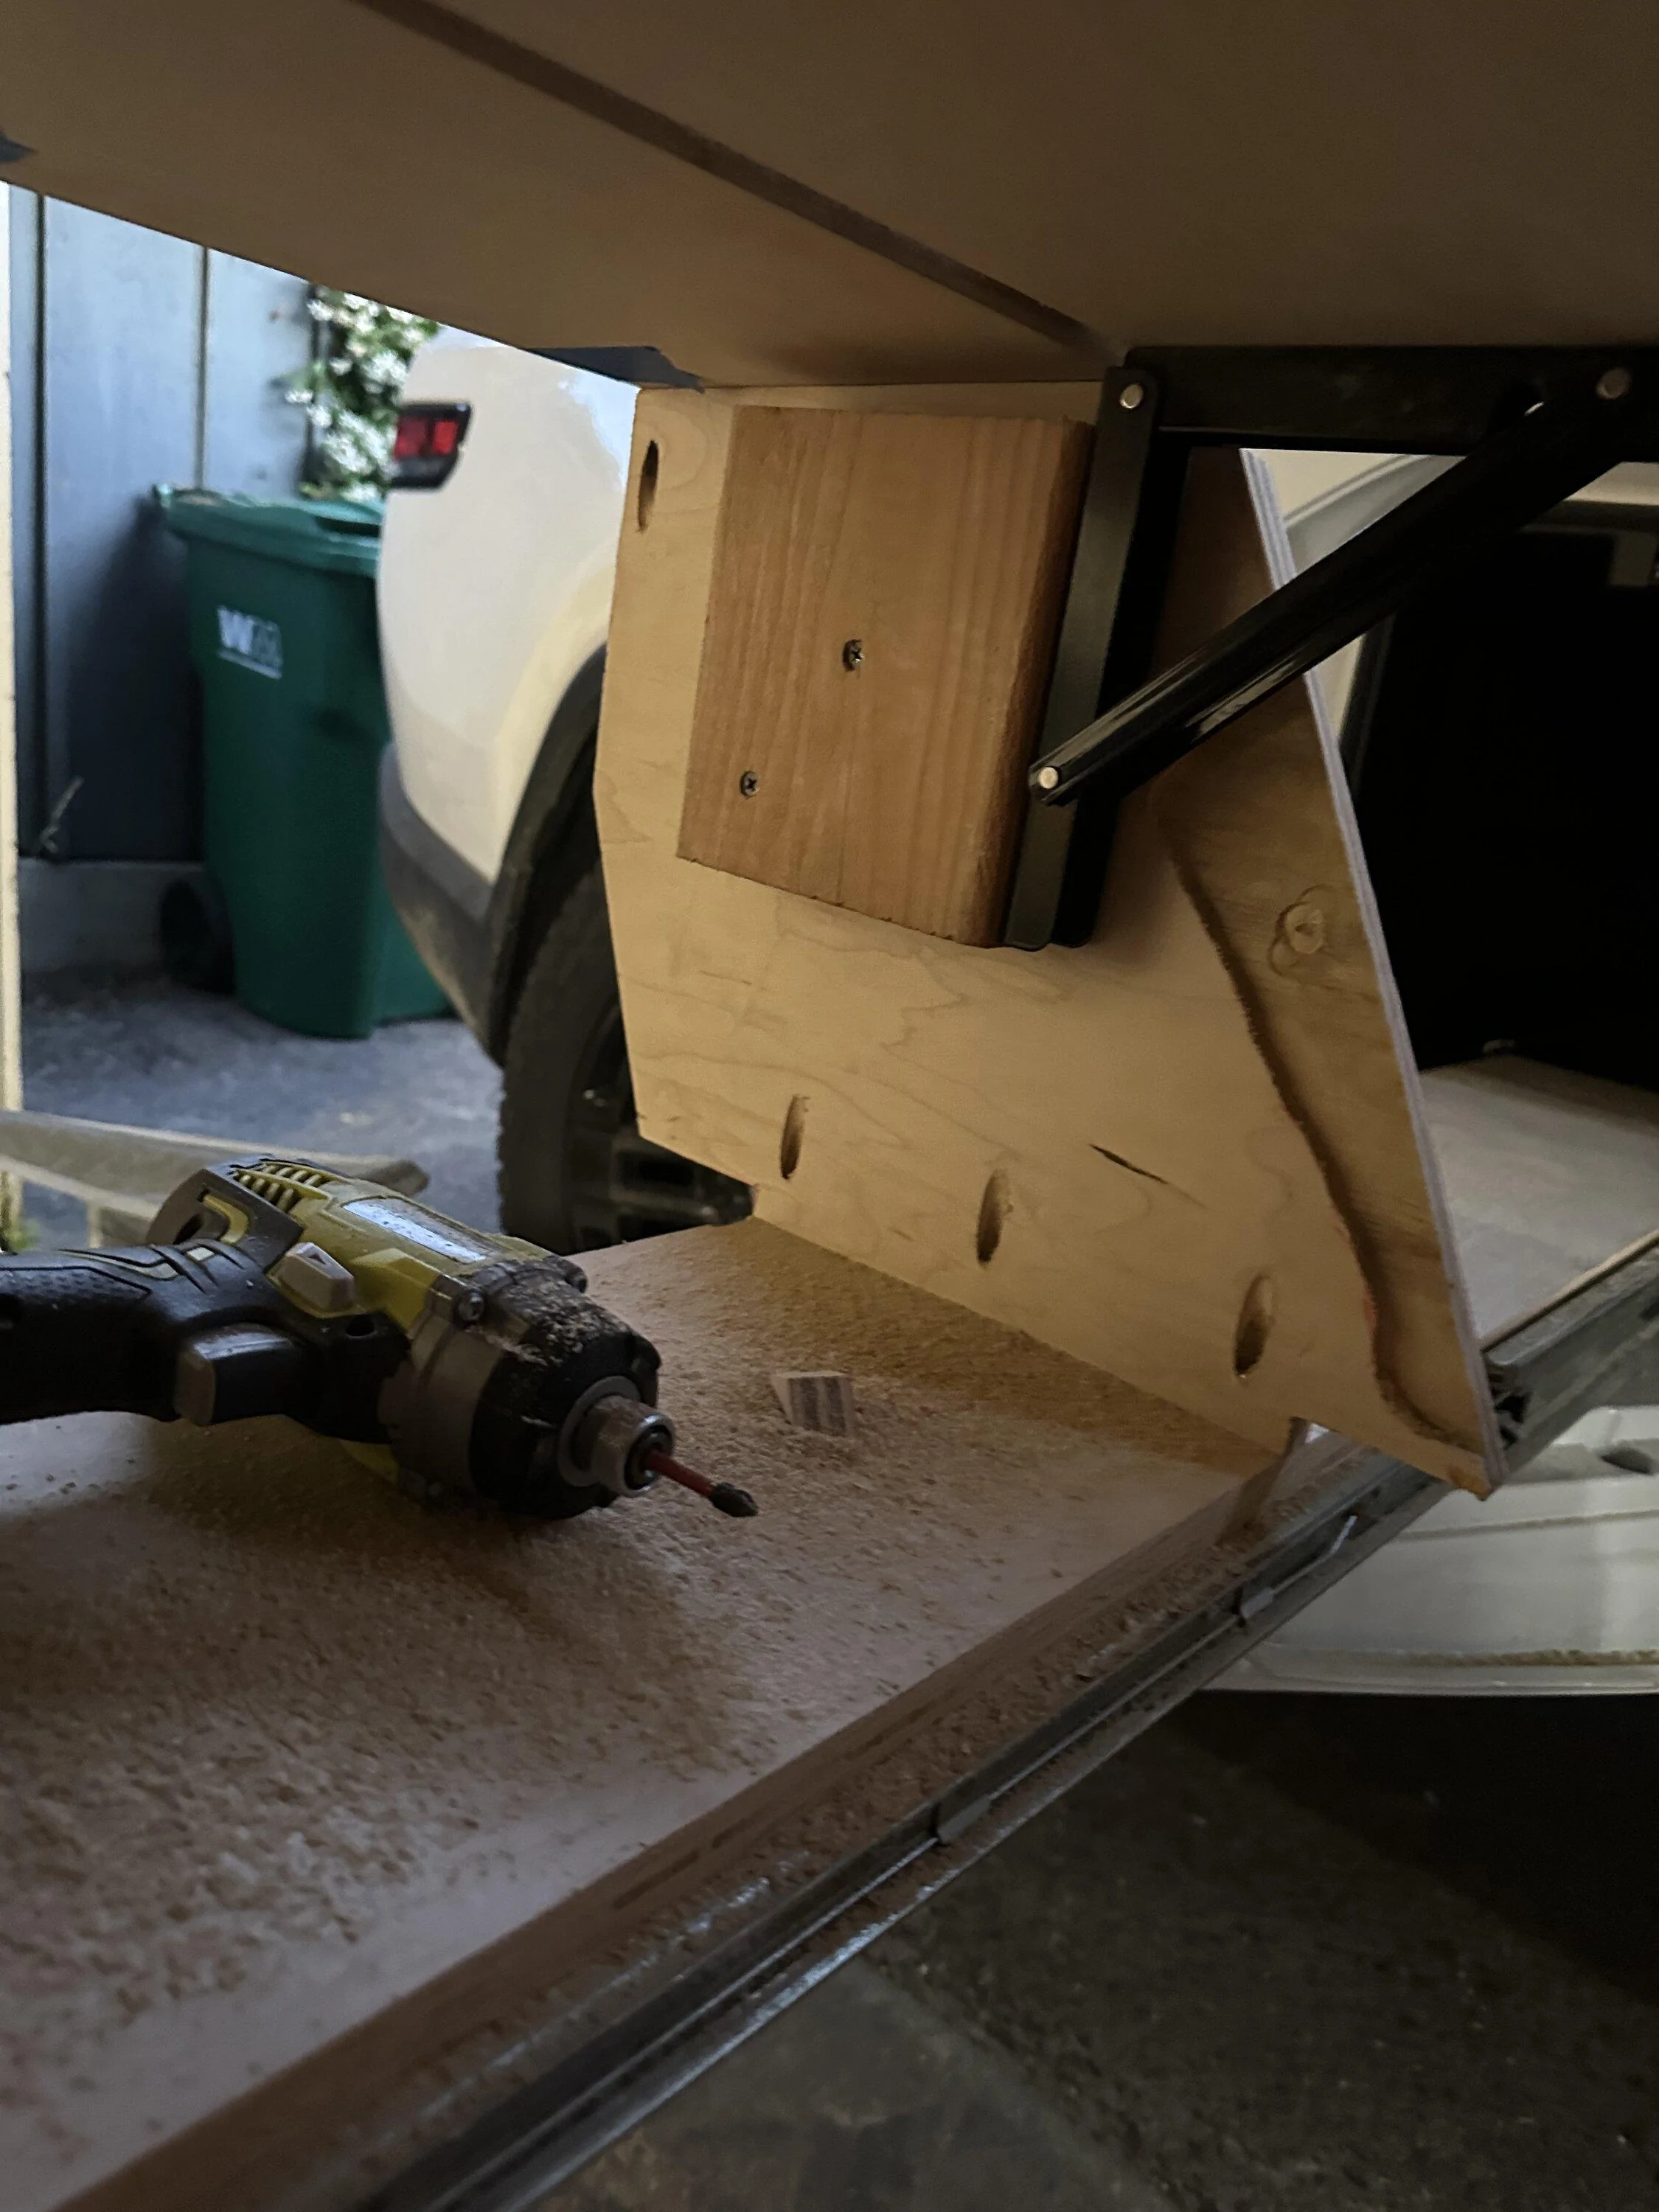
So far the extrusion cut to length/ tapped/ predrilled as needed and the hardware (that would replace existing spec'd stuff comes out to ~$180 shipped
This would put the v3 at roughly ~$360 if being built/ bought new
(The hardware that came is like ~67% scale of what I needed)
I'm going to be trying an order through Tnutz, the price is substantially lower than McMaster/Grainger/8020
Tnutz = ~$95
Grainger just the extrusion = ~$325
My understanding is the cost difference is in the metals strength:
Tnutz: 6063-T6 - Yield Strength: 23 KSI
80/20: 6105-T5 - Yield Strength: 40 KSI
Might pay for the full rated if the Tnutz leaves me wanting
We'll see what I get.
So far the extrusion cut to length/ tapped/ predrilled as needed and the hardware (that would replace existing spec'd stuff comes out to ~$180 shipped
This would put the v3 at roughly ~$360 if being built/ bought new
Sponsored
Last edited: