KTM300XC-W
New Member
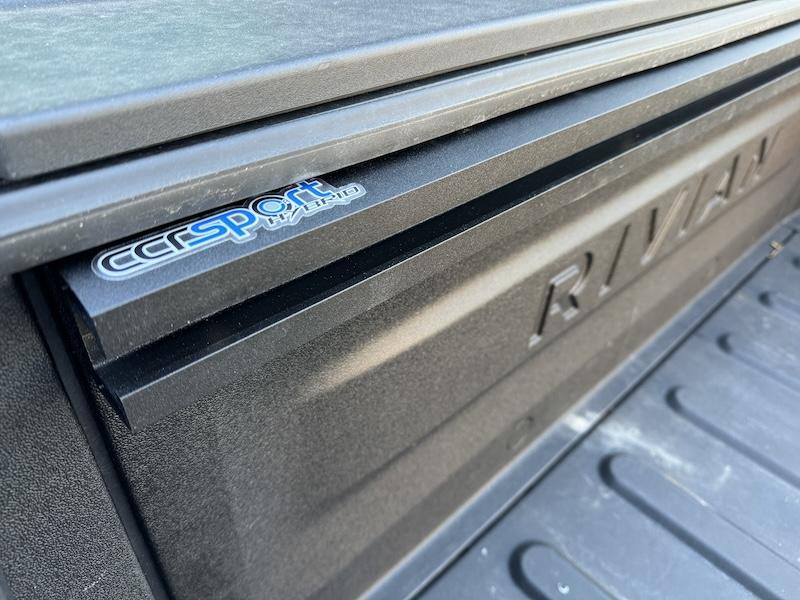
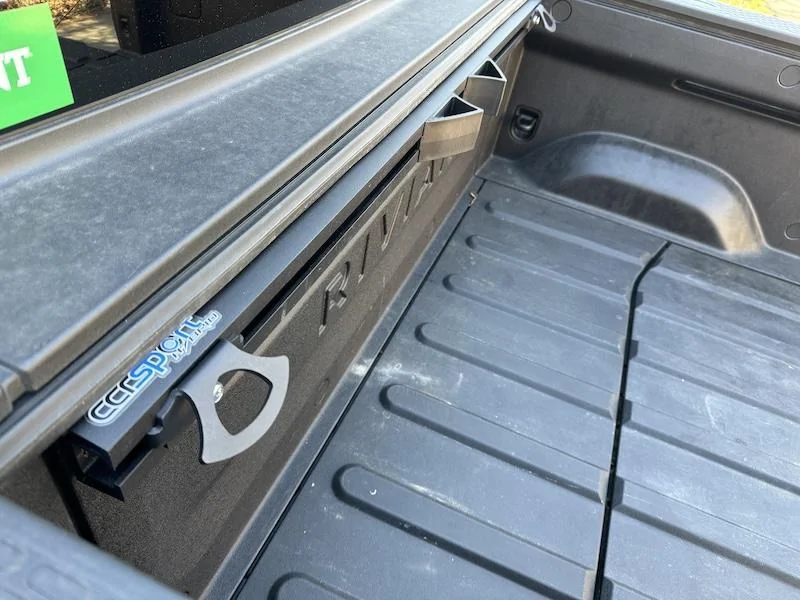
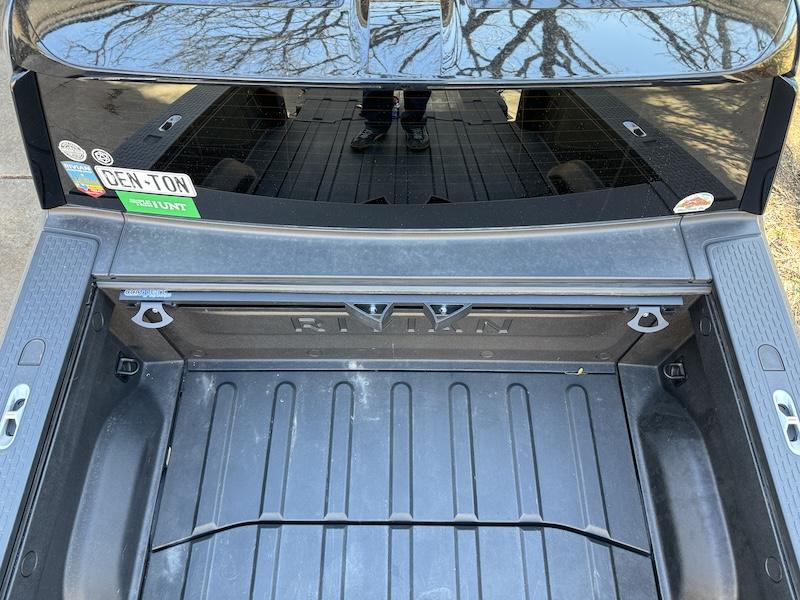
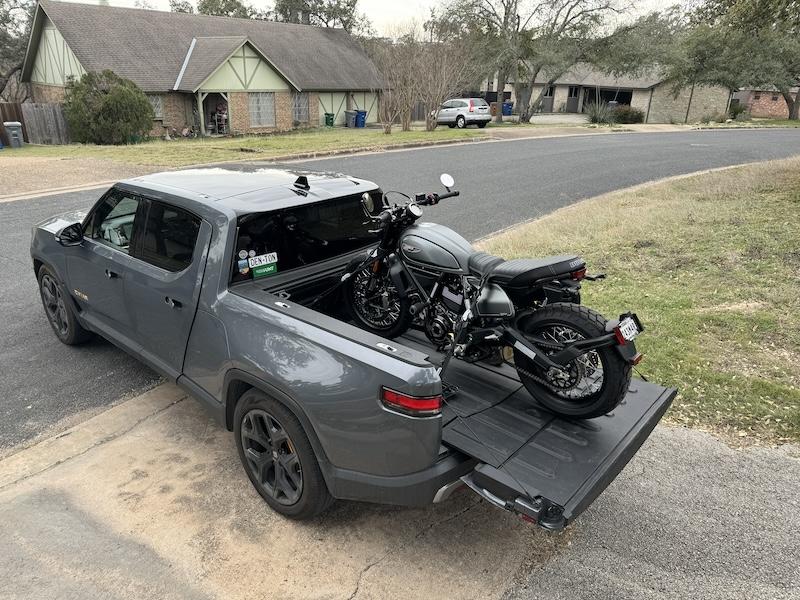
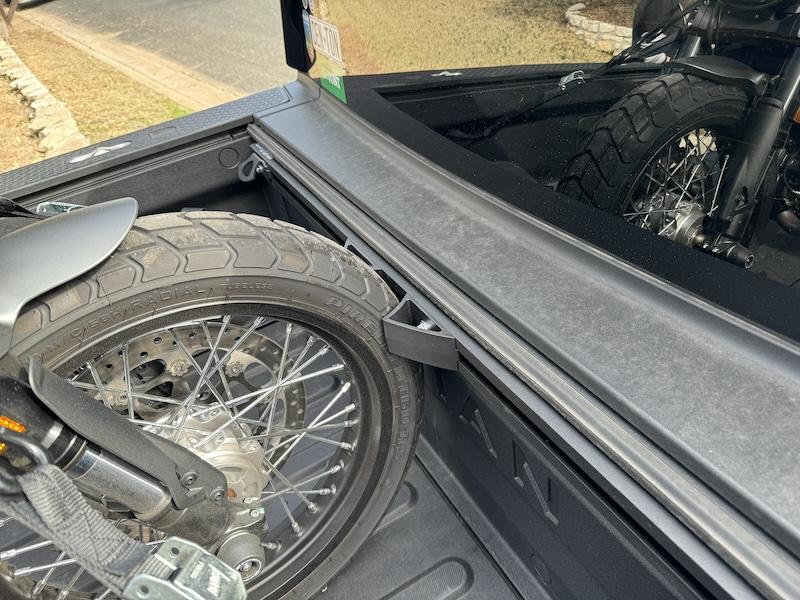
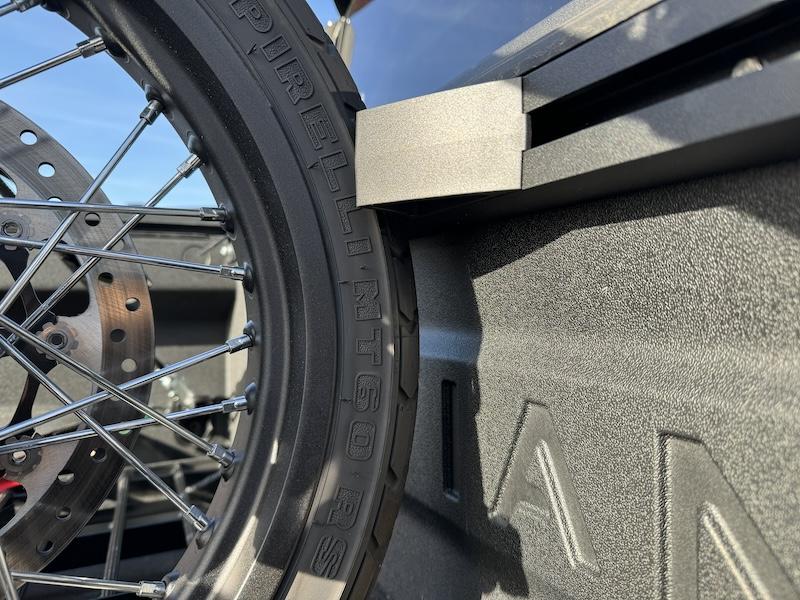
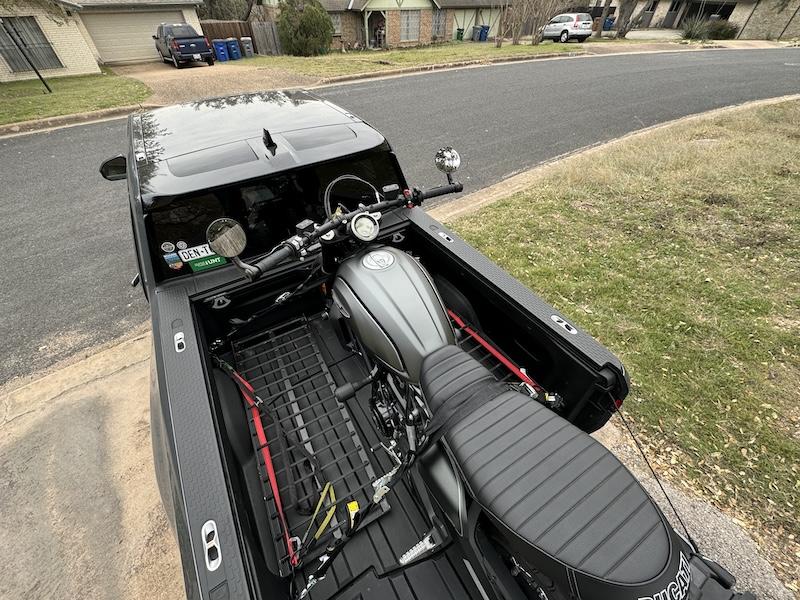
I am picking up my R1T next Friday. I ordered the same rack and was wondering if installing it before the power tonneau cover gets installed will be an issue? Any insight would be greatly appreciatedThis weekend I installed the CCR Sport Hybrid Rack so that I would have a wheel-chock and additional tie-downs for motorcycle transport. I then tested it immediately as we made a 200+ mile trip down to Austin and back to pick up a new Ducati Scrambler for a friend. The installation was simple (with proper preparation) and it really did make loading the bike easier and I felt more comfortable not having the bike pulled up against the front wall of the bed.
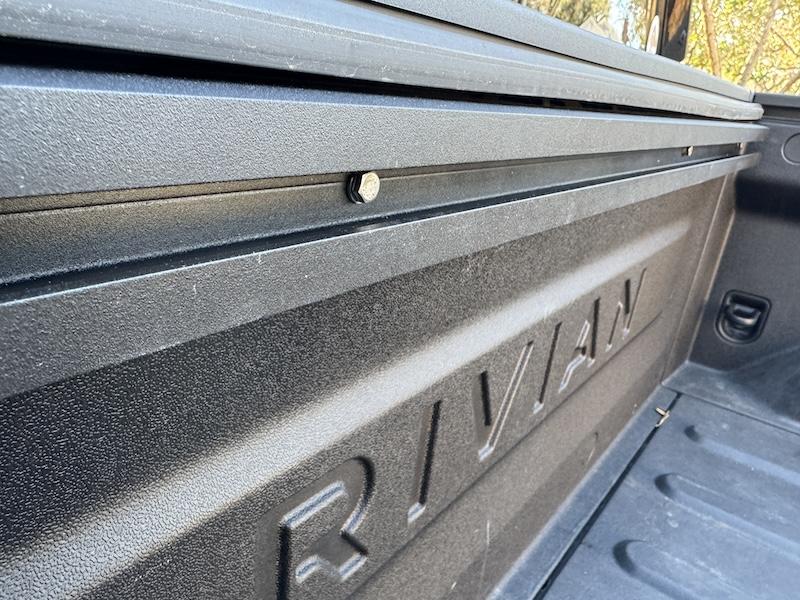
Before starting, I removed the trim covers and bolts from the top of the front wall of the bed. There are also some metal "cups" under the bolts as well. The covers and the bolts were stored in case I ever want to revert to a clean bed, but the metal "cups" will be reused.
I also purchased the following for the project:
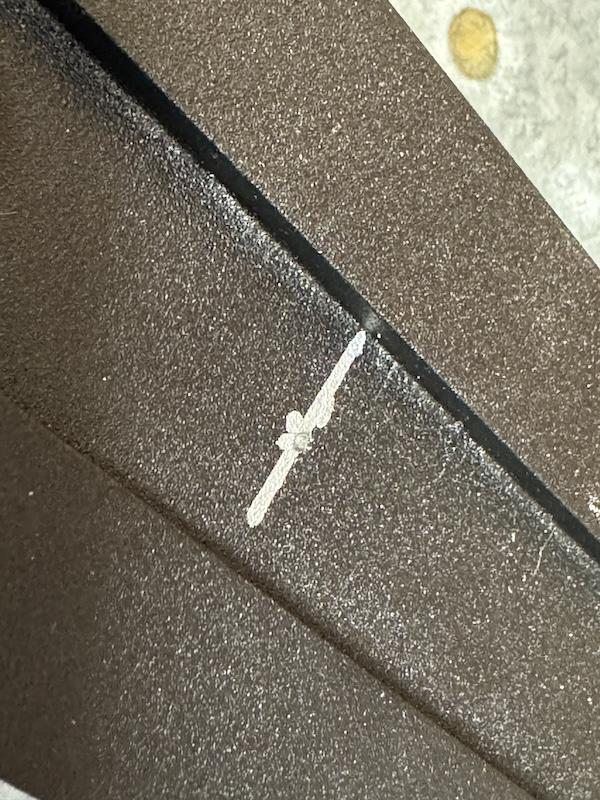
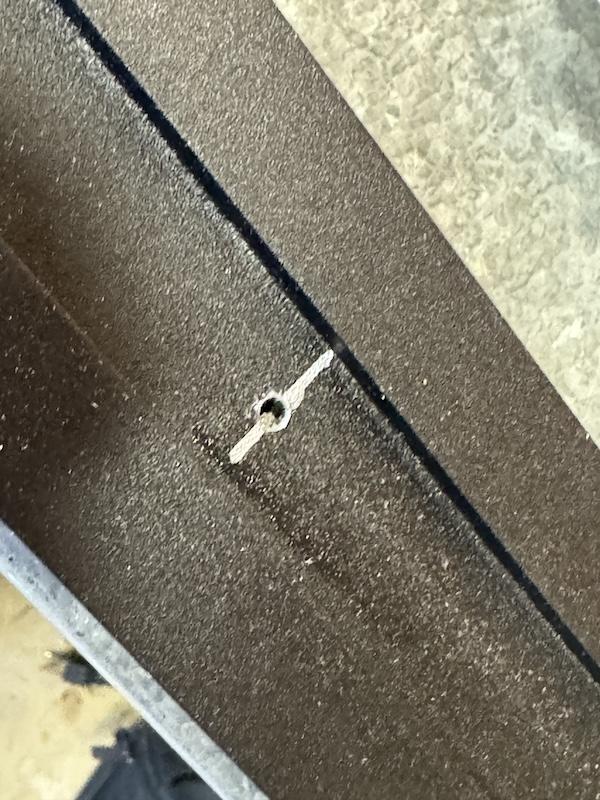
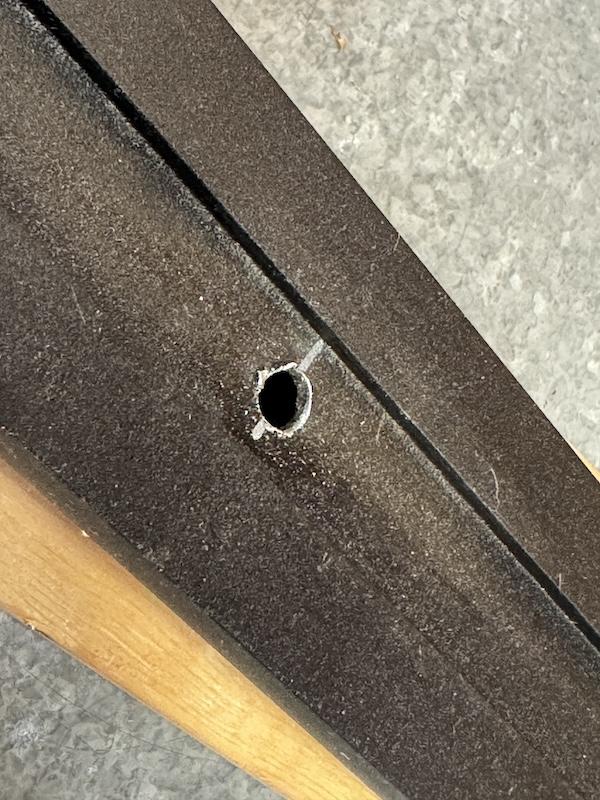
Of course I stared by measuring (twice) and drilling out holes for the stock bolts in the bed. I started with a center punch, followed by a 1/8" bit and then a 5/16" bit to give me a little wiggle room to make mounting a little easier
- 6mm x 30mm Stainless Hex Bolt (4)
- 6mm Stainless Flat Washer (4)
- 26mm OD, 8mm ID, 10mm Nylon Spacers (4)
.
Next (and sadly, I didn't get any photos of this part), I stacked all of the hardware on the rack (bolt, washer, rack, spacer, "cup") and used a drop of hot glue to hold the cups to the spacers, and hold the spacers onto the bolts. This turned out to be the most invaluable part as I was then able to take the entire rack, with all of it's hardware, out and manipulate it into place without having to try to balance all of the hardware, or stack everything up one bolt at a time. Right before I started to line up the rail and bolts, I put a drop of blue thread-lock on each of the bolts and went to work on the final installation.
Honestly, as soon as I got the first bolt into place, every other bolt lined up perfectly, so it was very quick and easy to finish up with all of my advance prep work. And of course, the tonneau cover clears it perfectly as expected.

Mounting the hardware was simple and everything can be adjusted quickly if necessary.
While we didn't use the tie-downs on the rack (we used the built-in tie-downs instead), it was nice to know that they were there, and I will likely use them next time and reserve the ones in the bed for tying down the ramps. And the main thing I wanted more than anything else was for the rack to bear the load of the front tire, instead of the front wall itself, and that was completely successful. Once we had everything tied down, the front wheel of the bike didn't touch the front wall of the bed at all.
I hope someone finds this helpful as it was an enjoyable project, but more importantly, I feel like I've unlocked some additional functionality out of the truck.
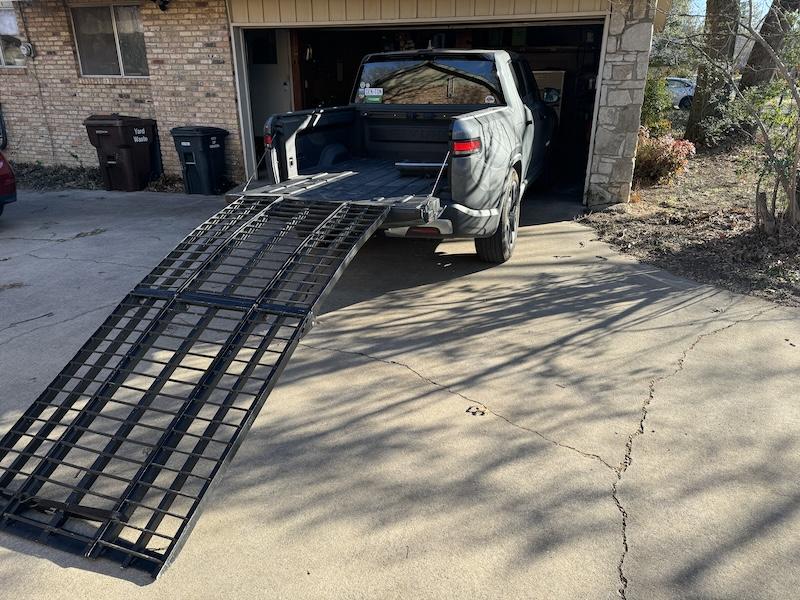
Lastly, because I suspect someone will ask, I used a ramp not dissimilar to this one that I bought used. It's really nice because it breaks down into the three separate "tracks" and can be loaded up easily on either side of the bike. In fact, the two side tracks fit in the gear tunnel, and then we just tied down the middle ramp as two parts on either side of the bike. Our trip really couldn't have gone more smoothly.
Sponsored