OP
OP
k3g
Well-Known Member
- Thread starter
- #31
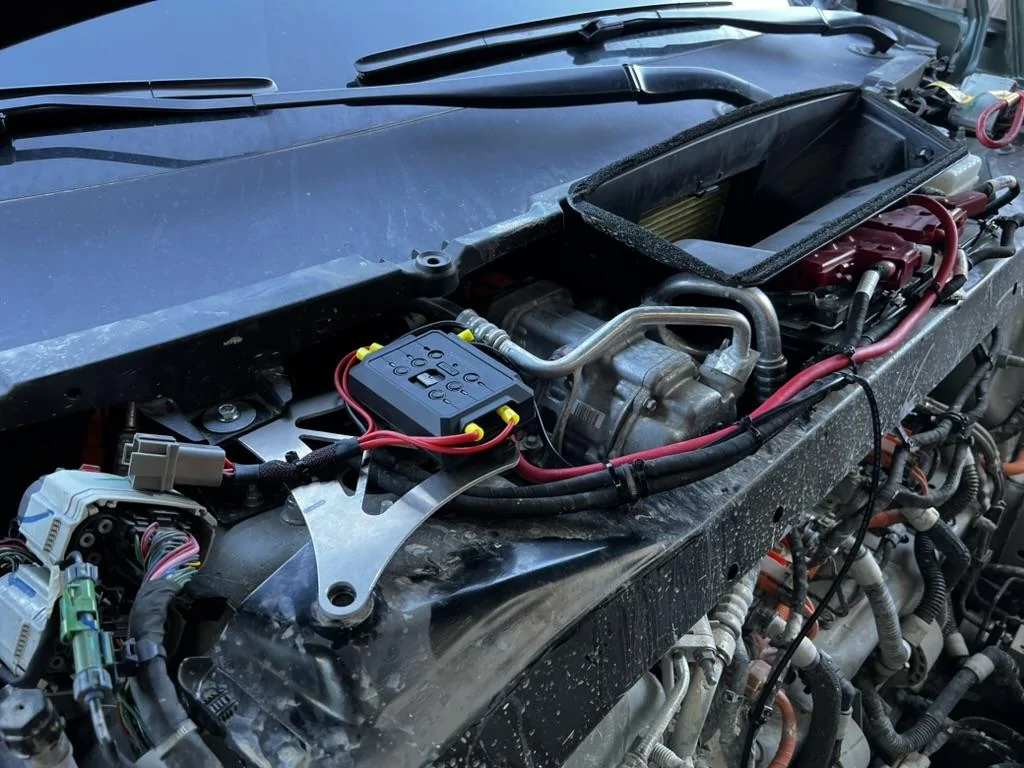
I didn't do much of a writeup. In short, my truck's Central Gateway Module (CGM) began to, and then failed while I was driving cross country. This first showed up as intermittent fast charging failures, and it grew to be a total failure to charge. I didn't write much about it because there's too many early owner posts talking about component failures, and I didn't see any need to add to it. Rivian Service was amazing in helping me stay on the road, so I want to make sure that's the highlight!I'm interested to hear what sort of problems you had with your R1T. If you already posted them elsewhere and don't feel like rehashing it could you drop a link (if that's allowed here)?
Thanks
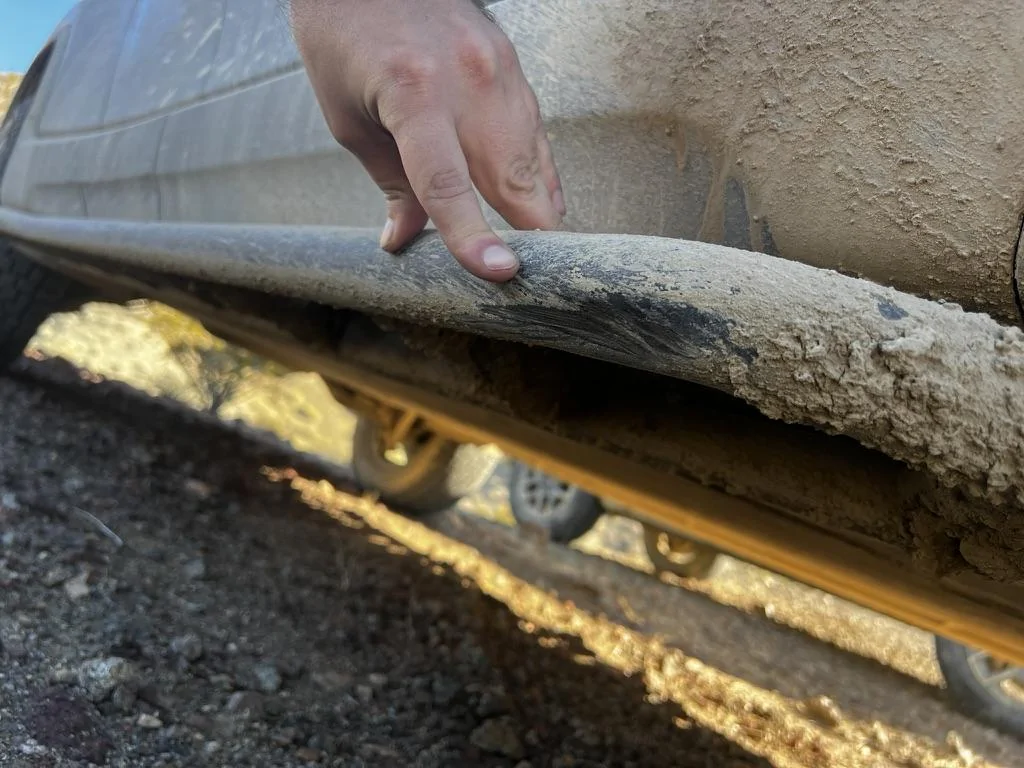
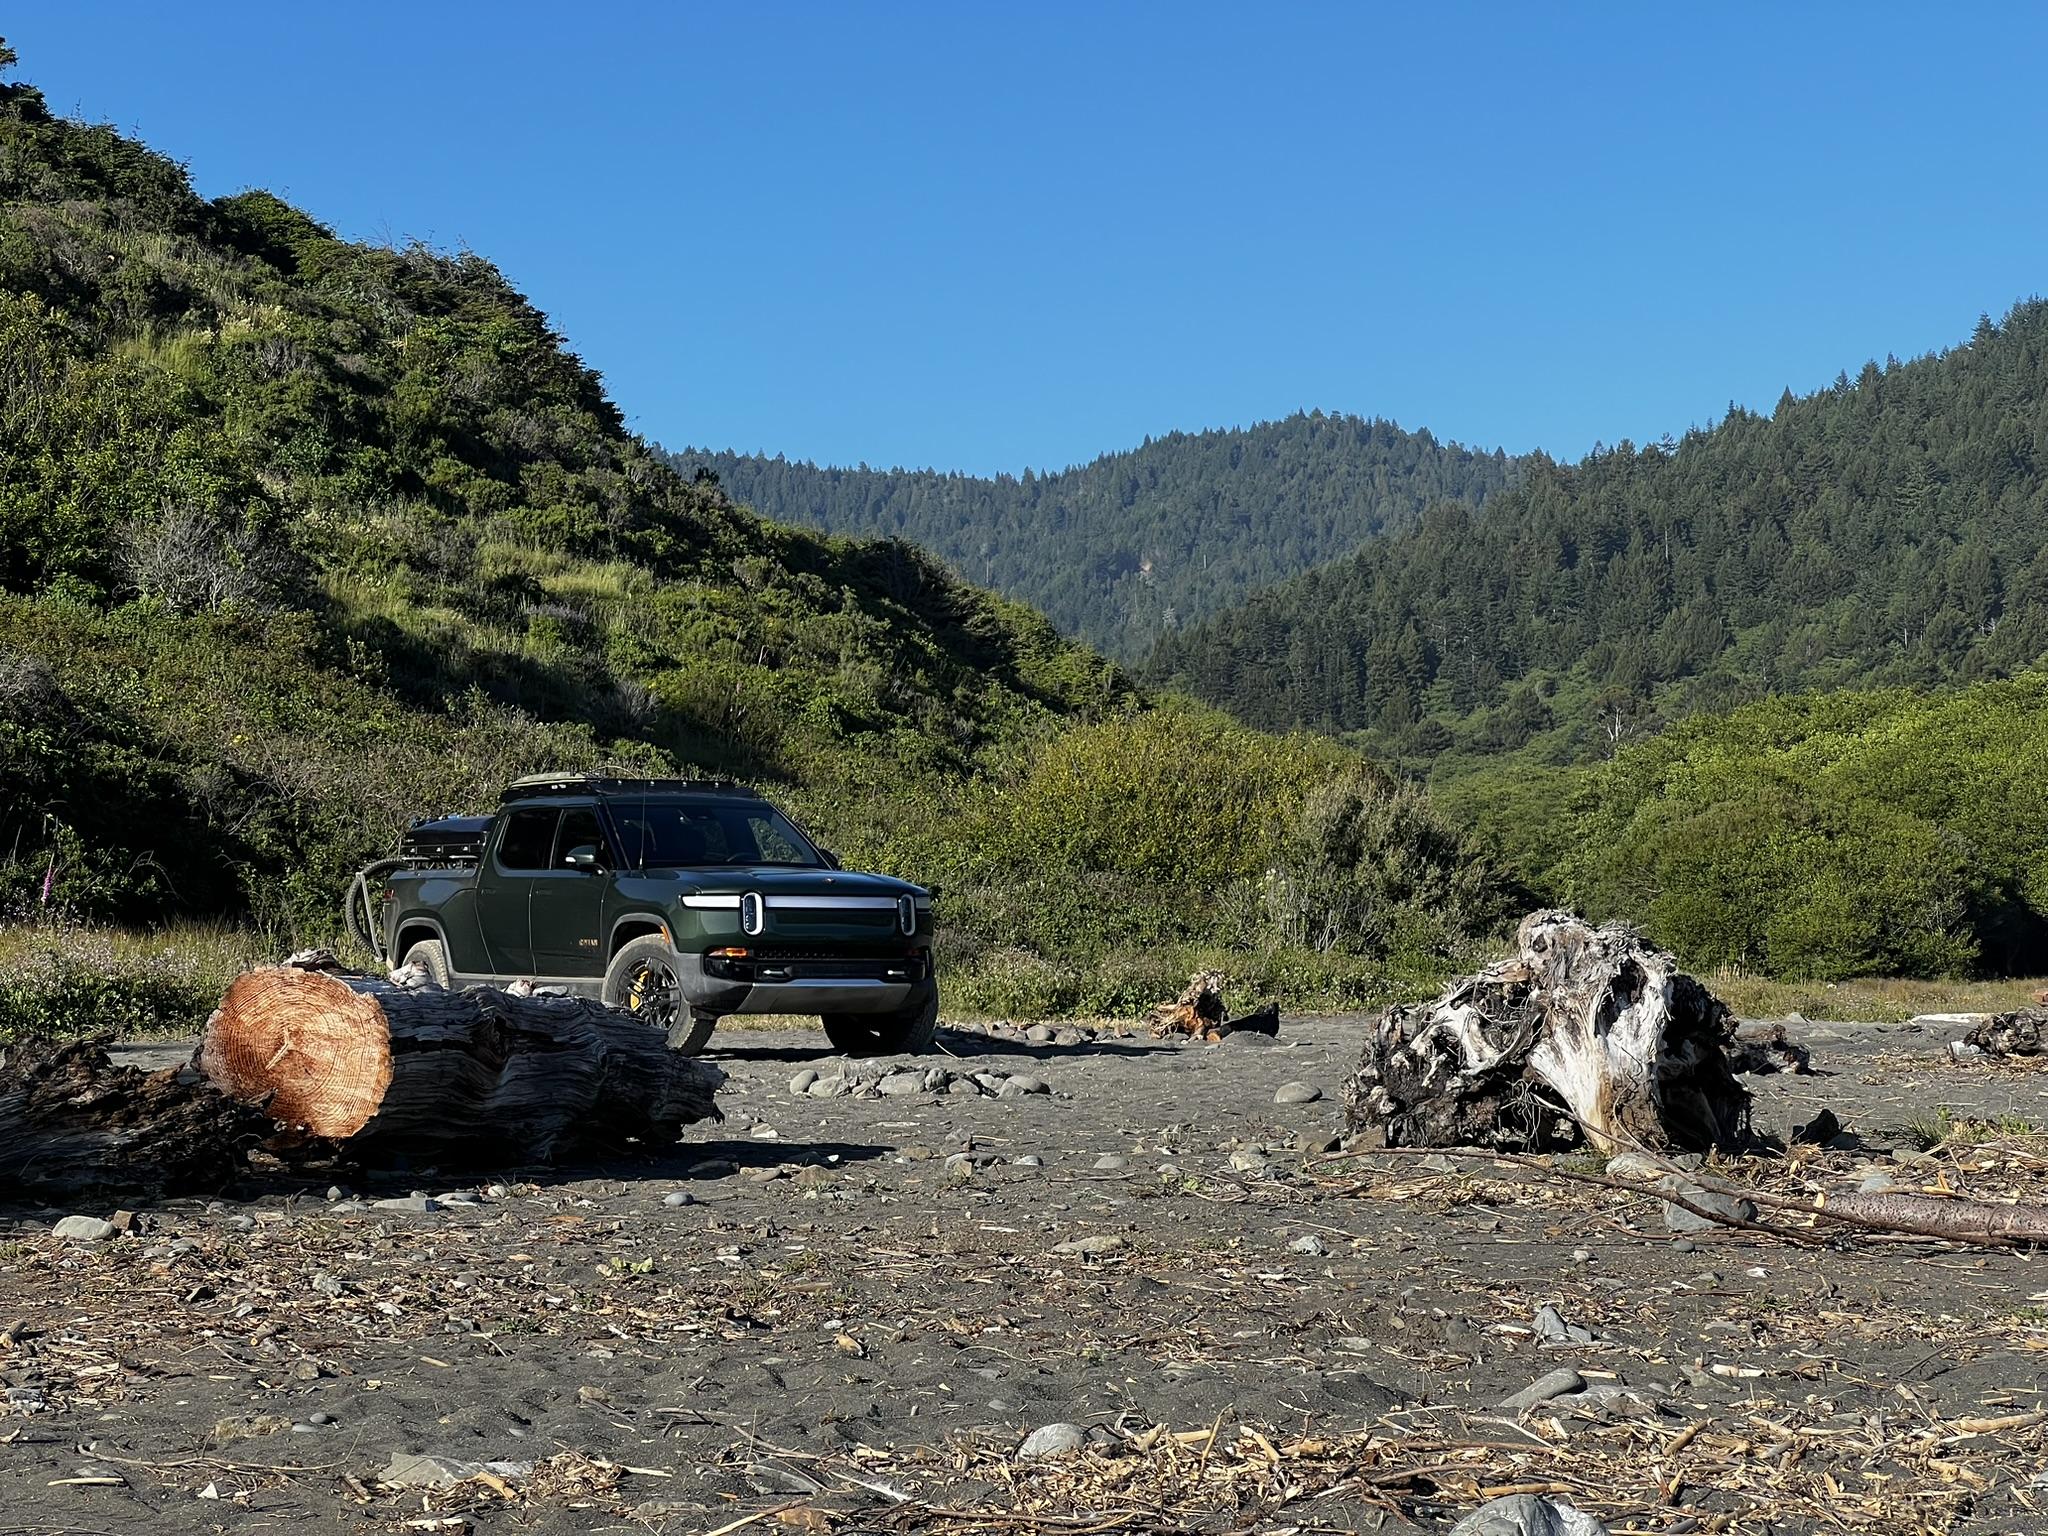
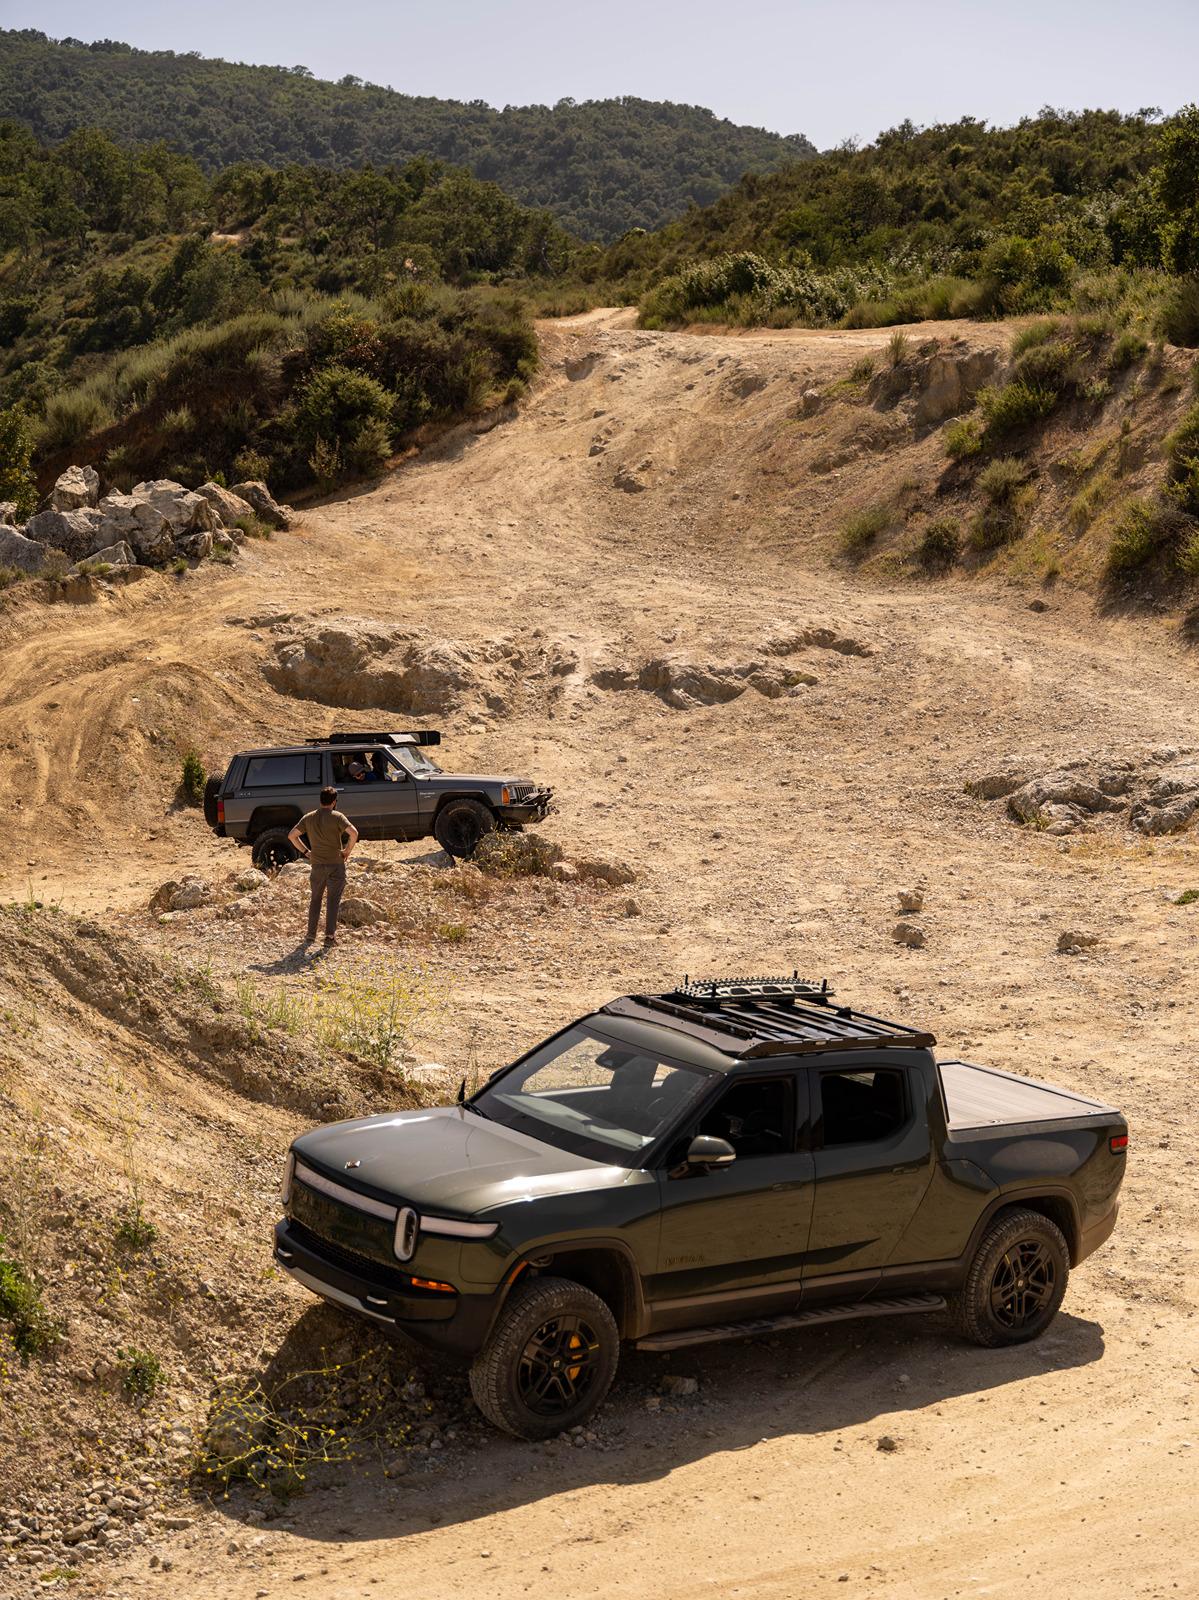
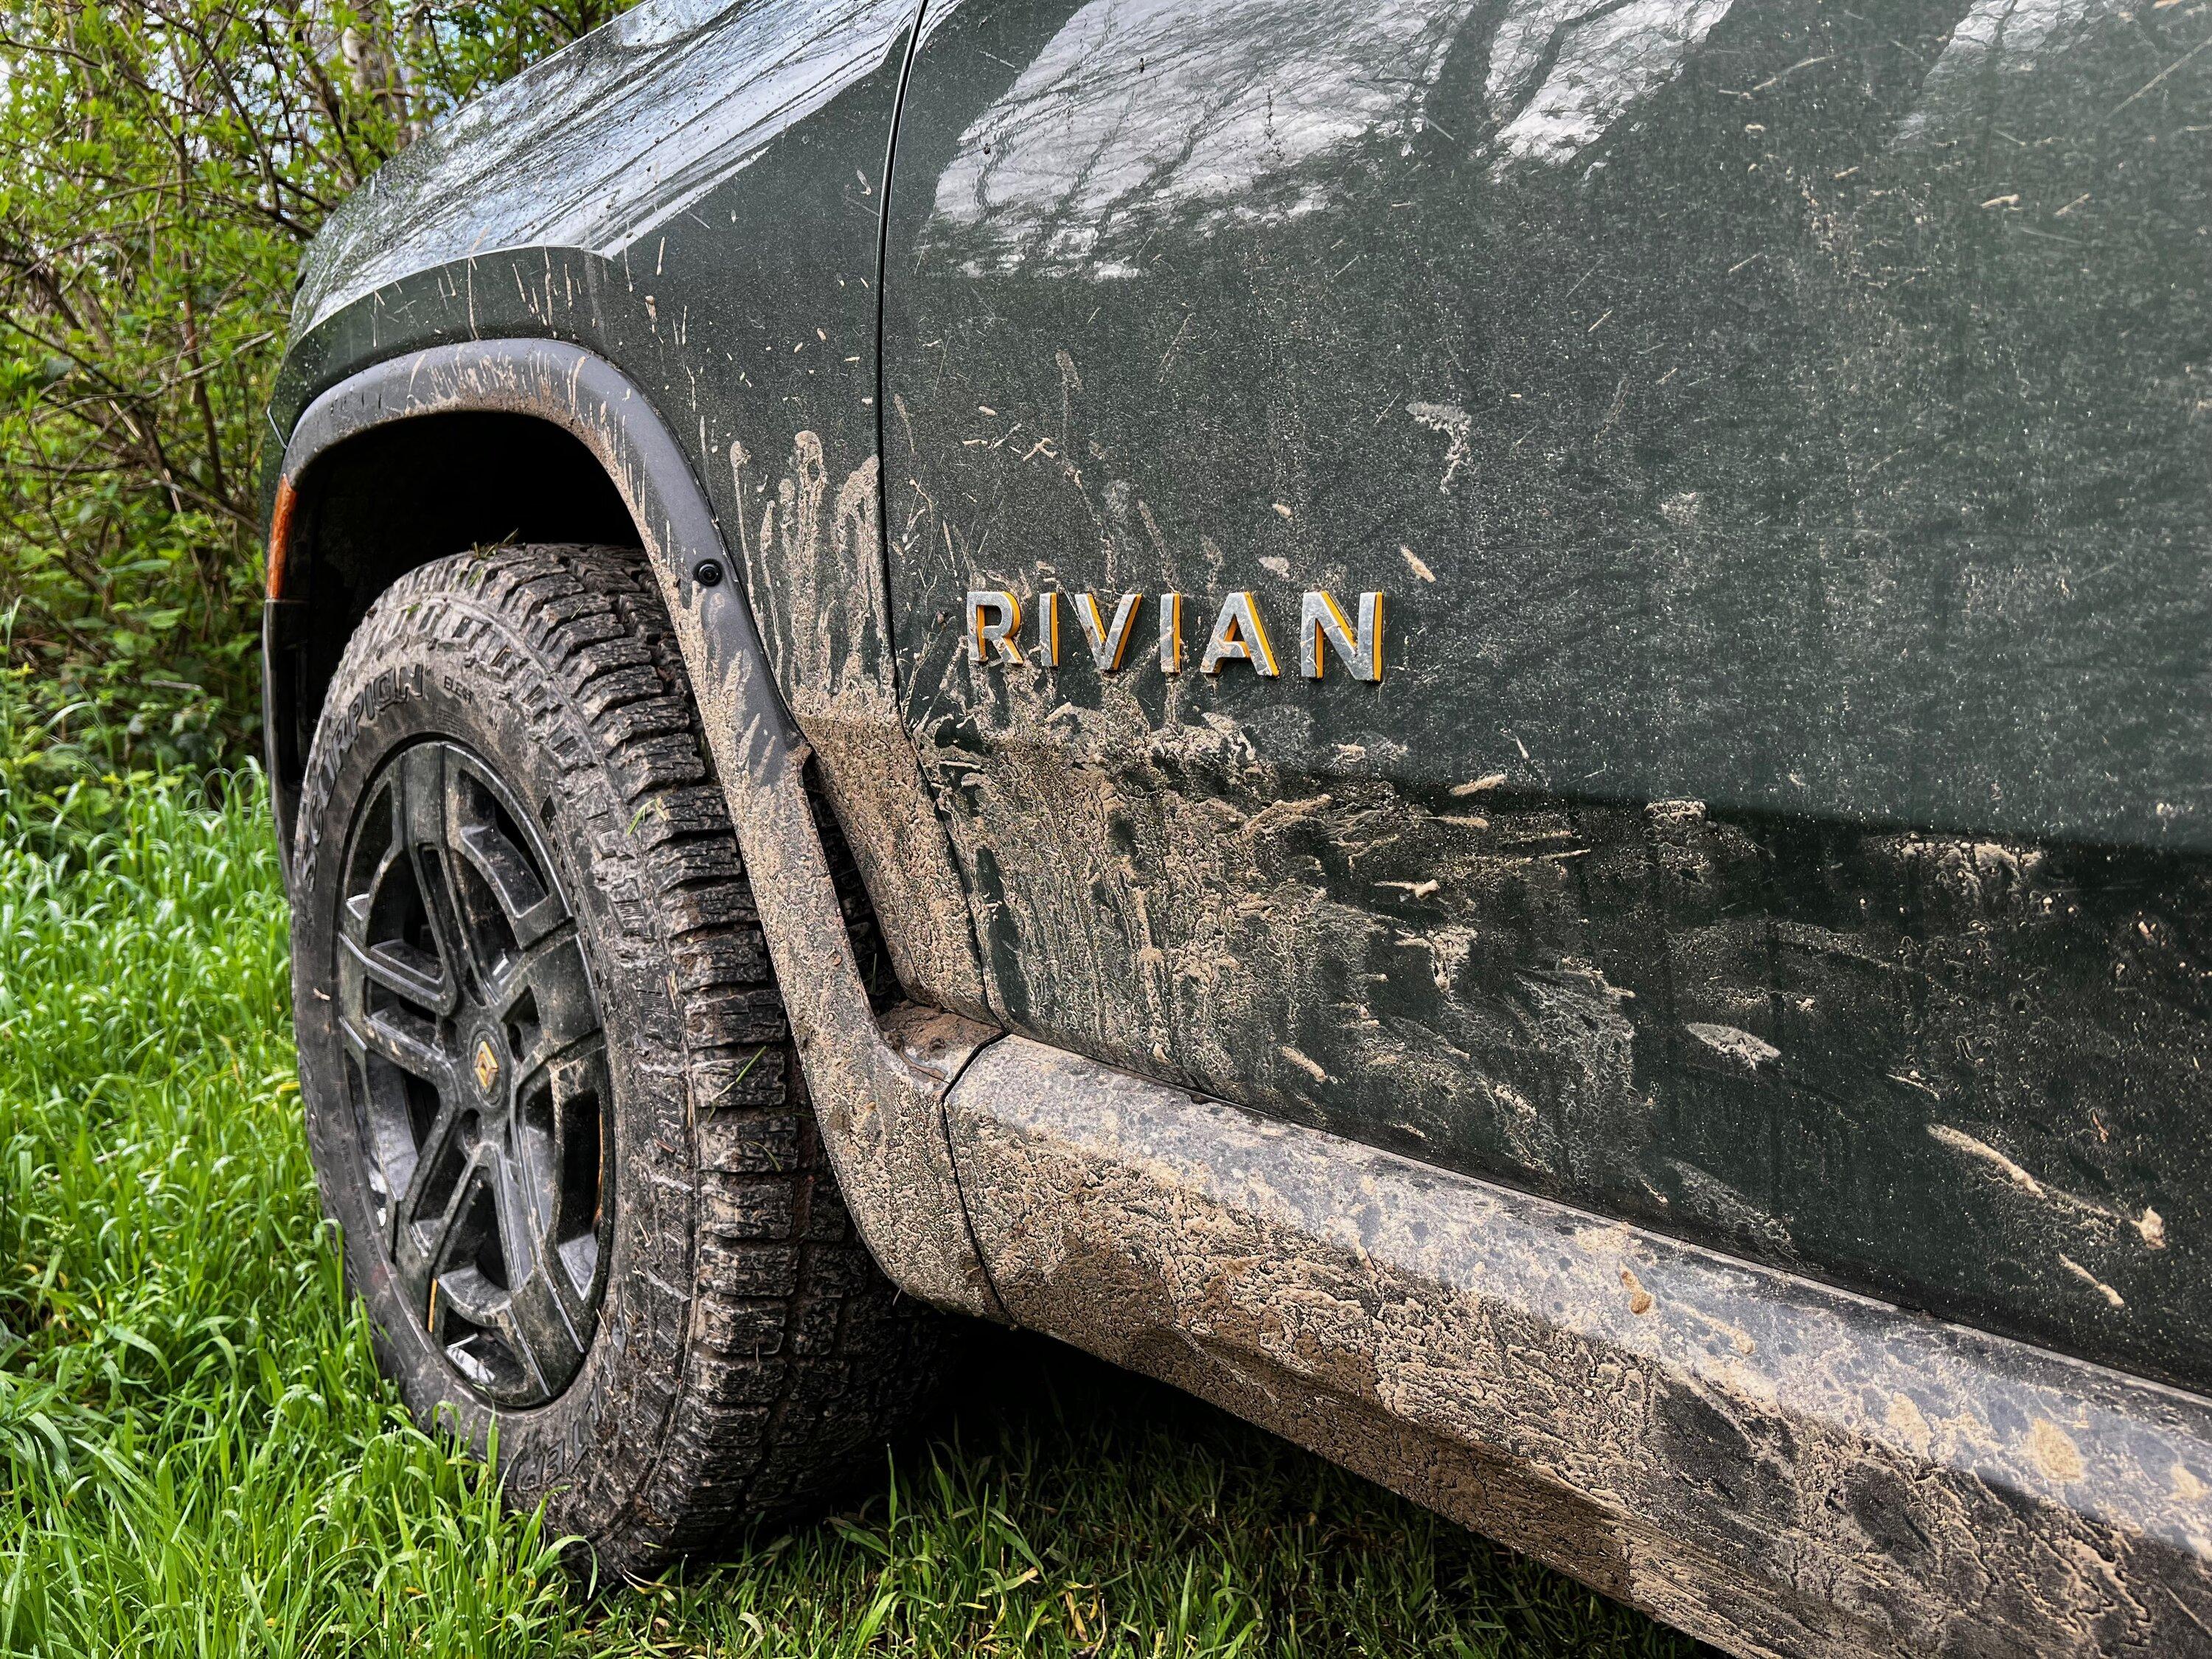
One truck update, I hit a pothole on the way home from a rather sendy weekend in the dirt:
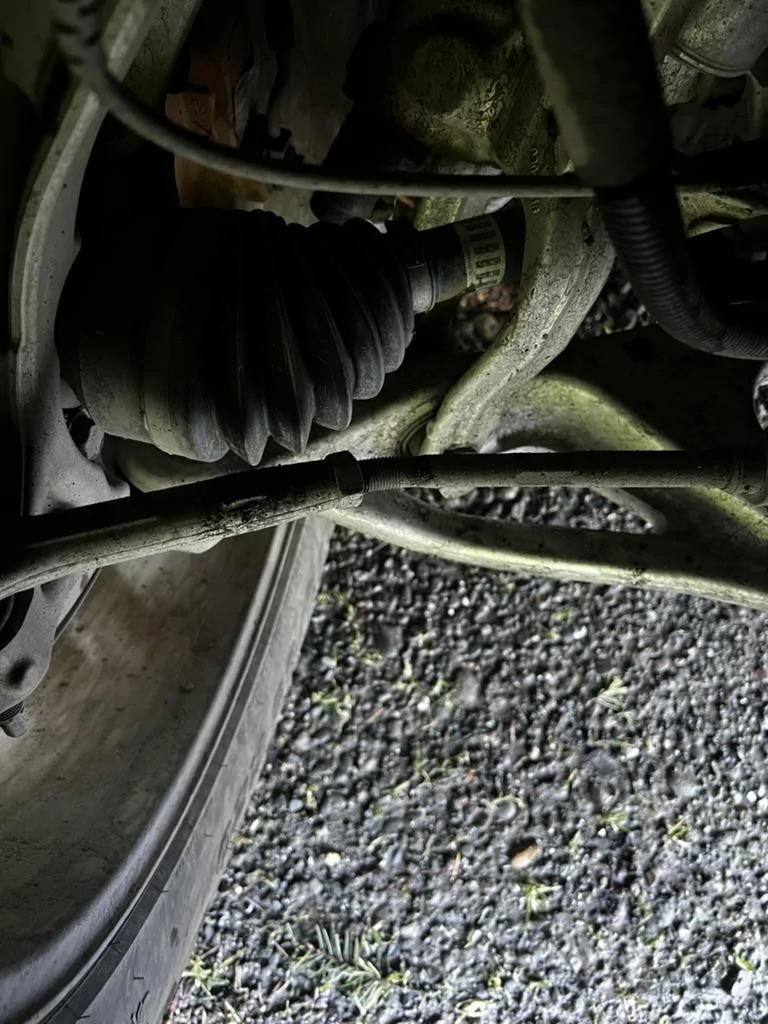
I was able to use a friend's winch to straighten it a little, and then we used wrenches to adjust it outwards so the truck would stop going into Turtle mode due to the really bad alignment. It was juuust enough for me to be safe to drive home in the right lane at 60mph.
Kinda funny that an entire weekend of rally and drift mode shenanigans didn't do any harm, but one little pot hole did me in. Ah well.
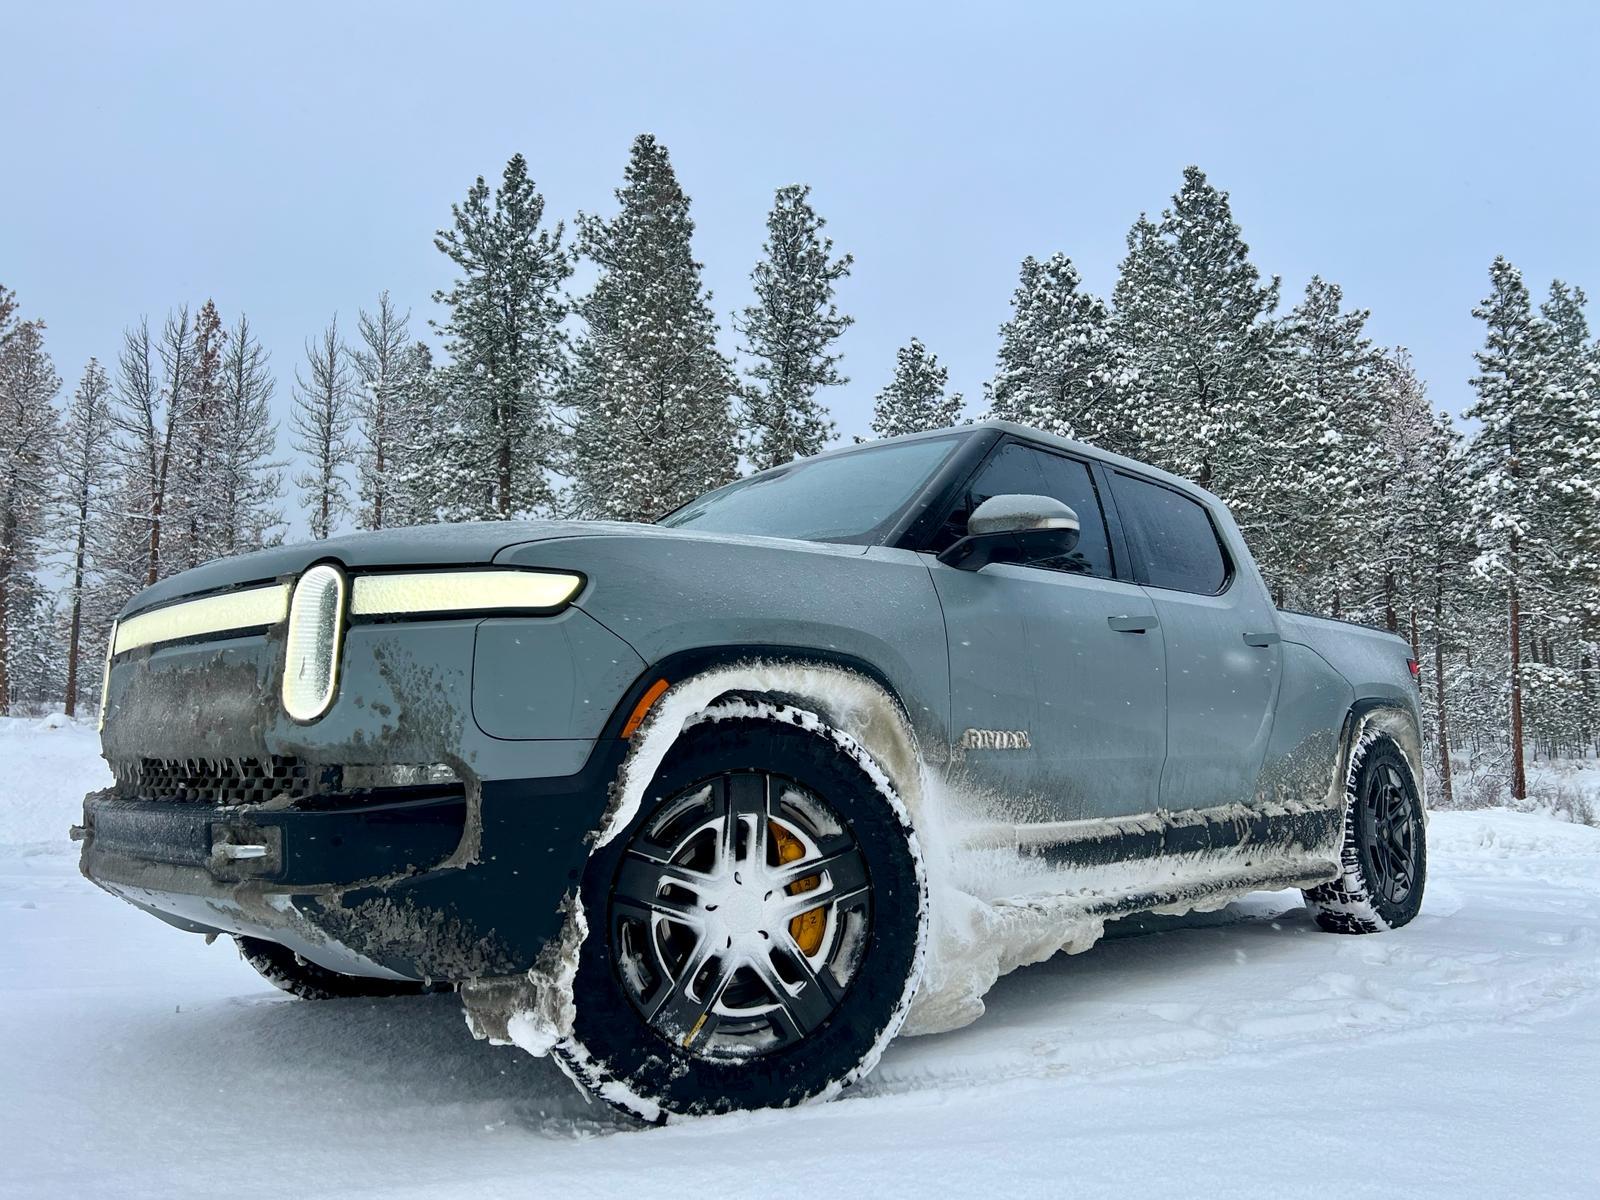
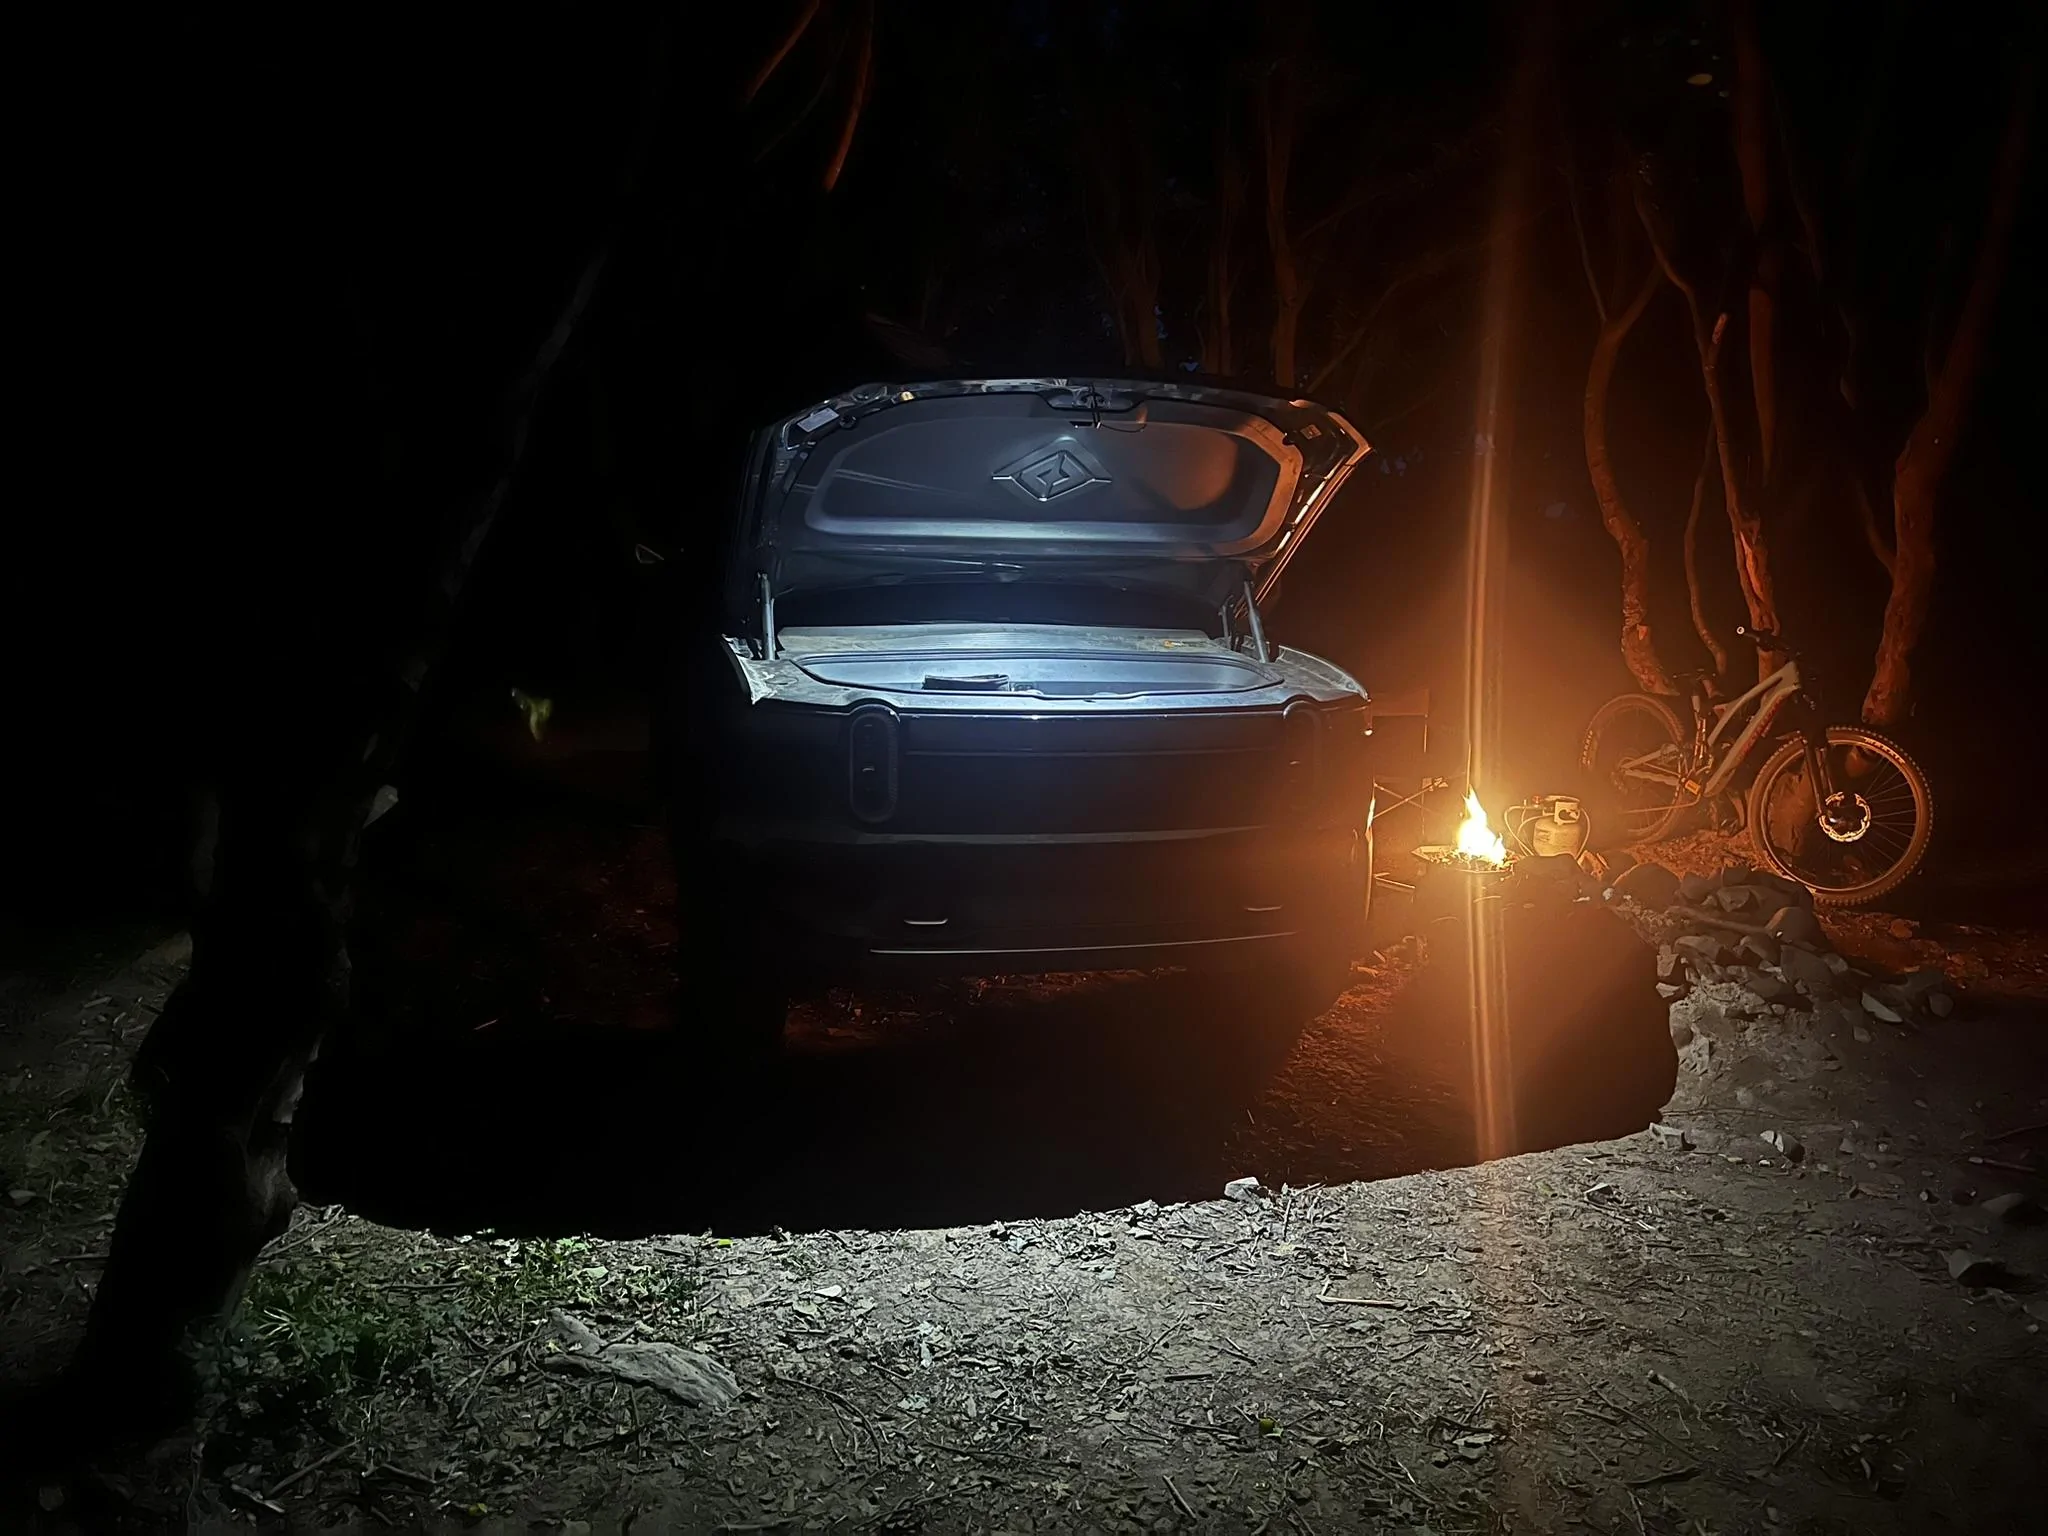
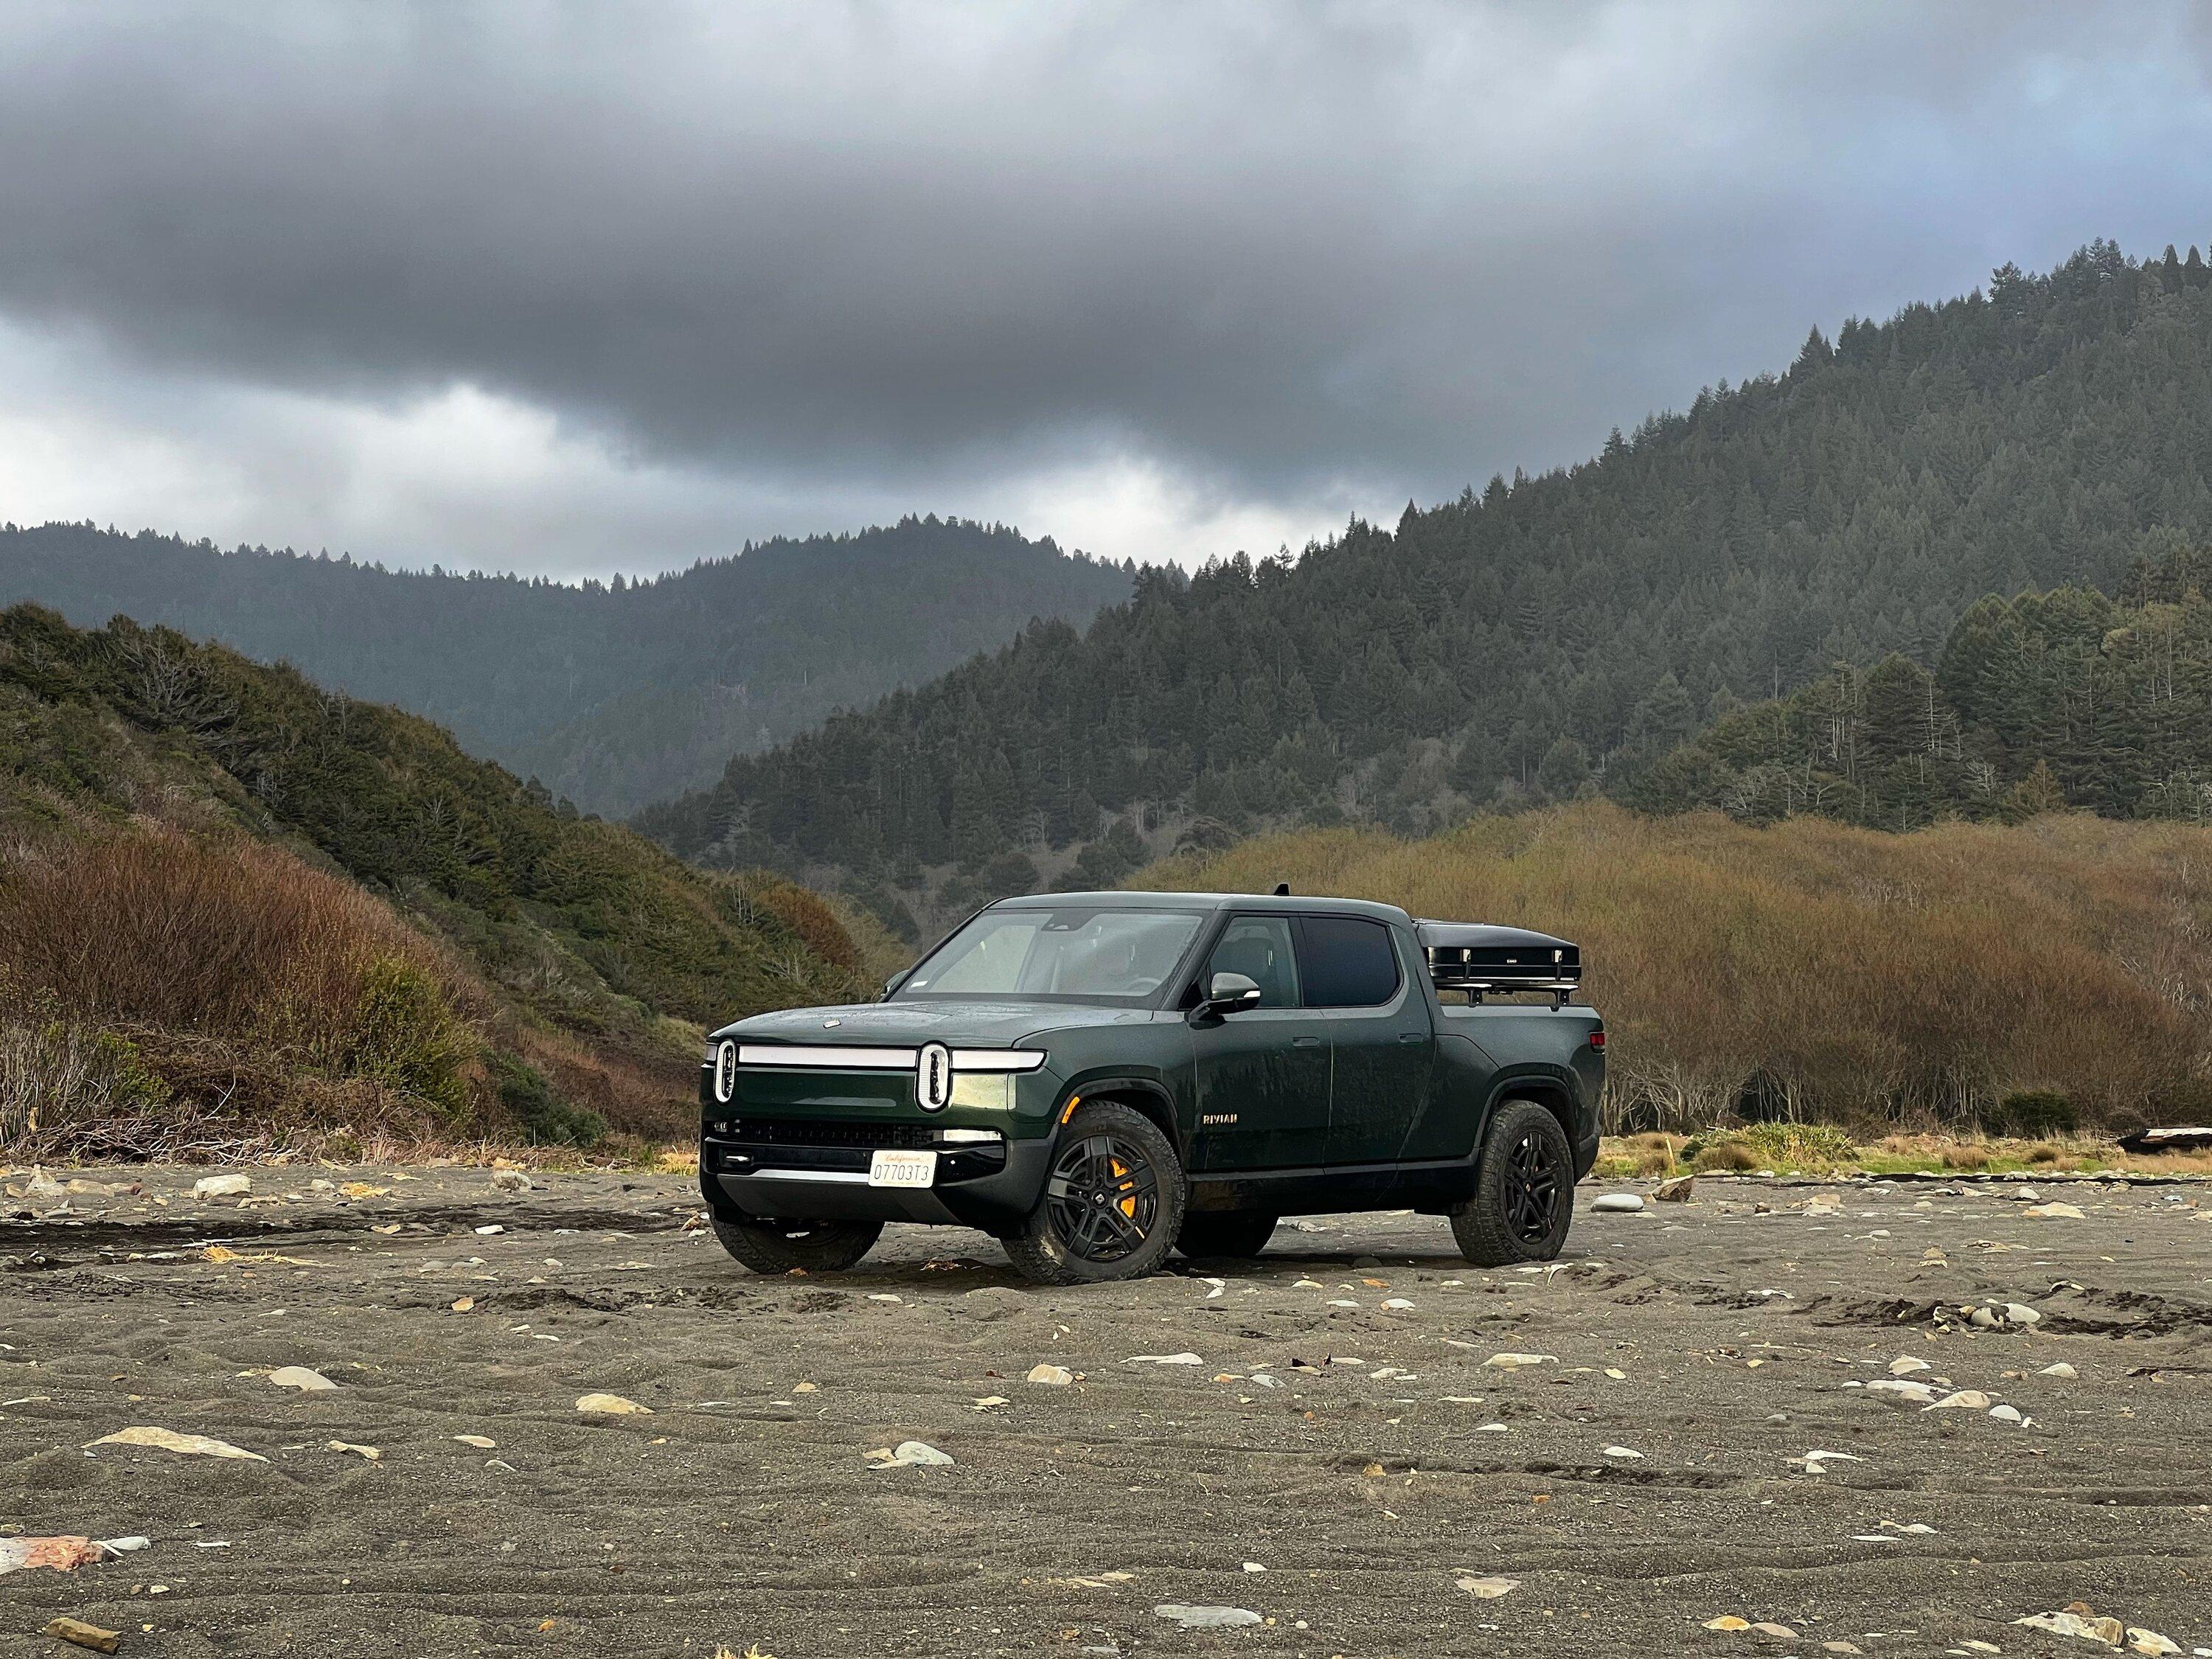
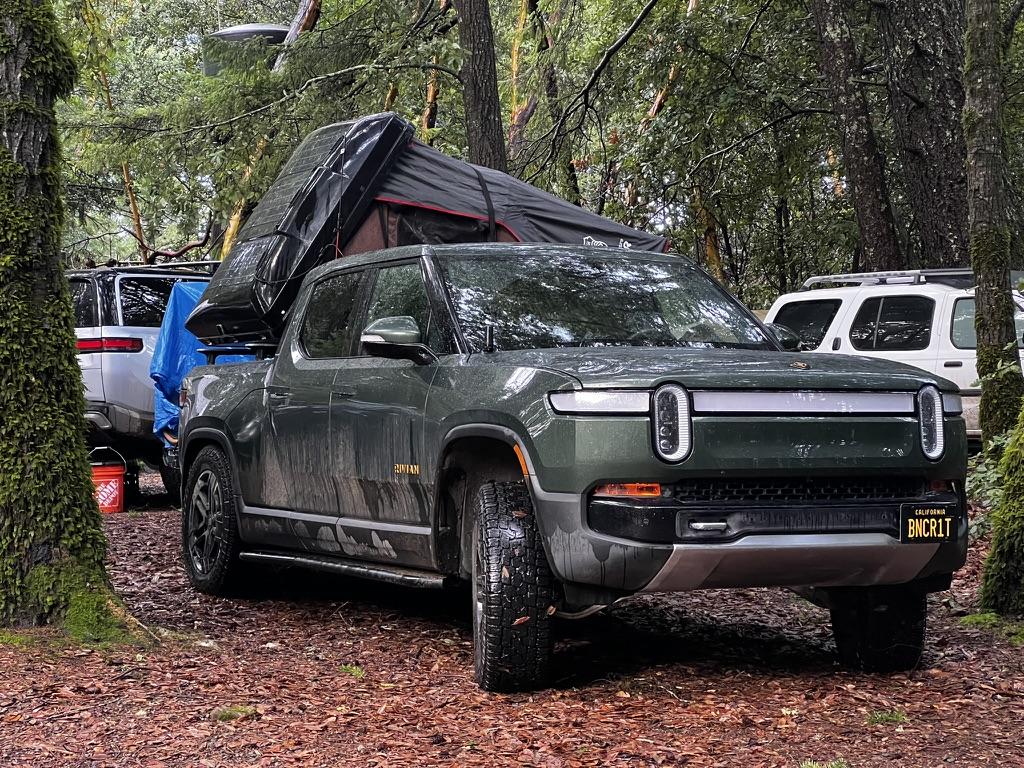
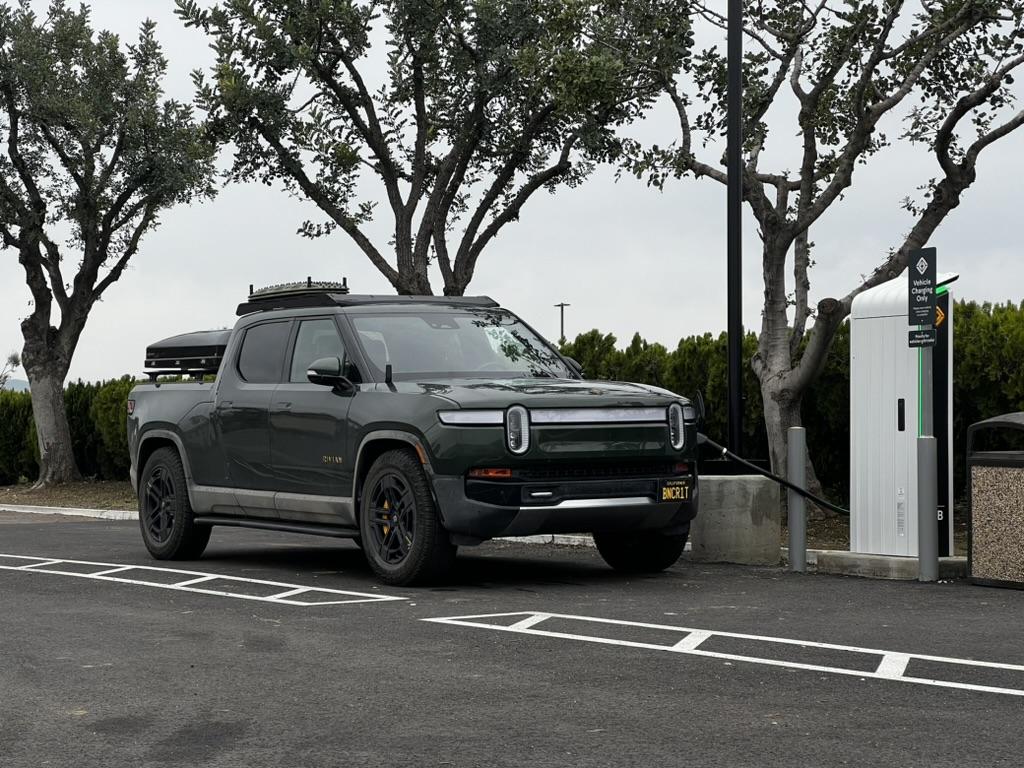
Here's the truck looking good at camp the first night:
Sponsored
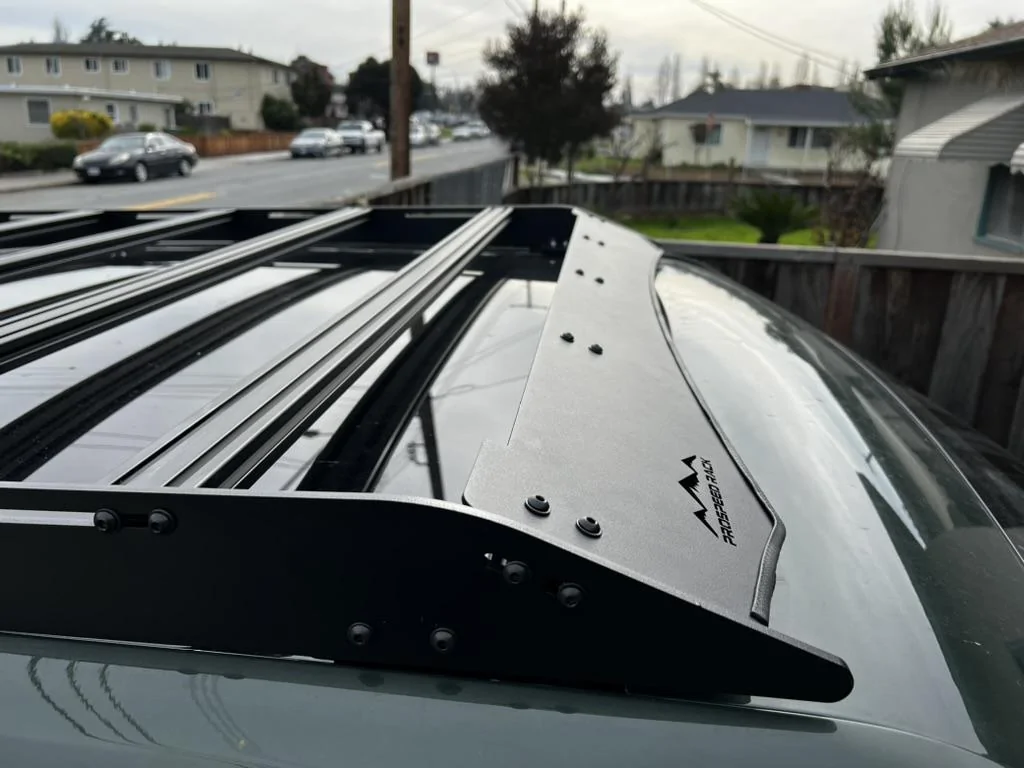
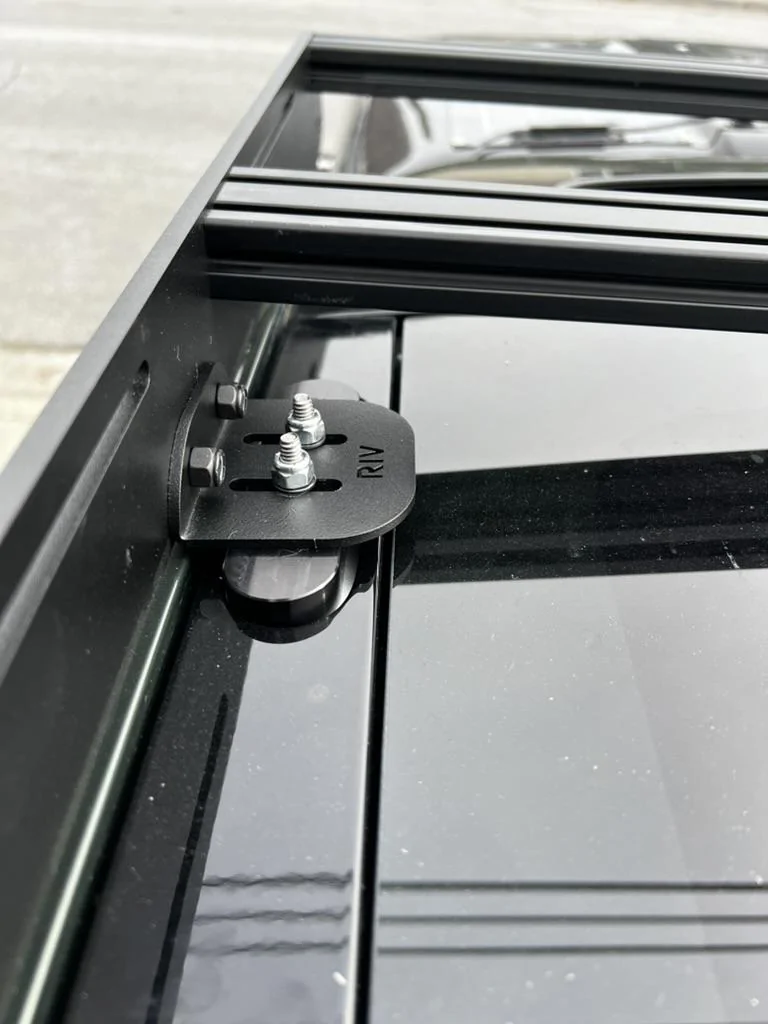

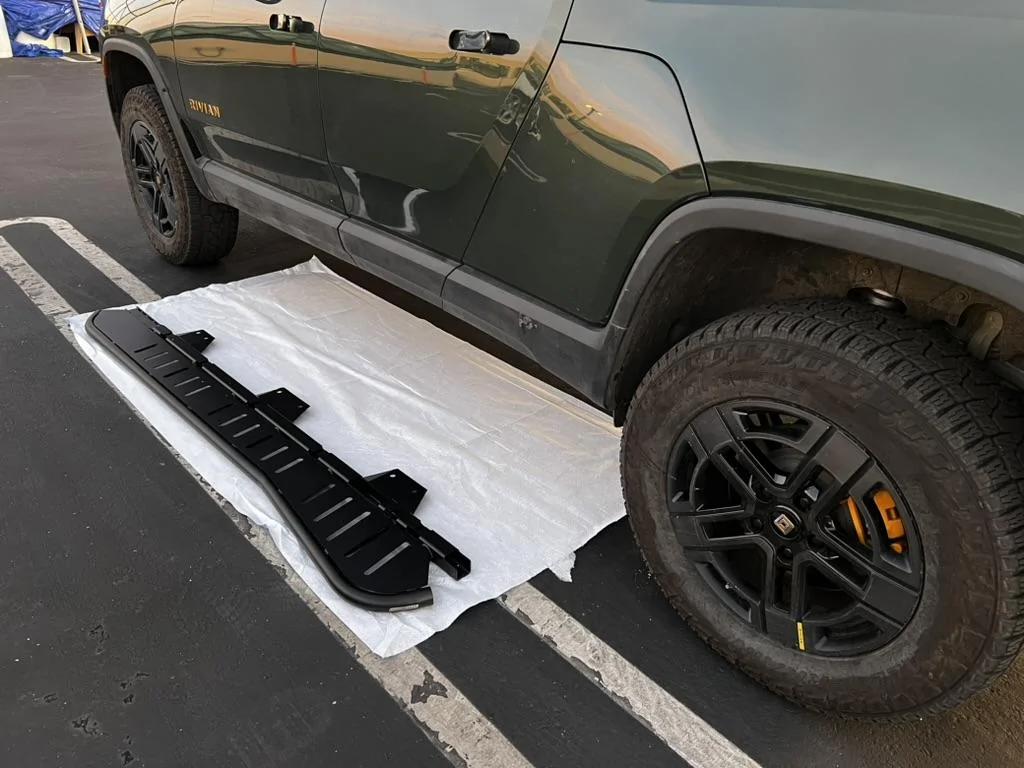
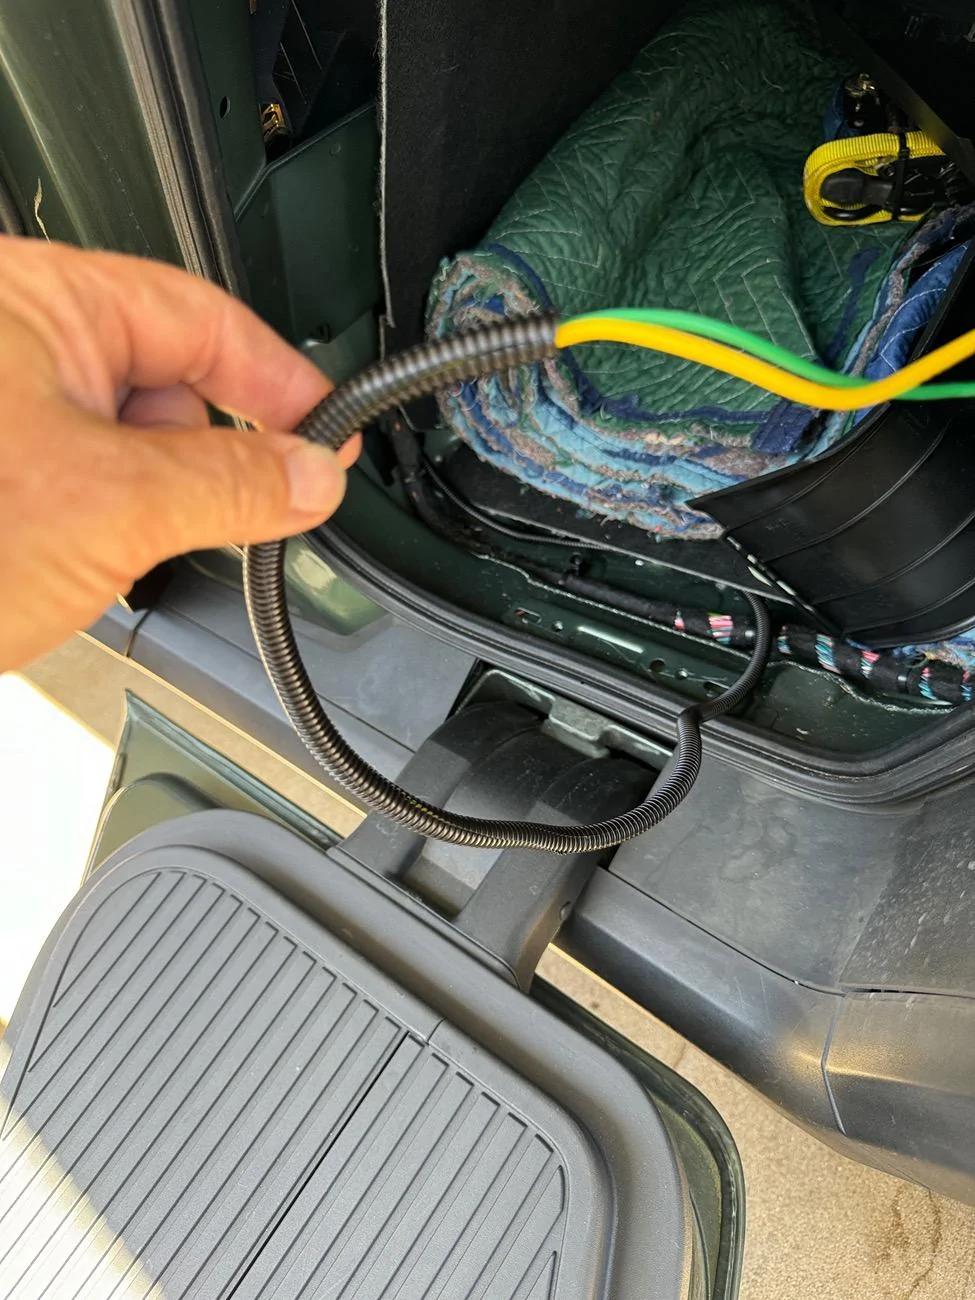
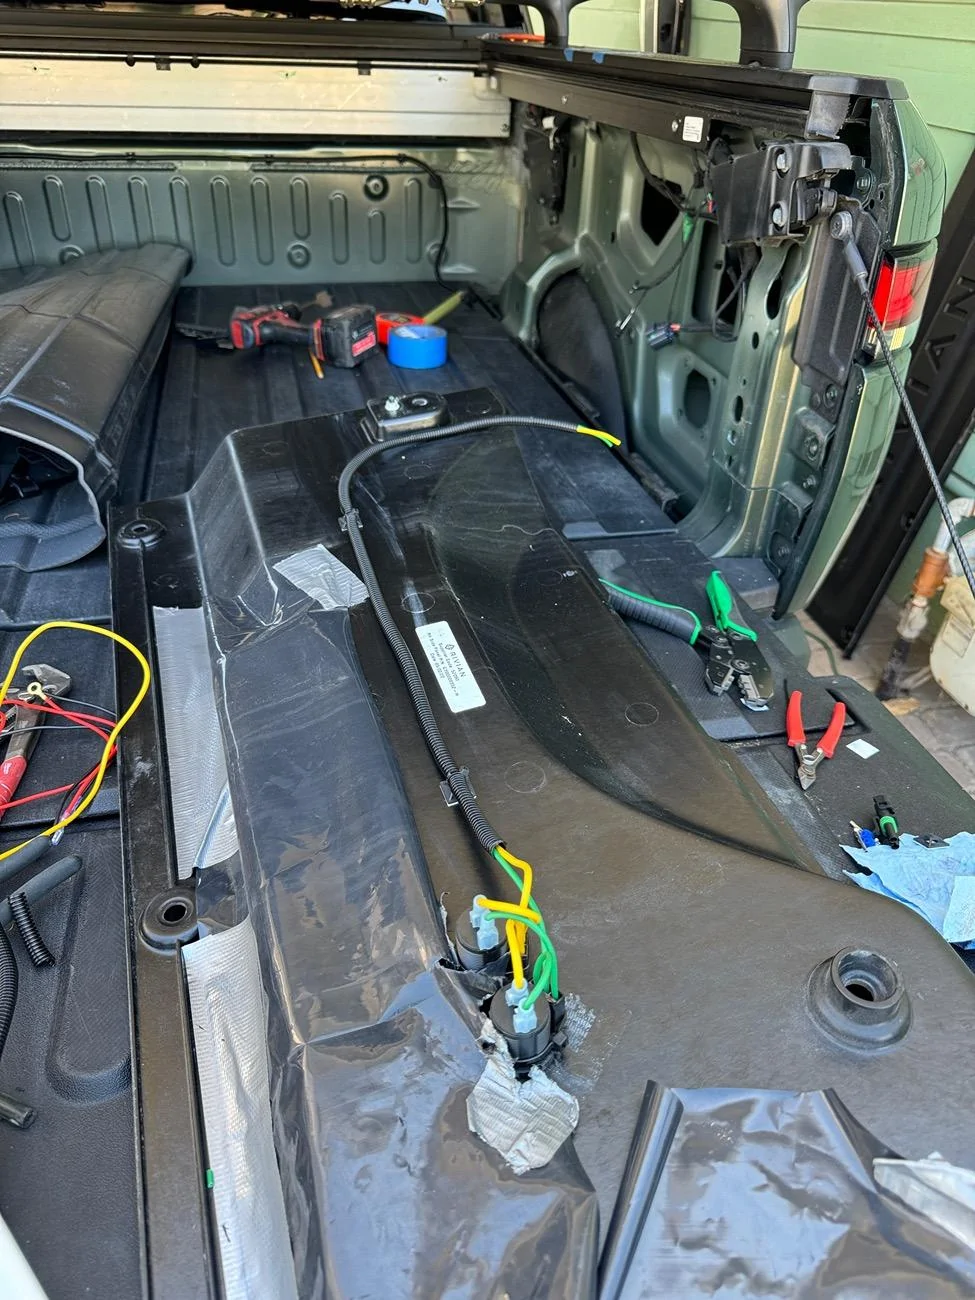
") Though I did realize I can't bench press what I used to during the install... lol
Though I did realize I can't bench press what I used to during the install... lol