Professor
Member
- Joined
- Apr 16, 2025
- Threads
- 2
- Messages
- 11
- Reaction score
- 2
- Location
- Southern Utah
- Vehicles
- Rivian R1T
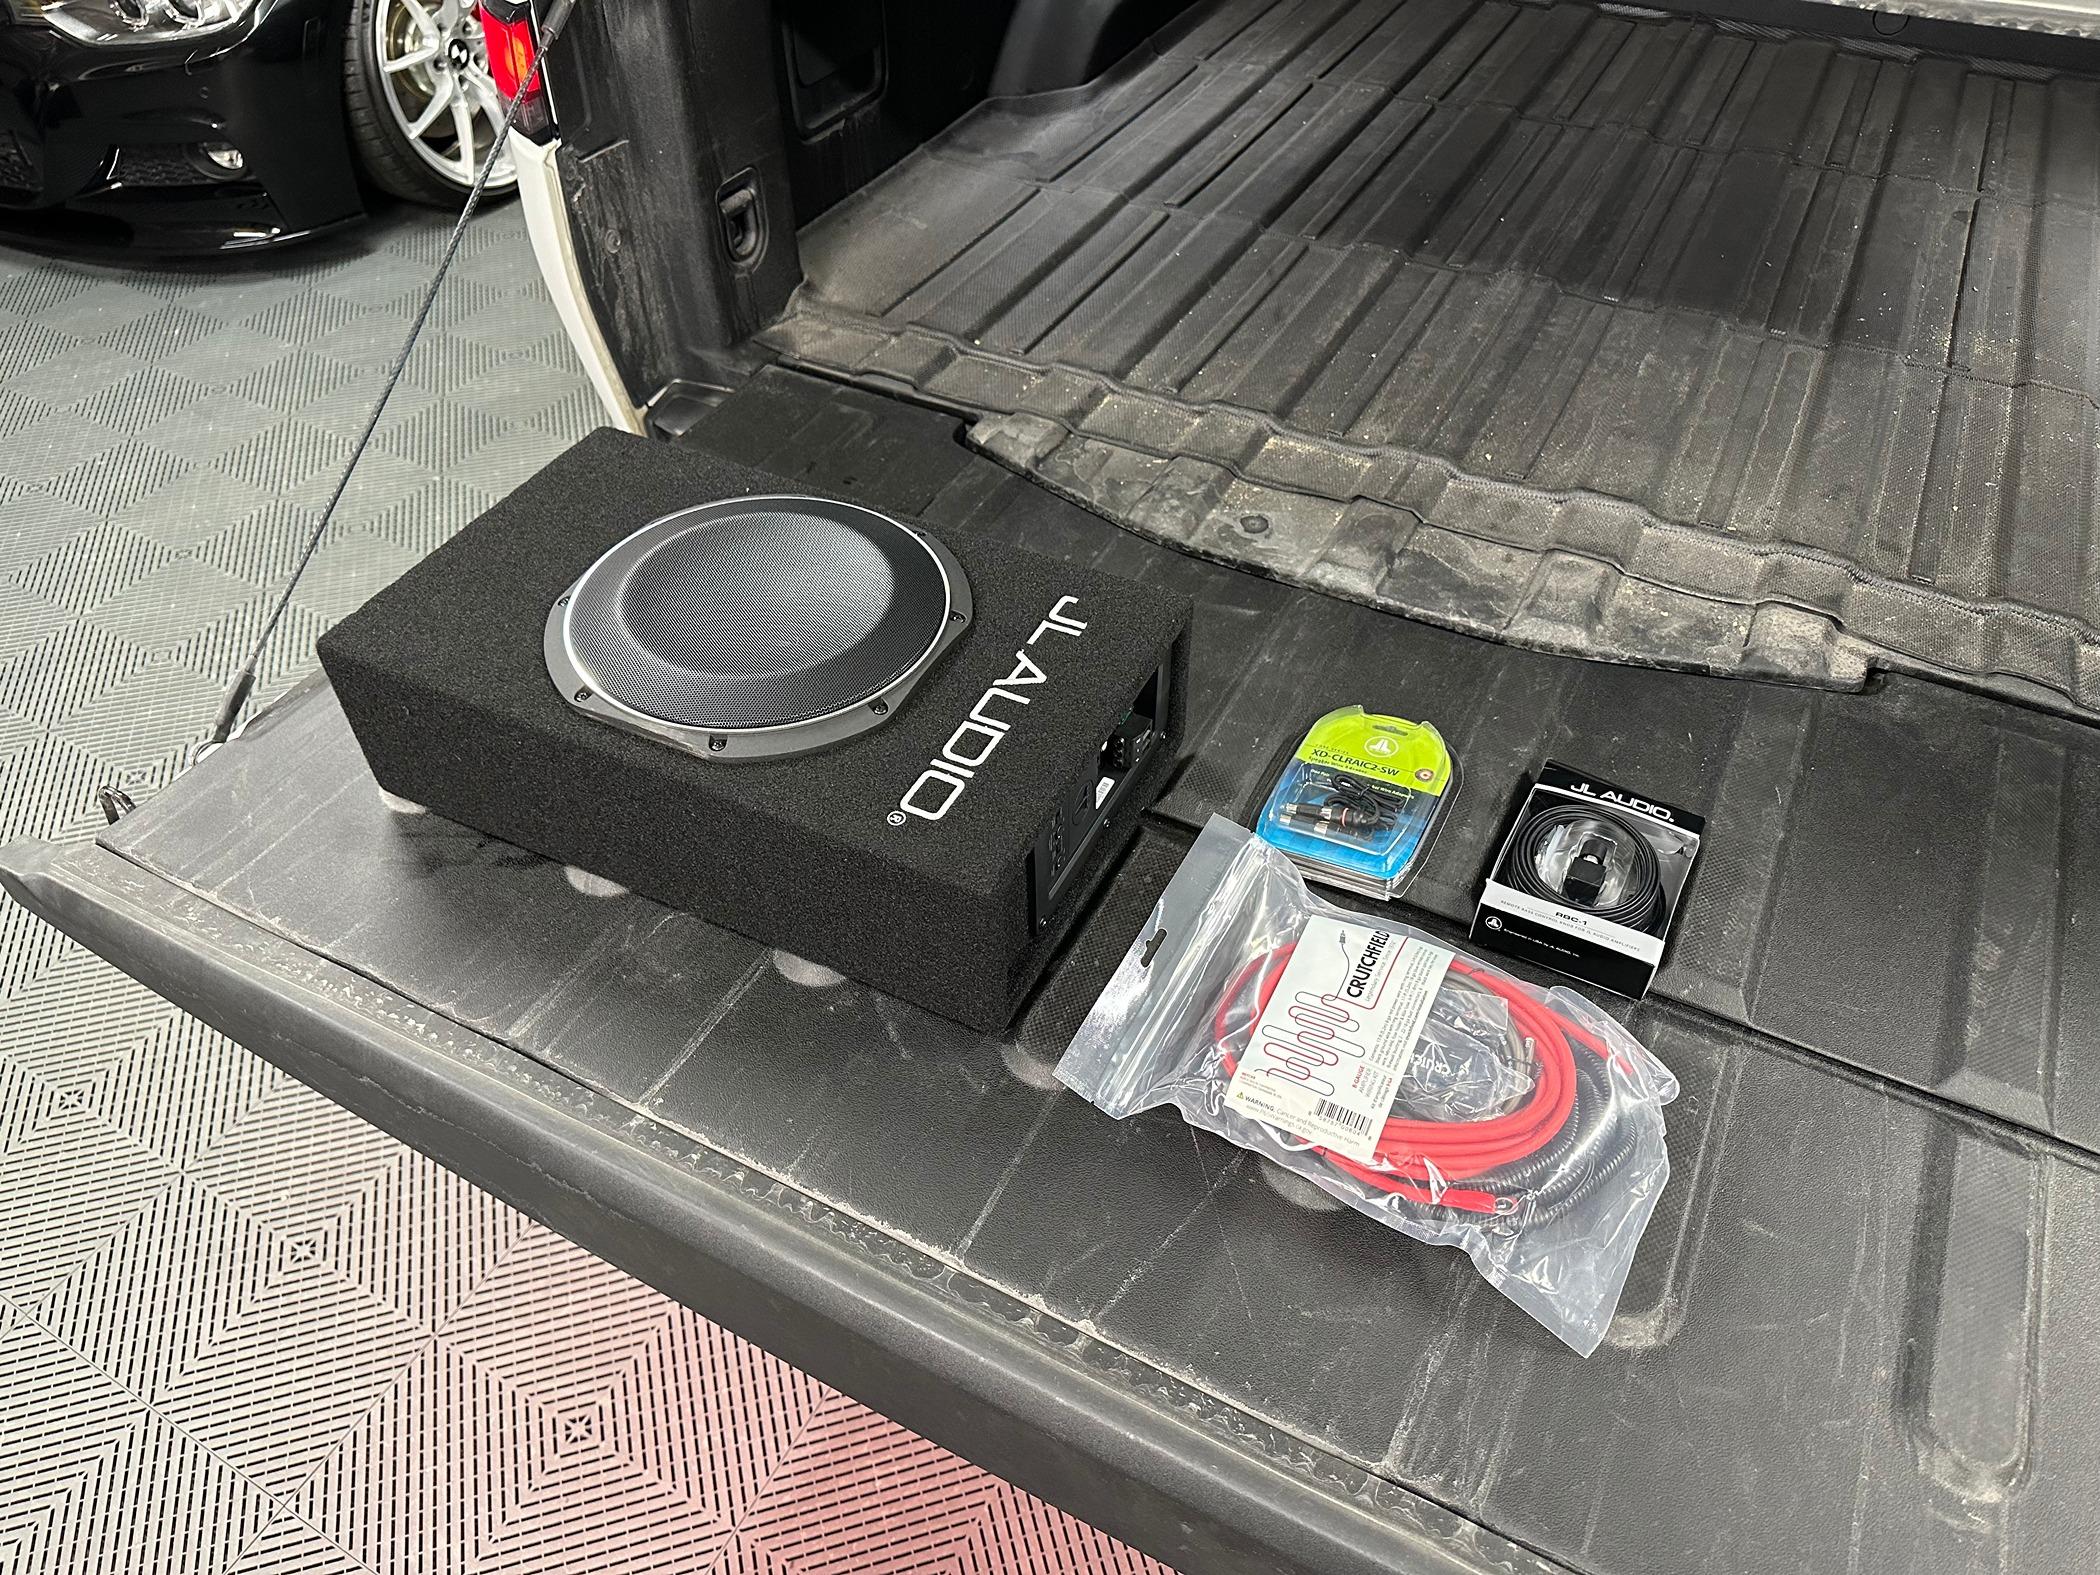
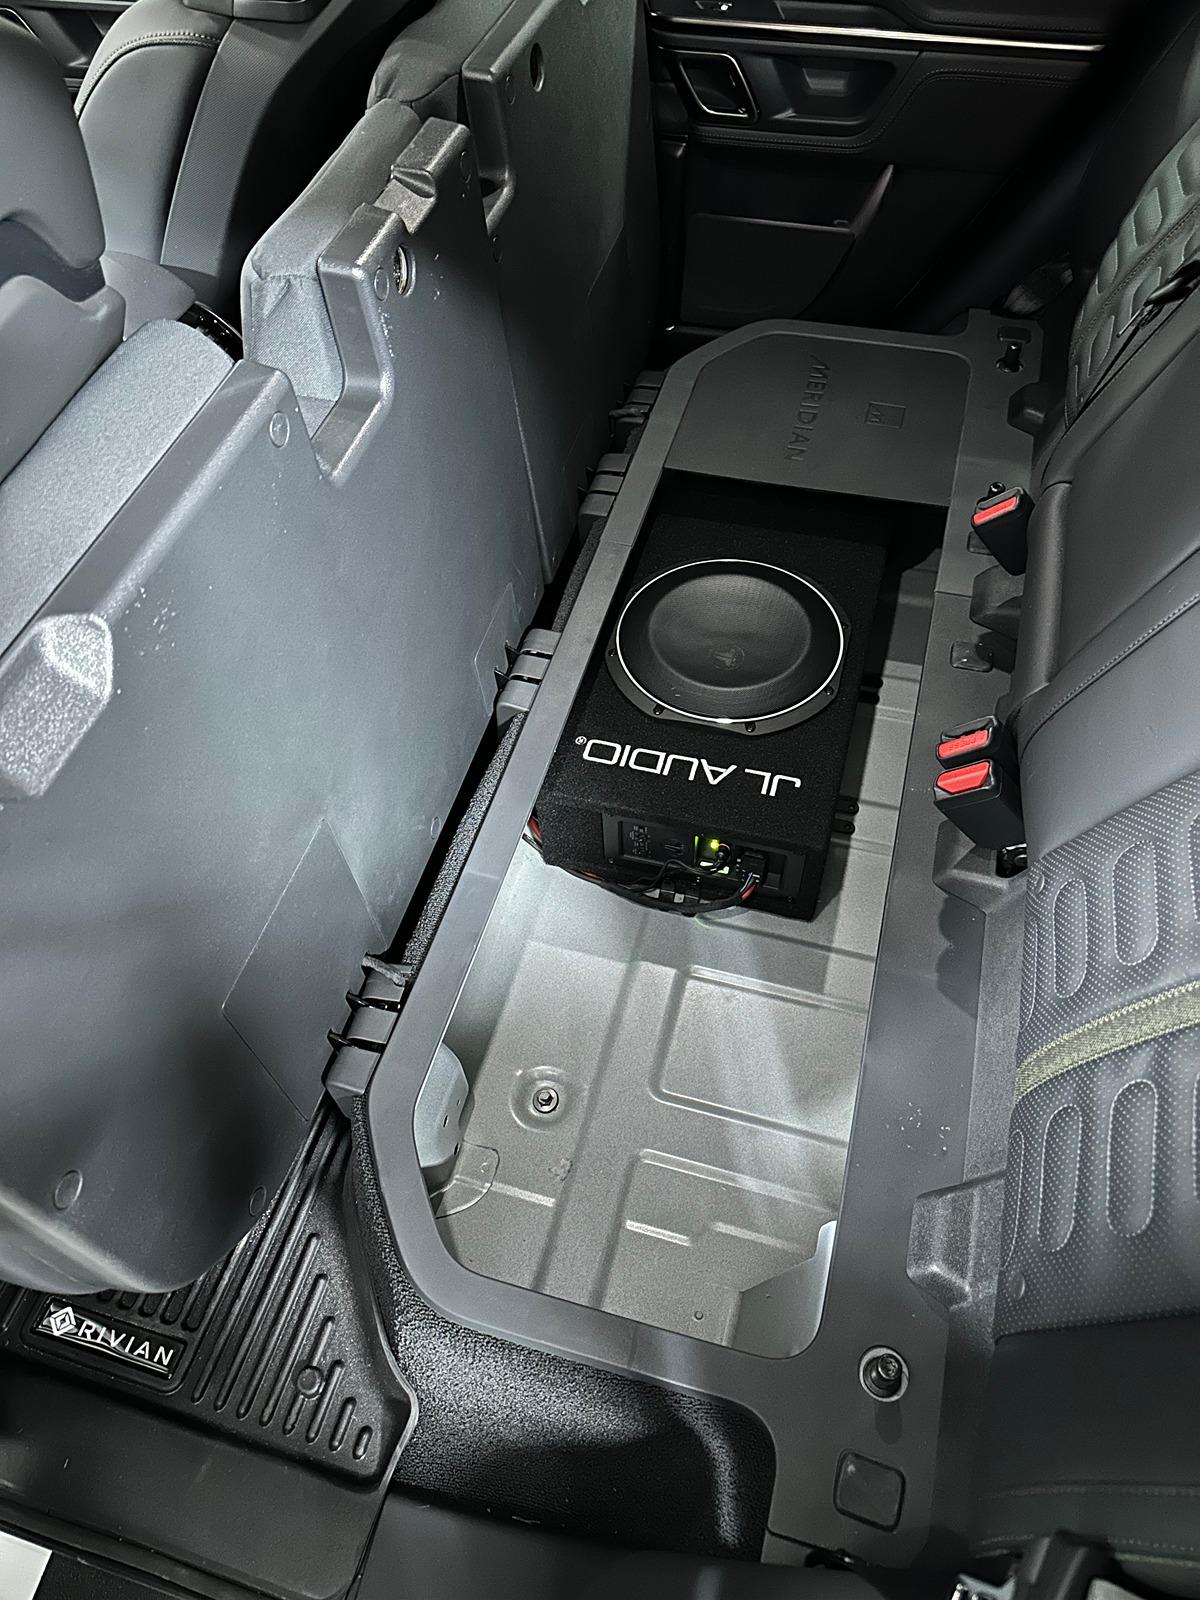
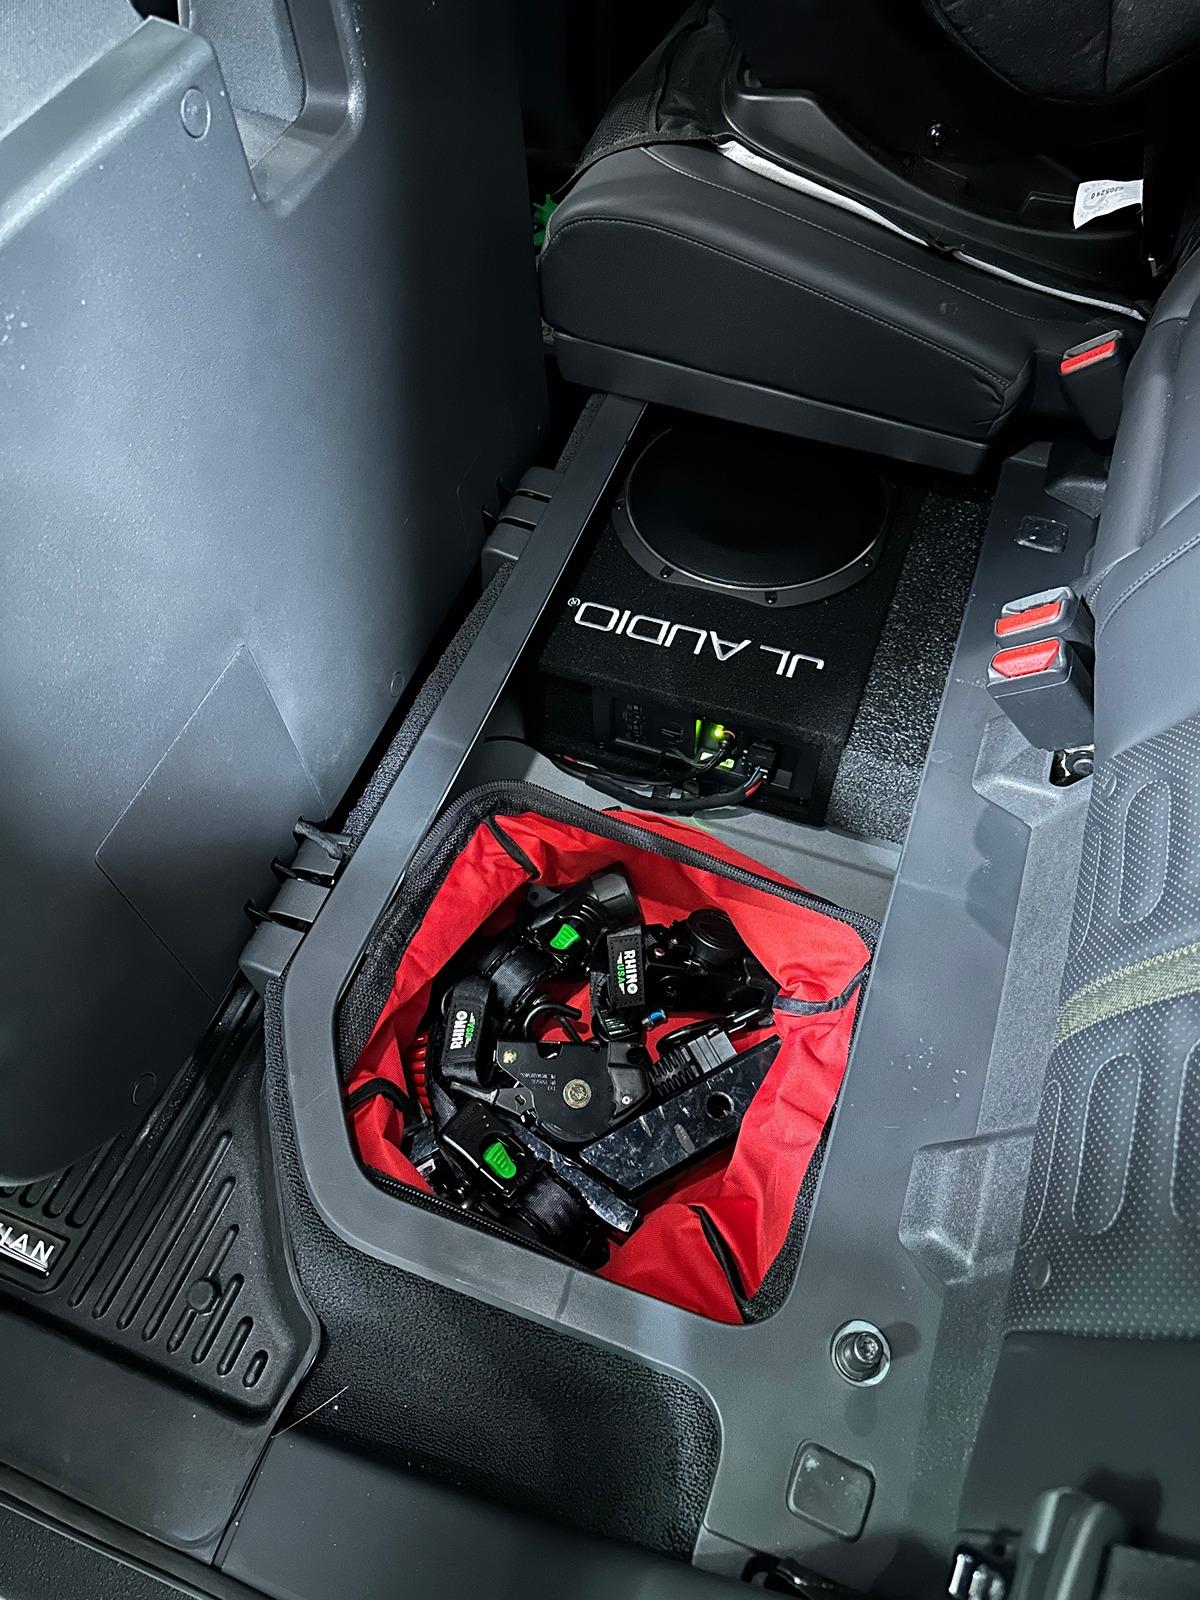
Thank you for the insight. Based on your posting information I have ordered the JL Subwoofer. It shipped from Florida last week. I am having a shop install it, as I am completely clueless on this kind of thing. I just know that I have been disappointed with the Rivian system and hope to upgrade it. I formerly drove a Tesla Model Y and was extremely pleased with the sound. I will keep working on my truck until I can at lease equal that sound. Any advise would be most appreciated. I loved your post about the subwoofer you installed!!!I don’t see why not. Although, converting from AC back to DC is less efficient.
Sponsored