Absolution
New Member
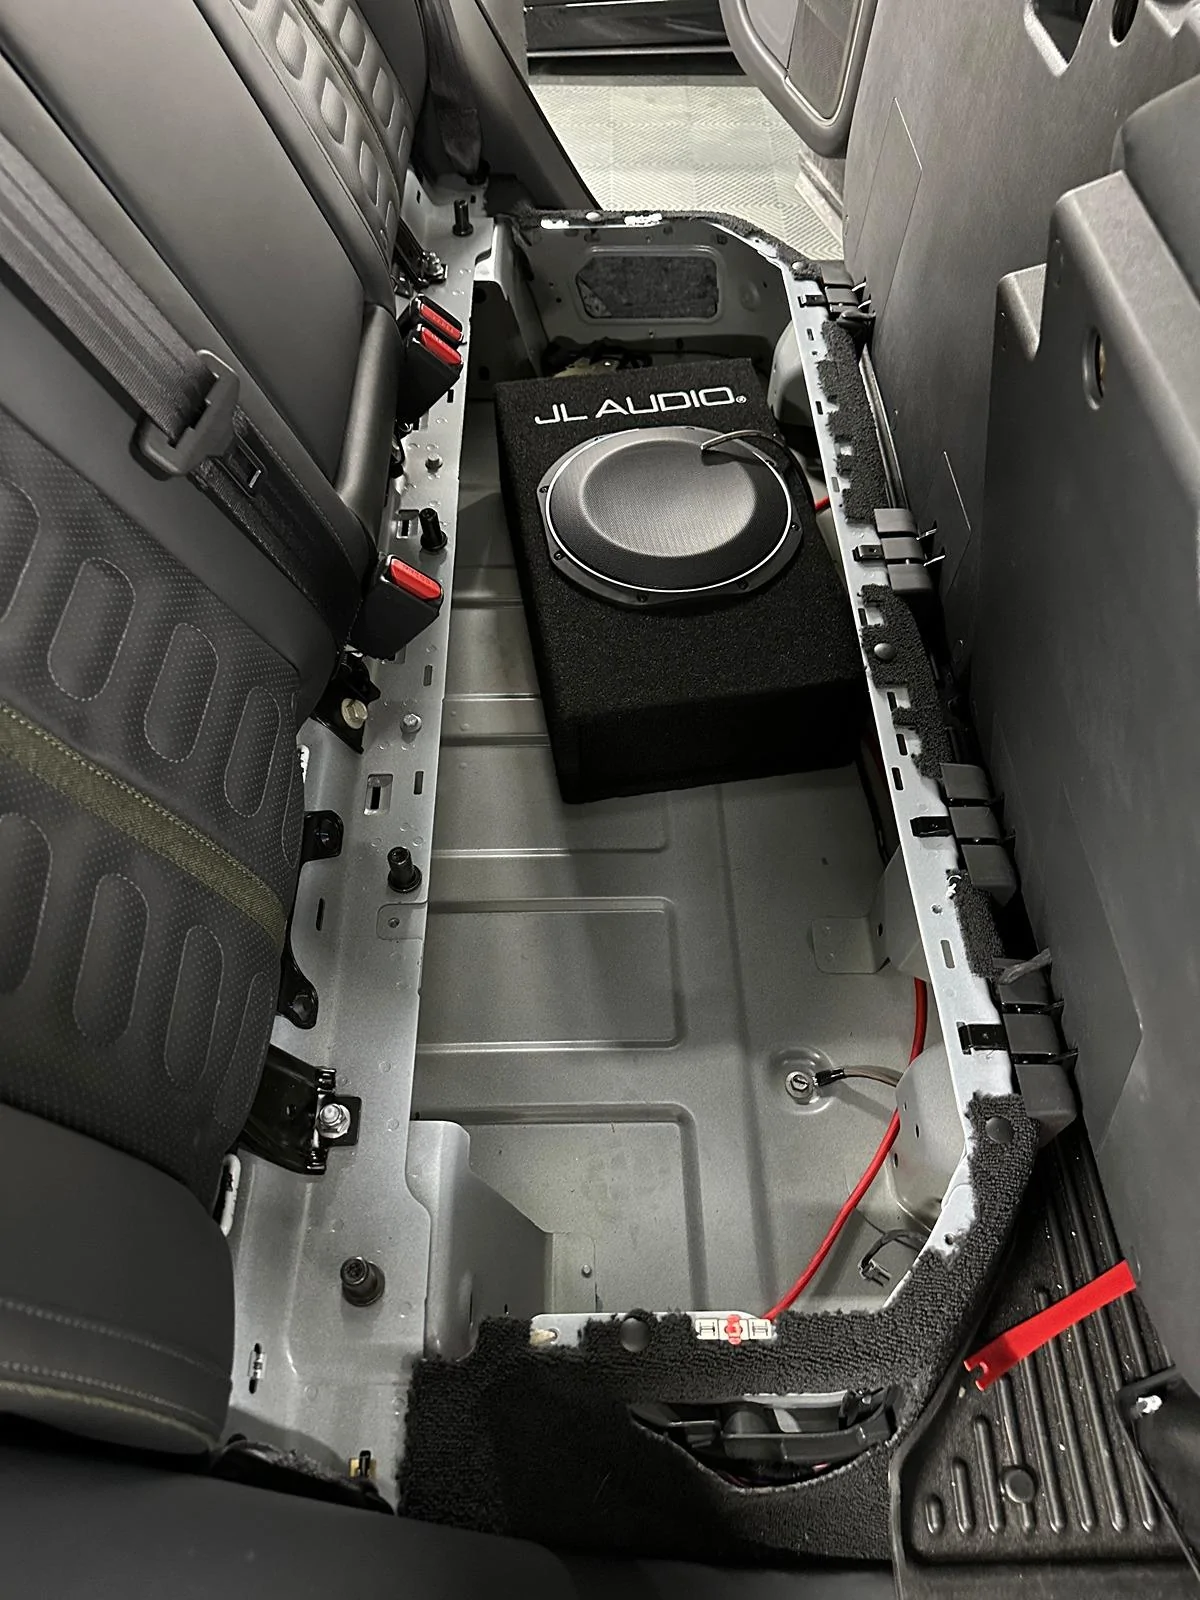
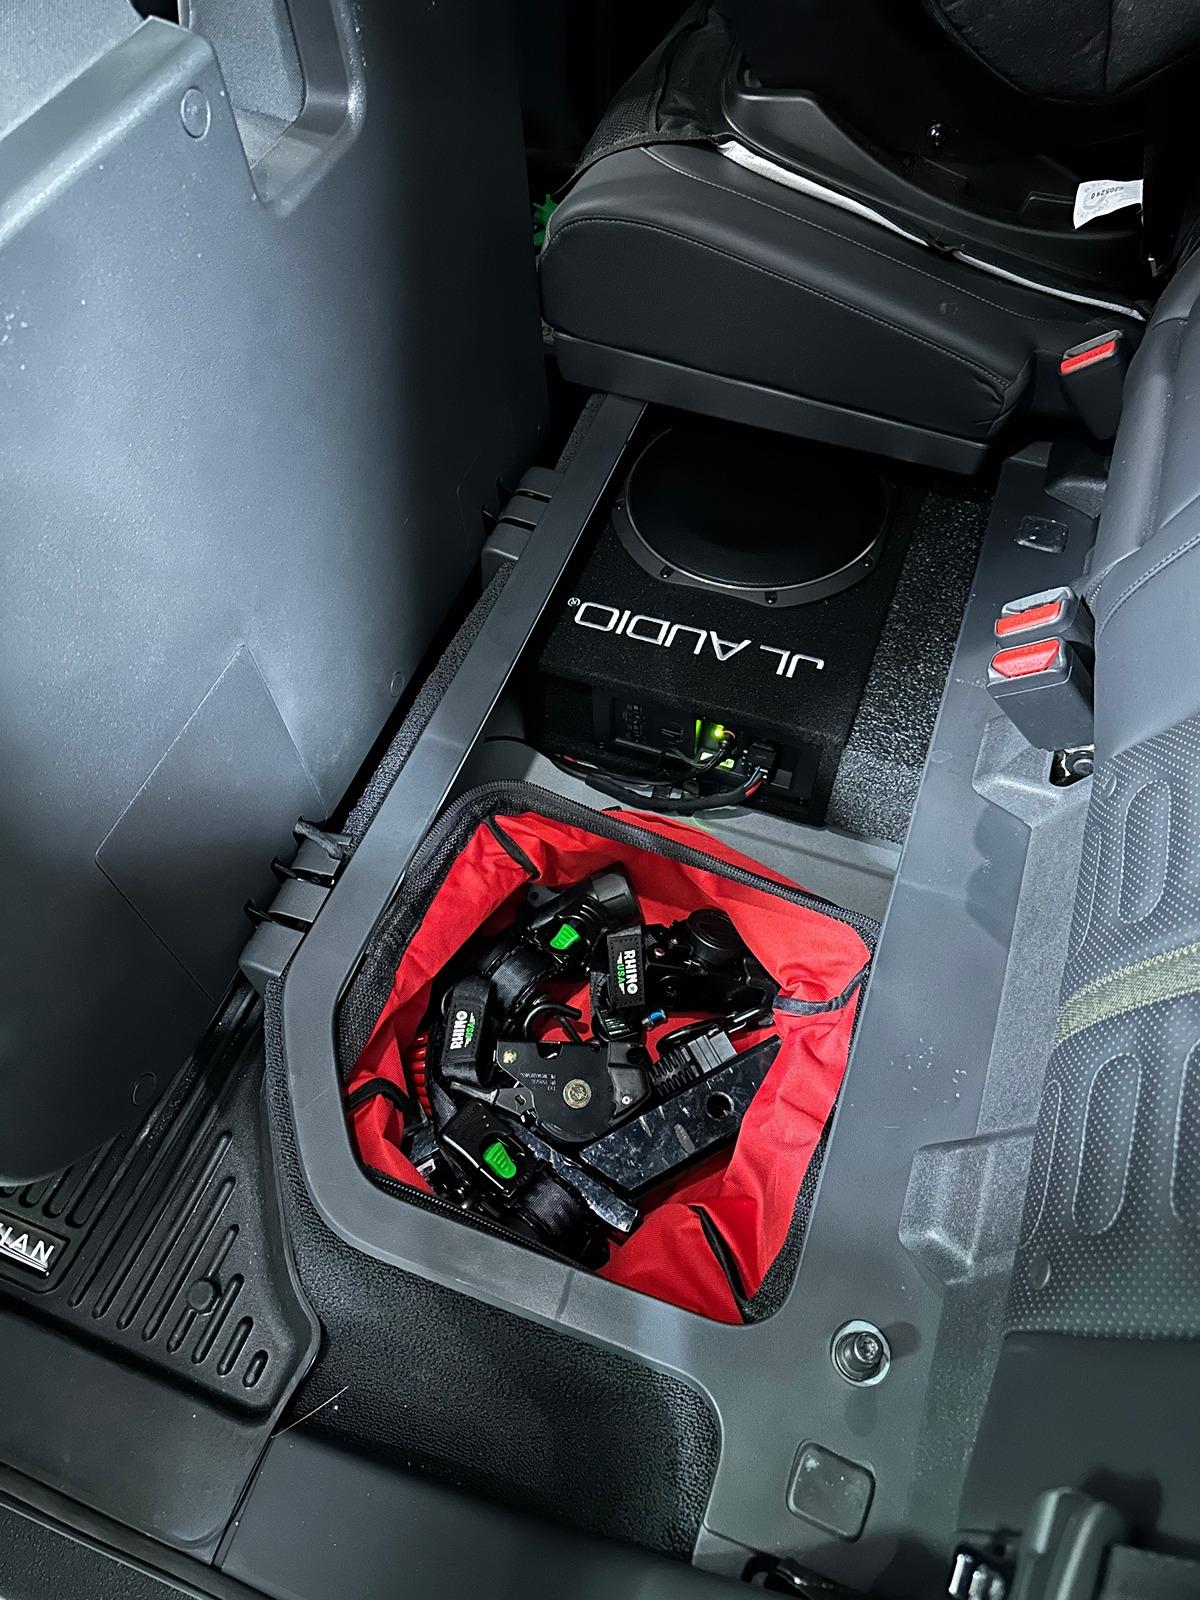
Amazing thread, quick question. Do y'all have the depth of the under seat storage once the tub is removed?
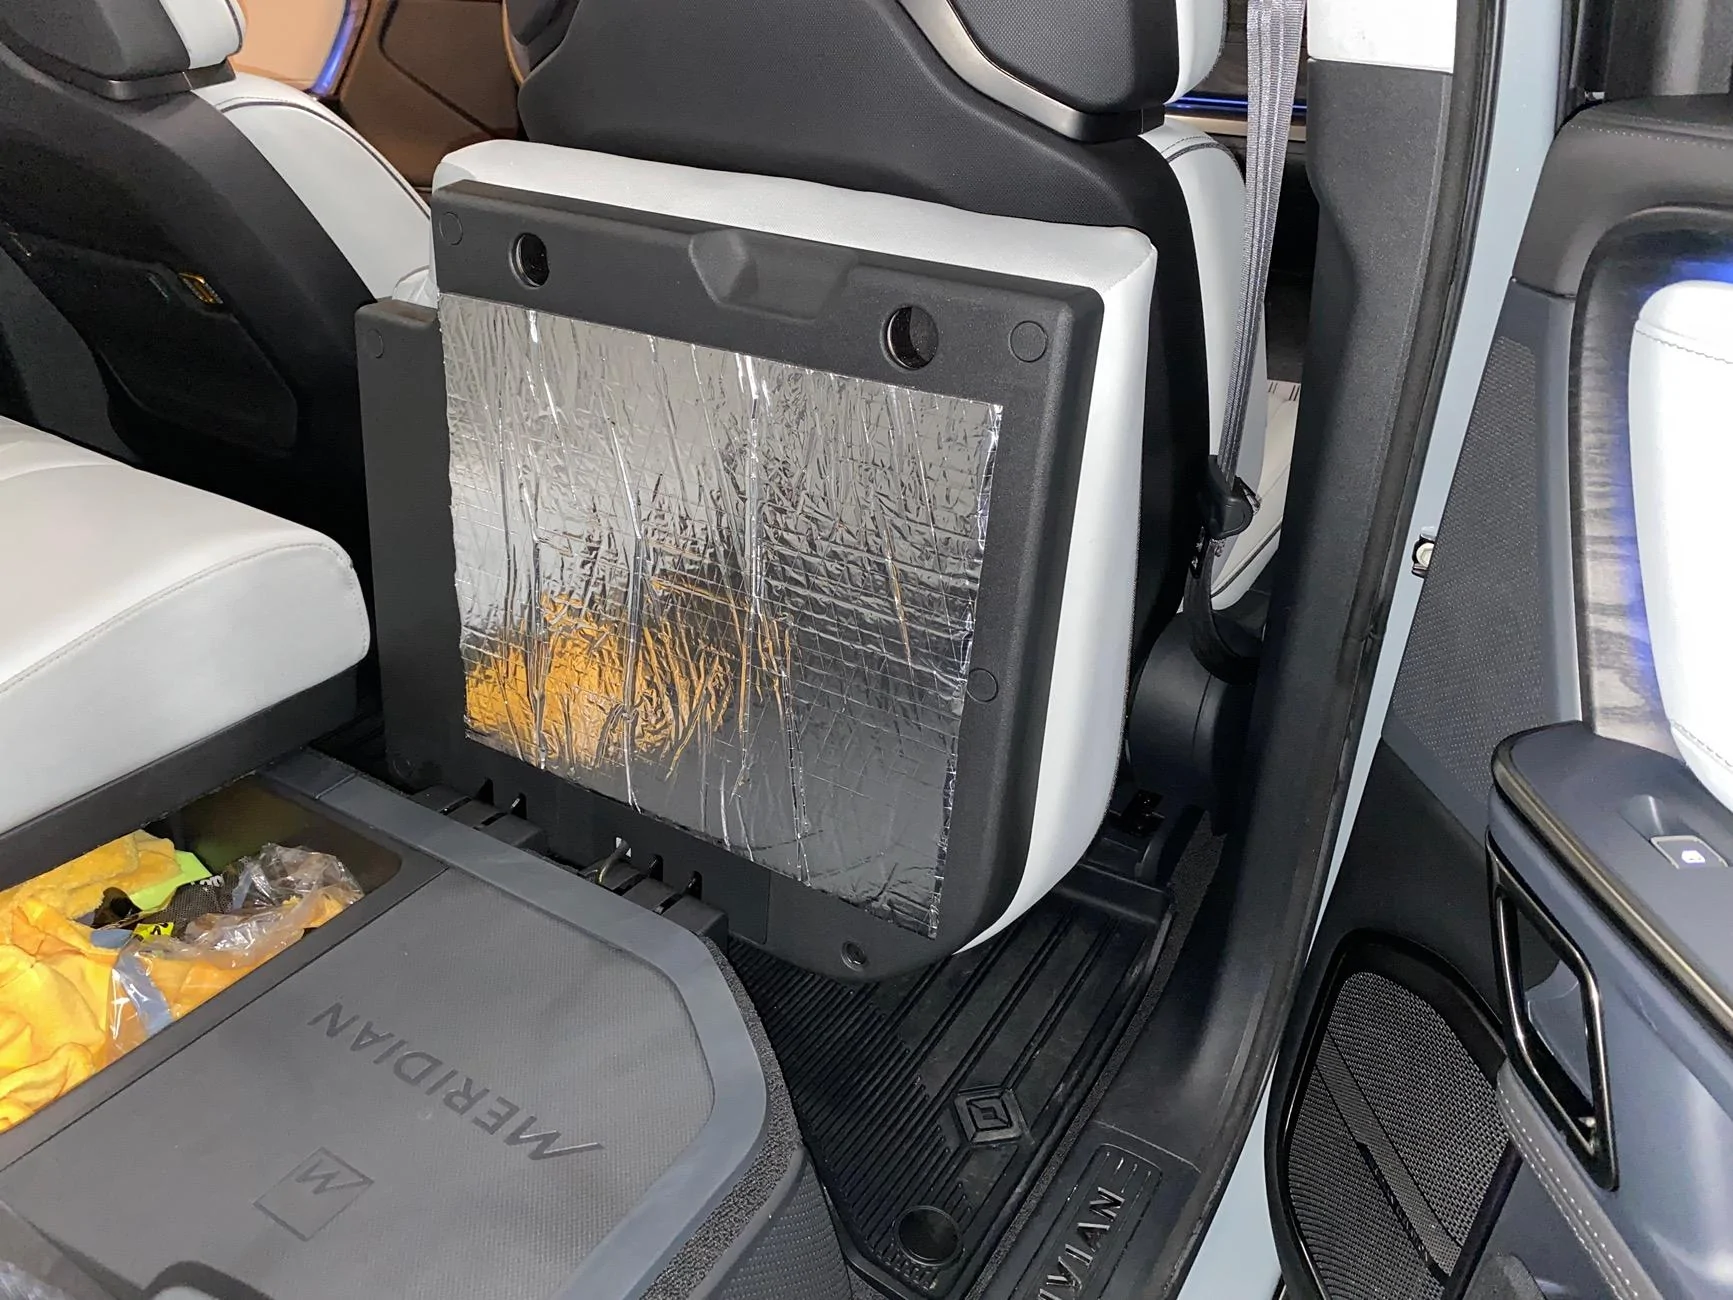
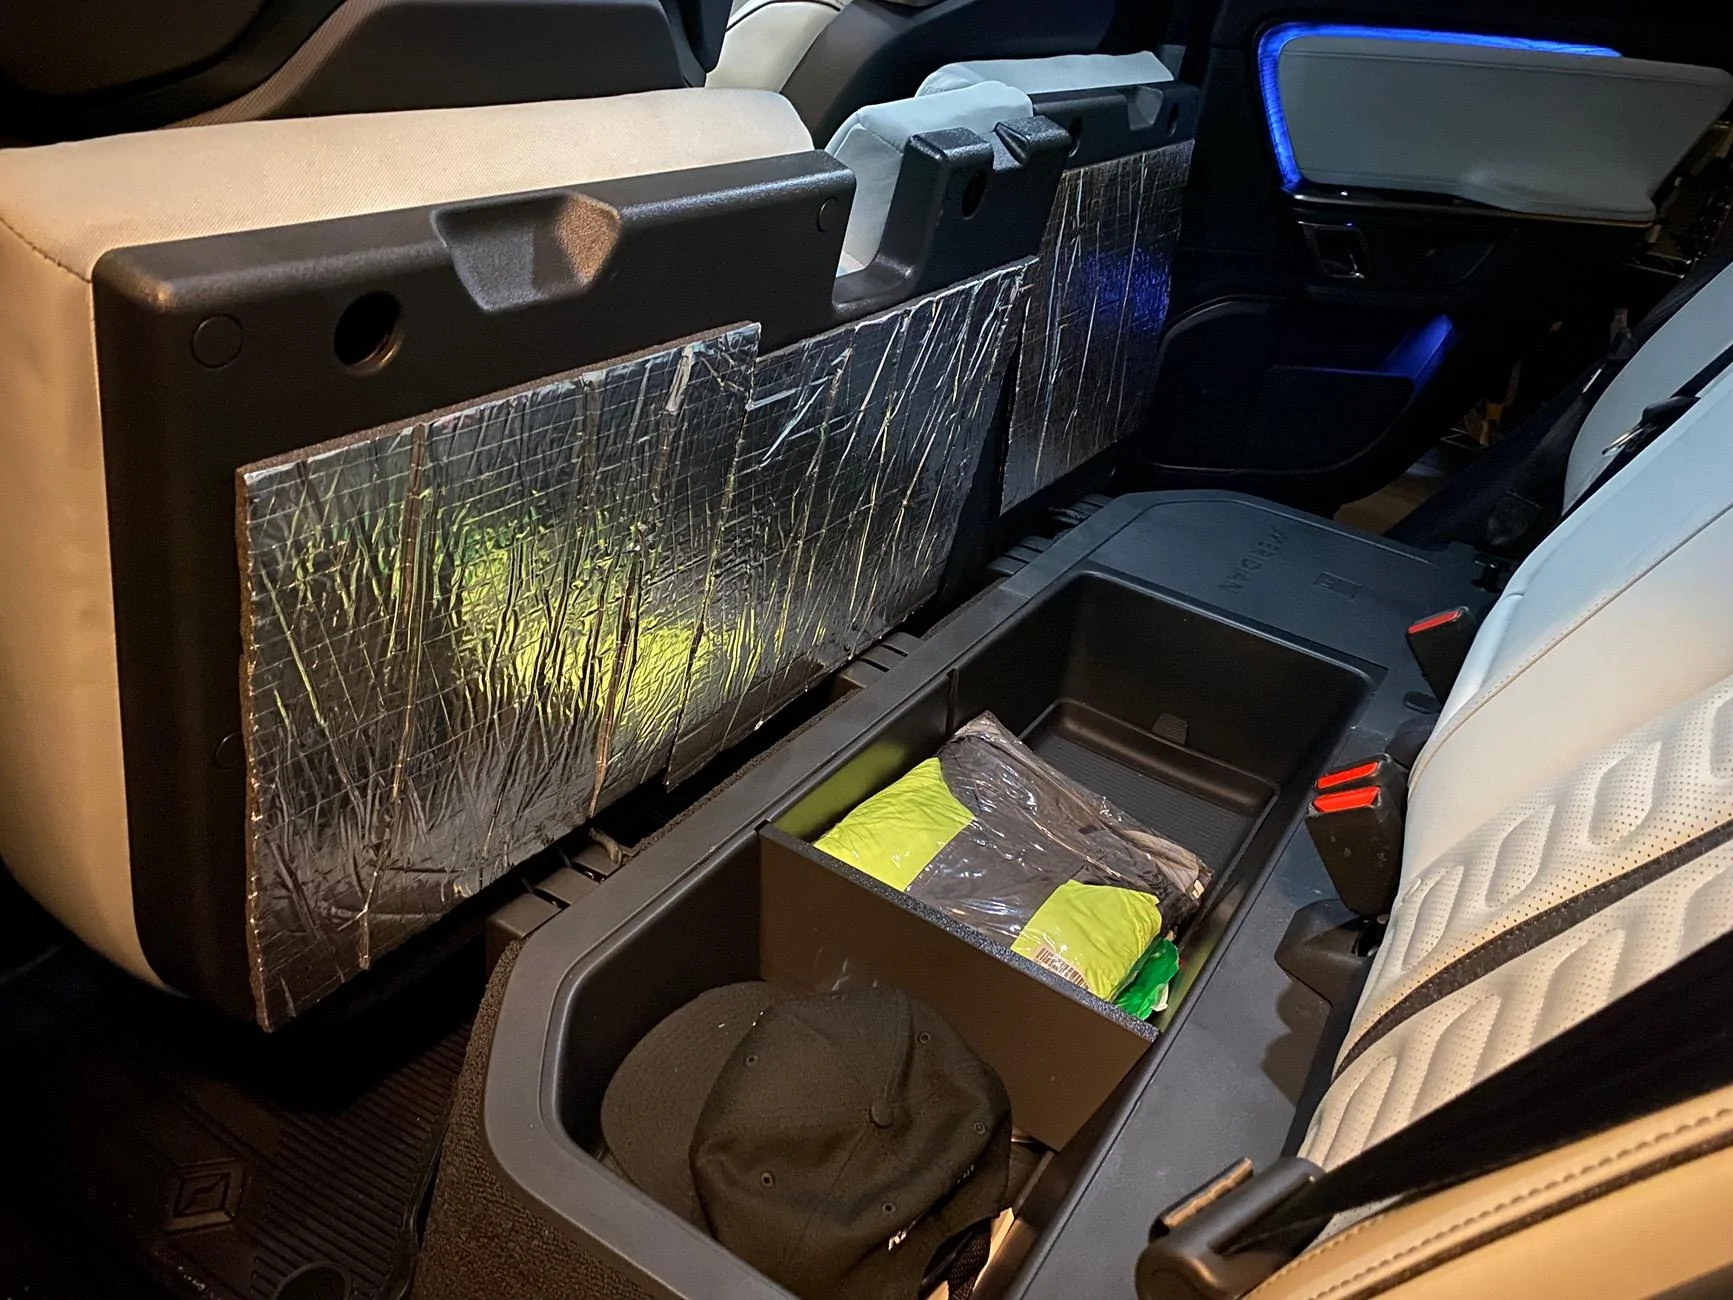
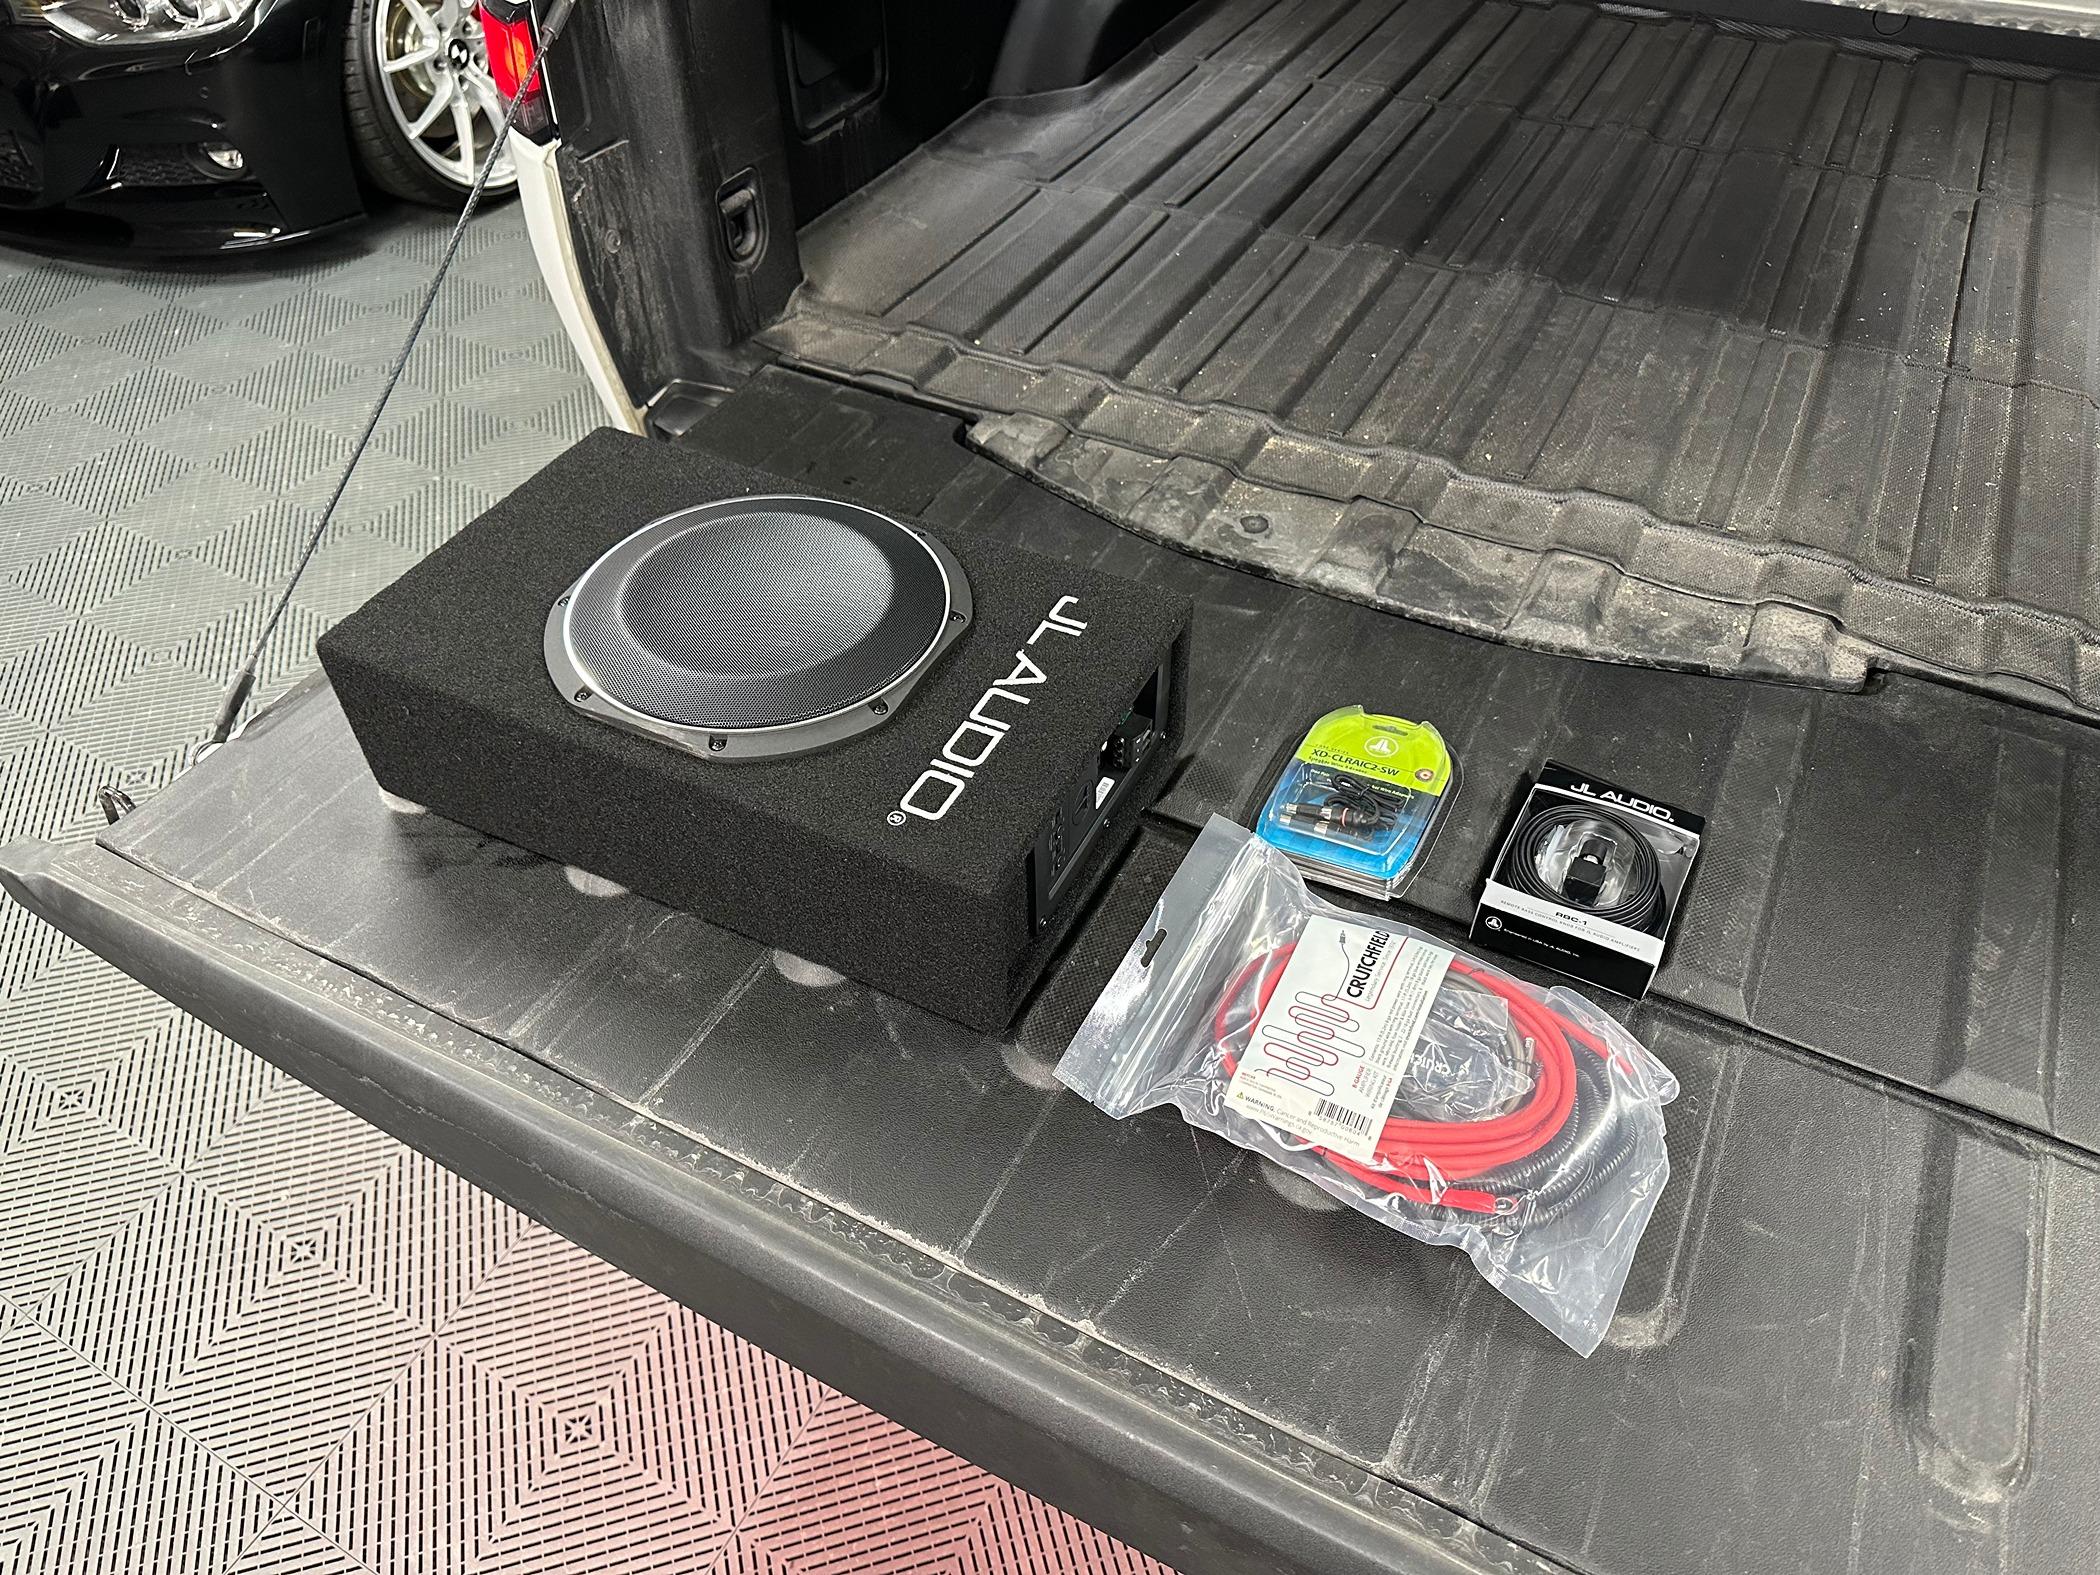
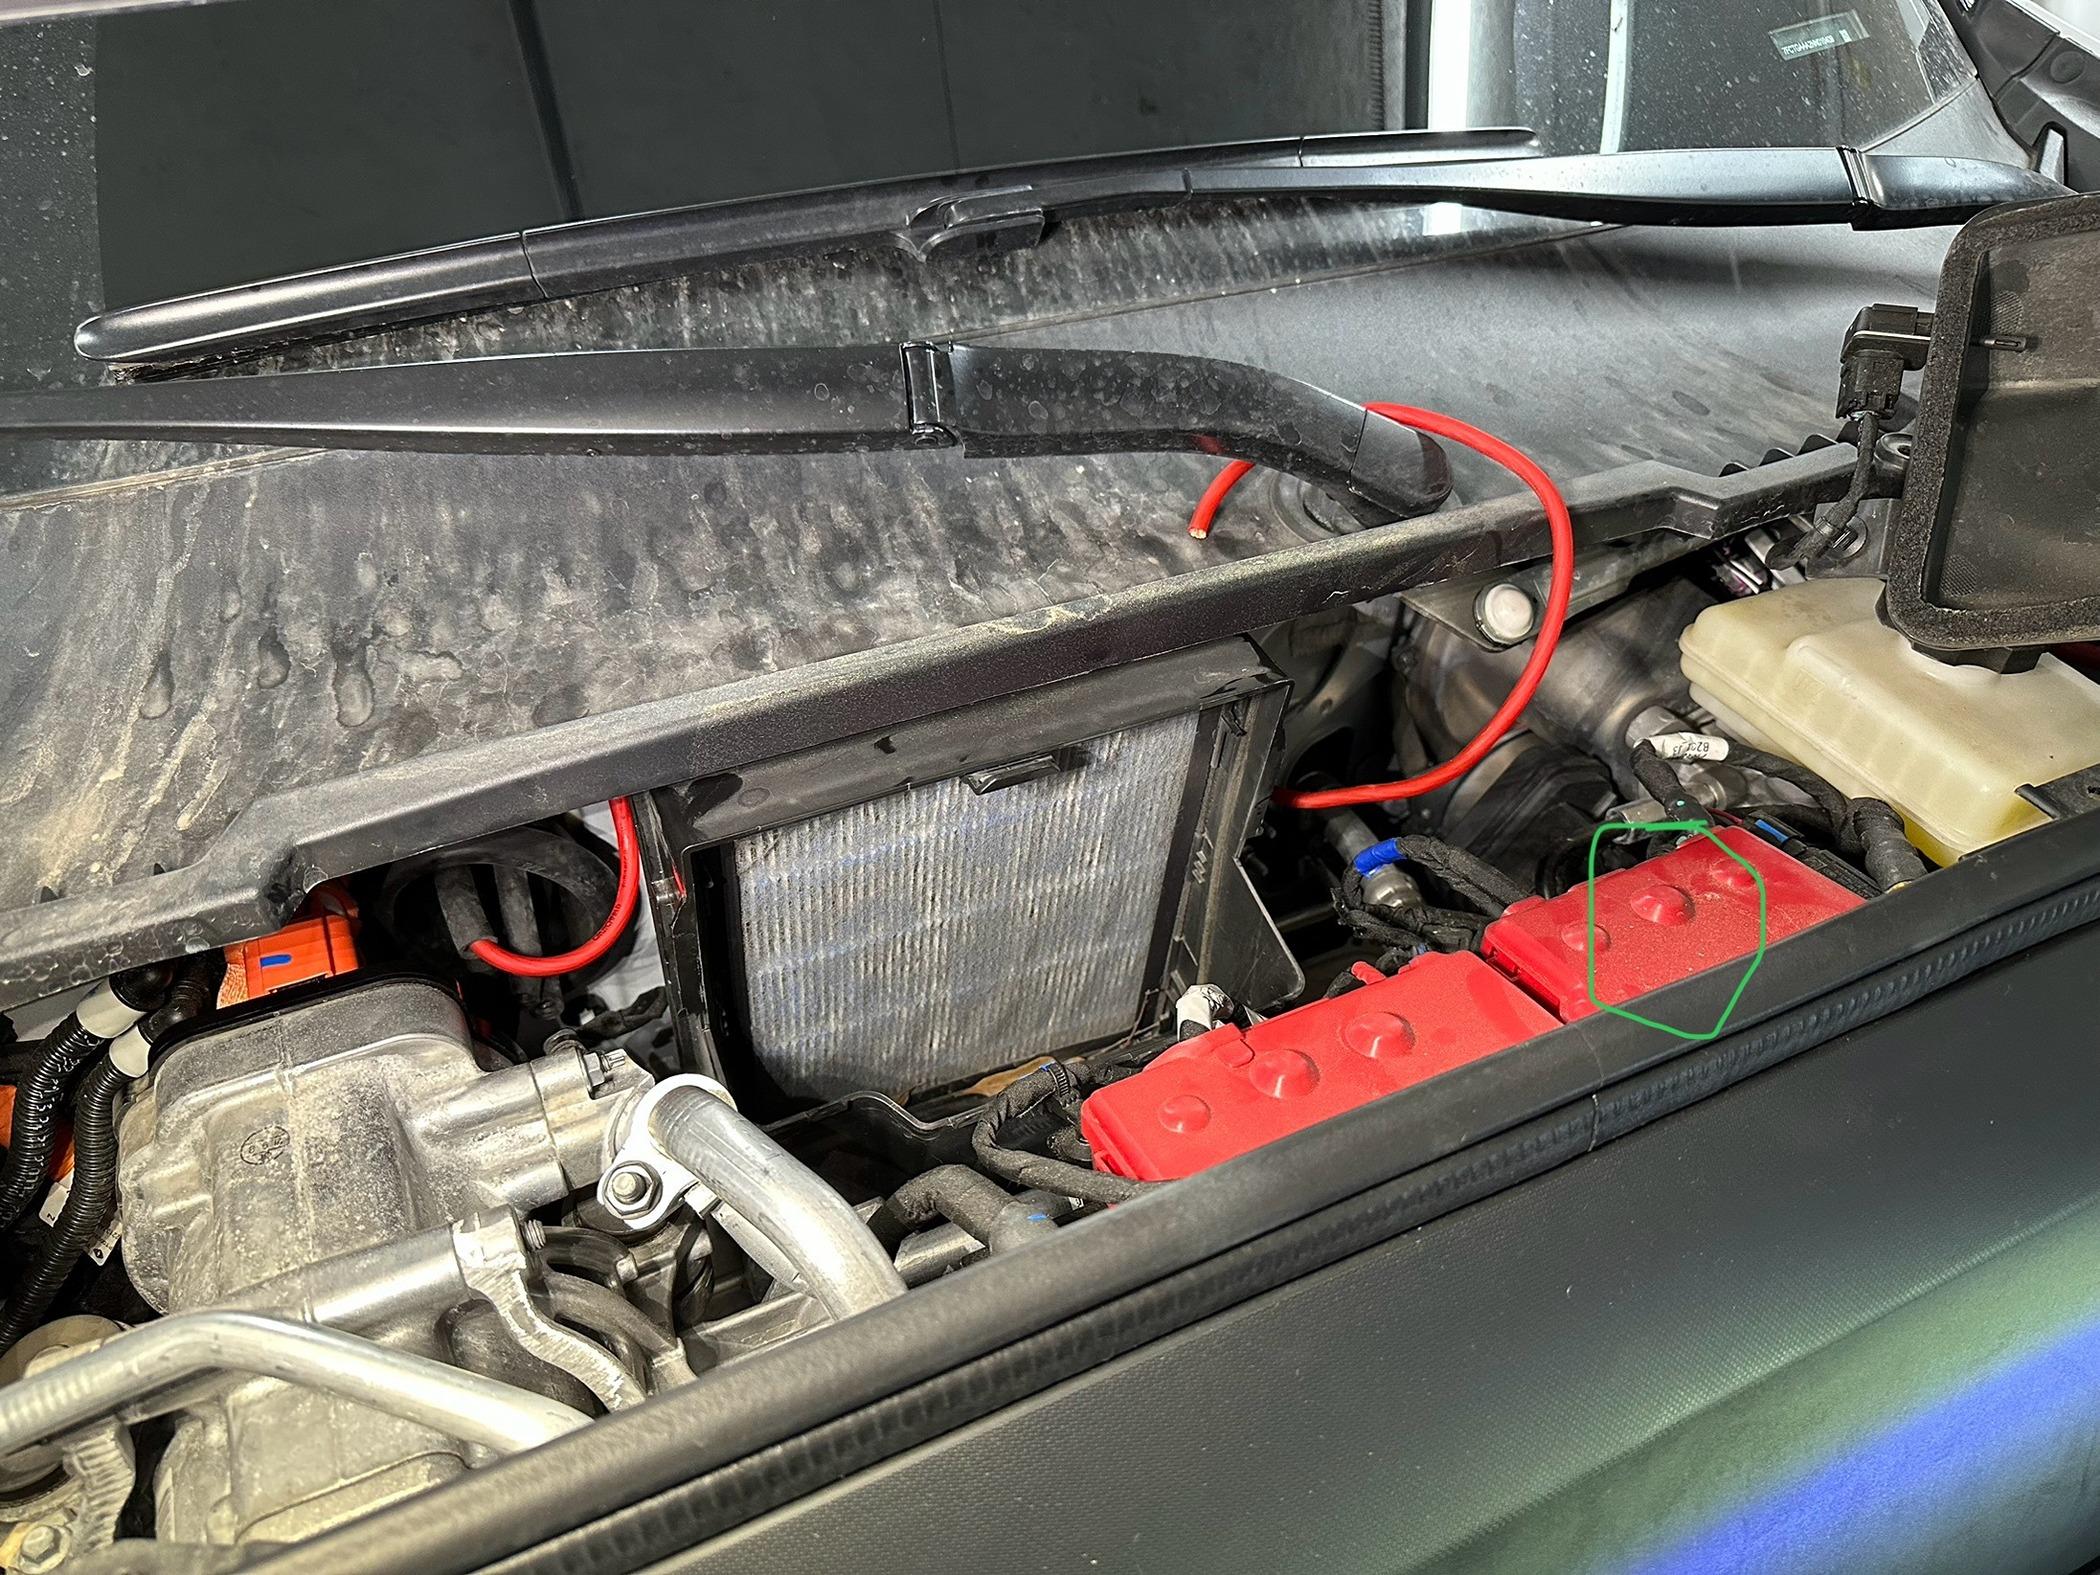
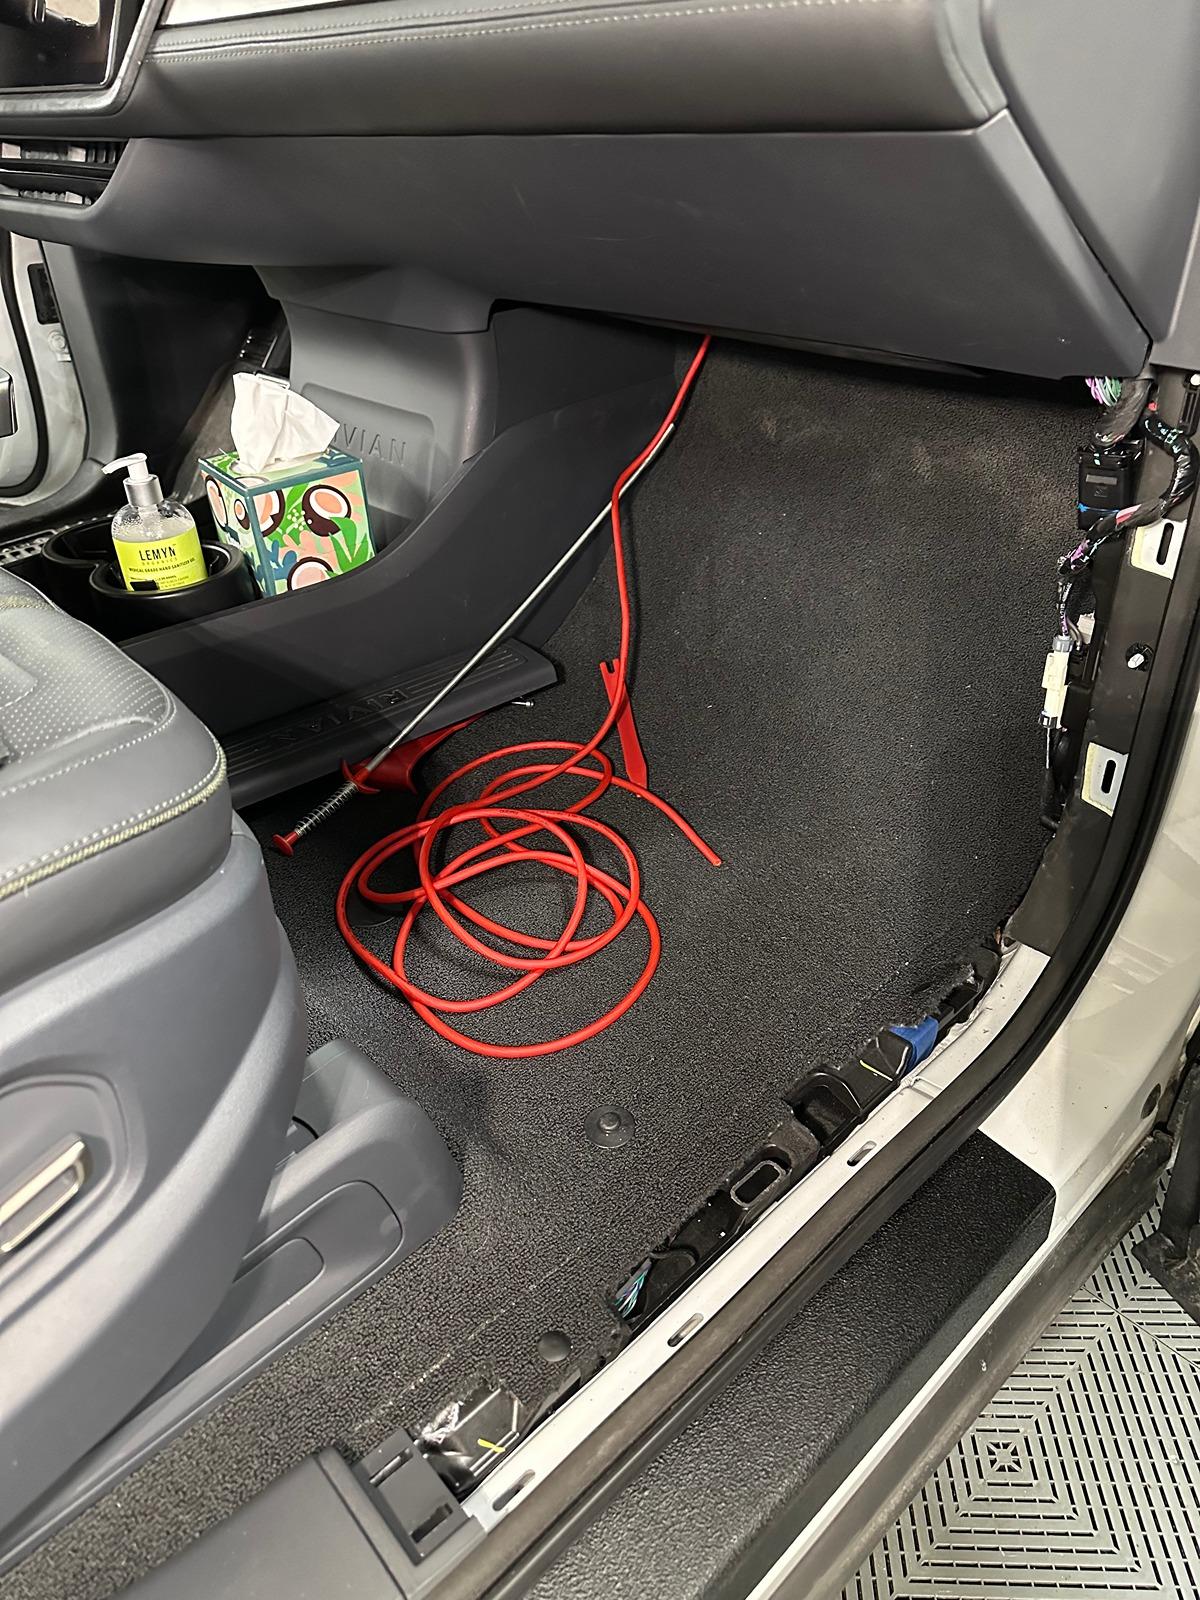
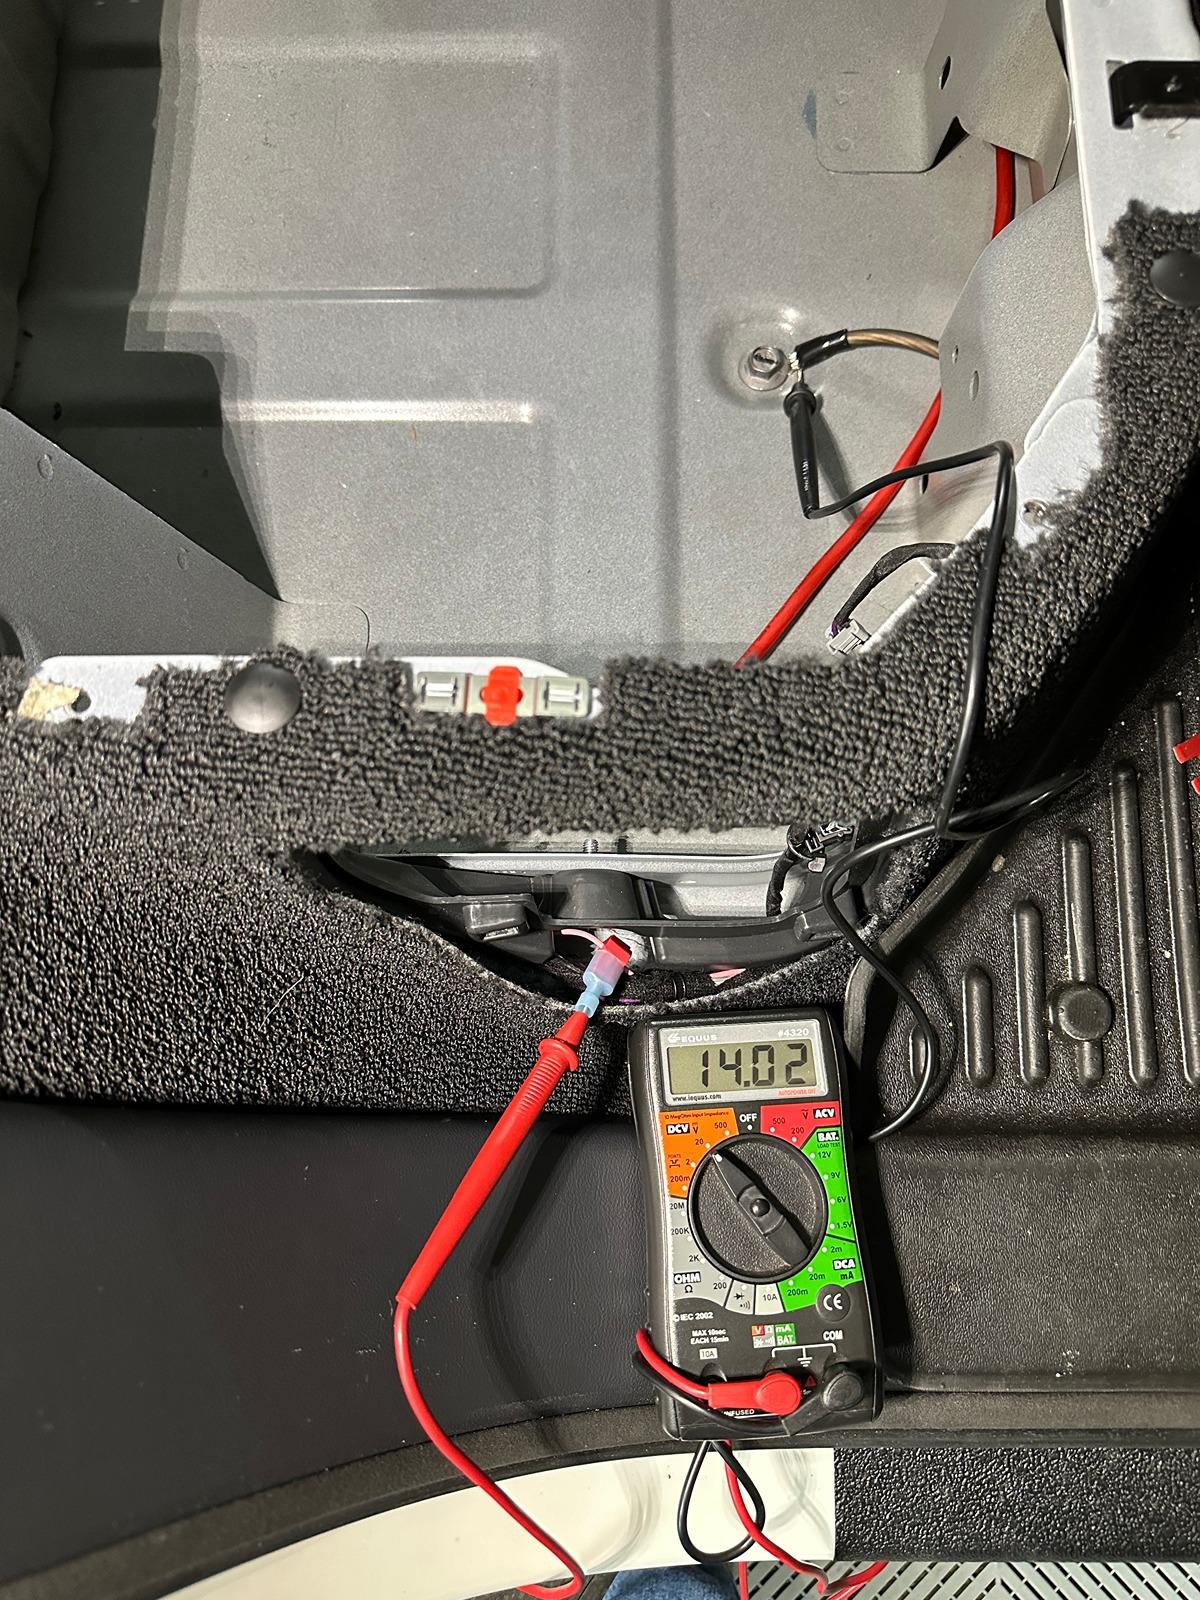
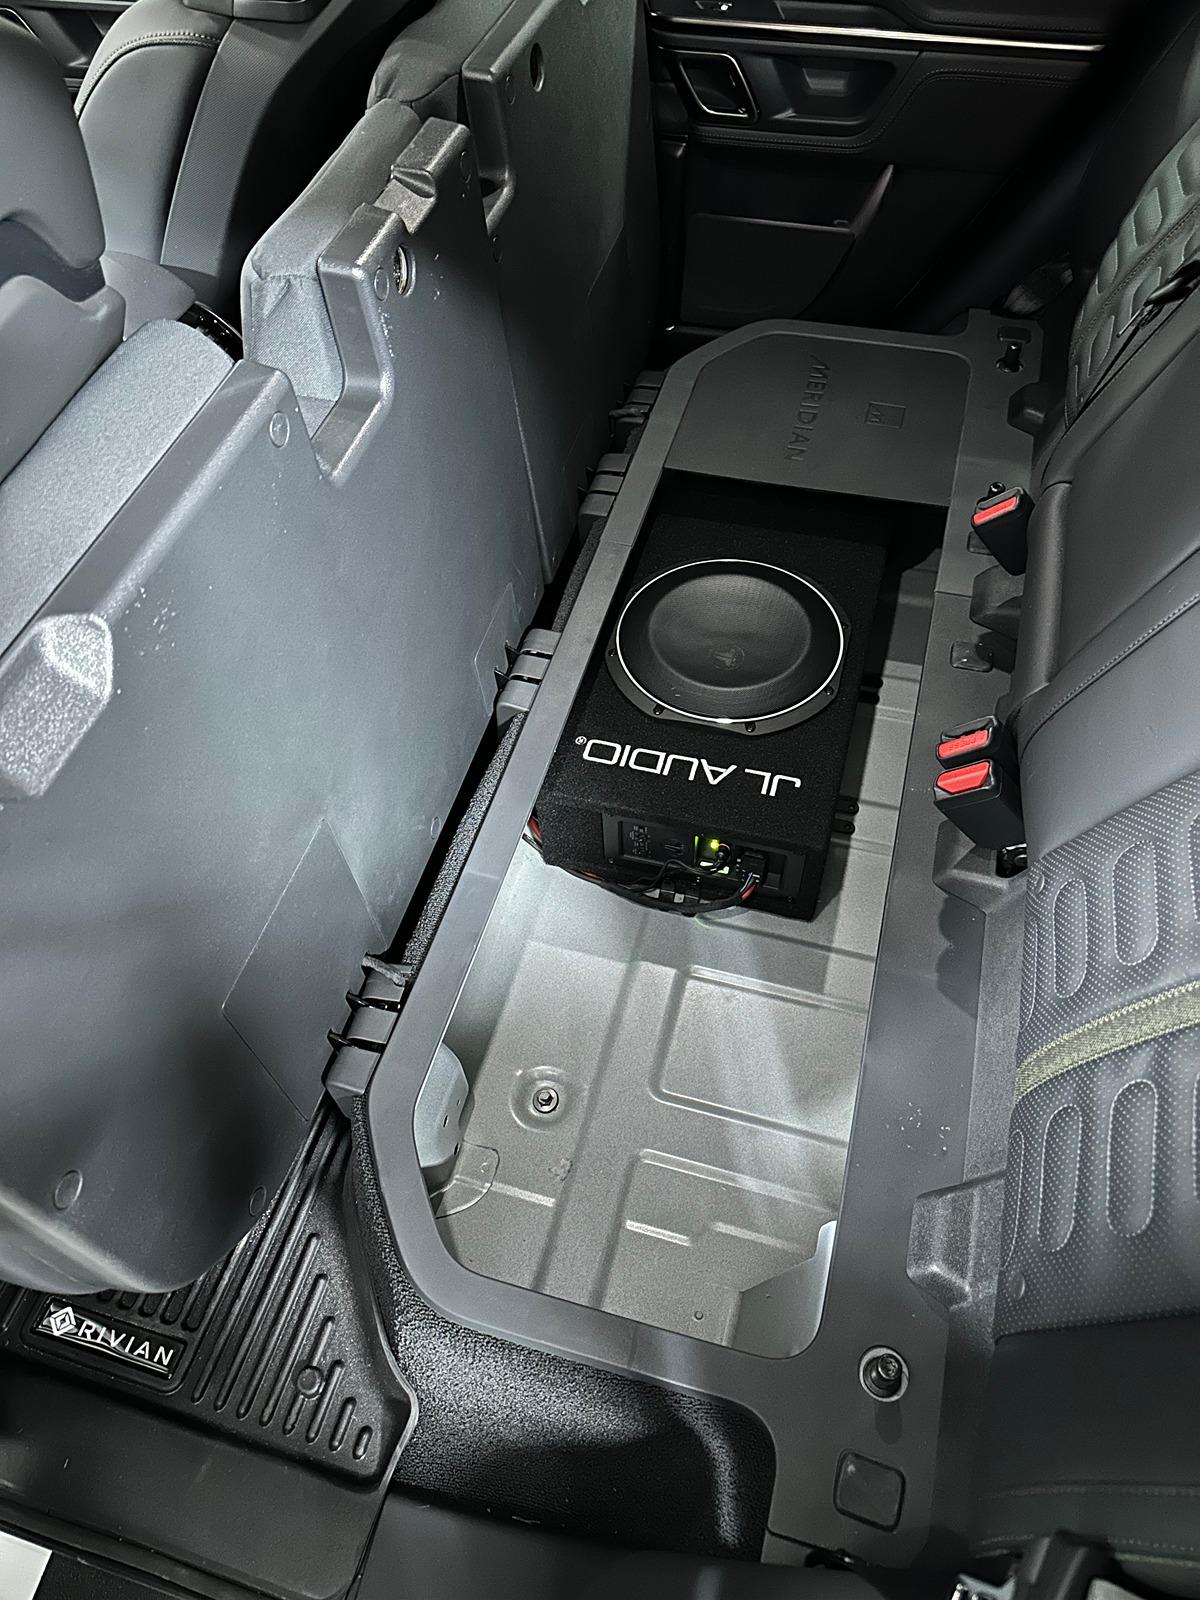
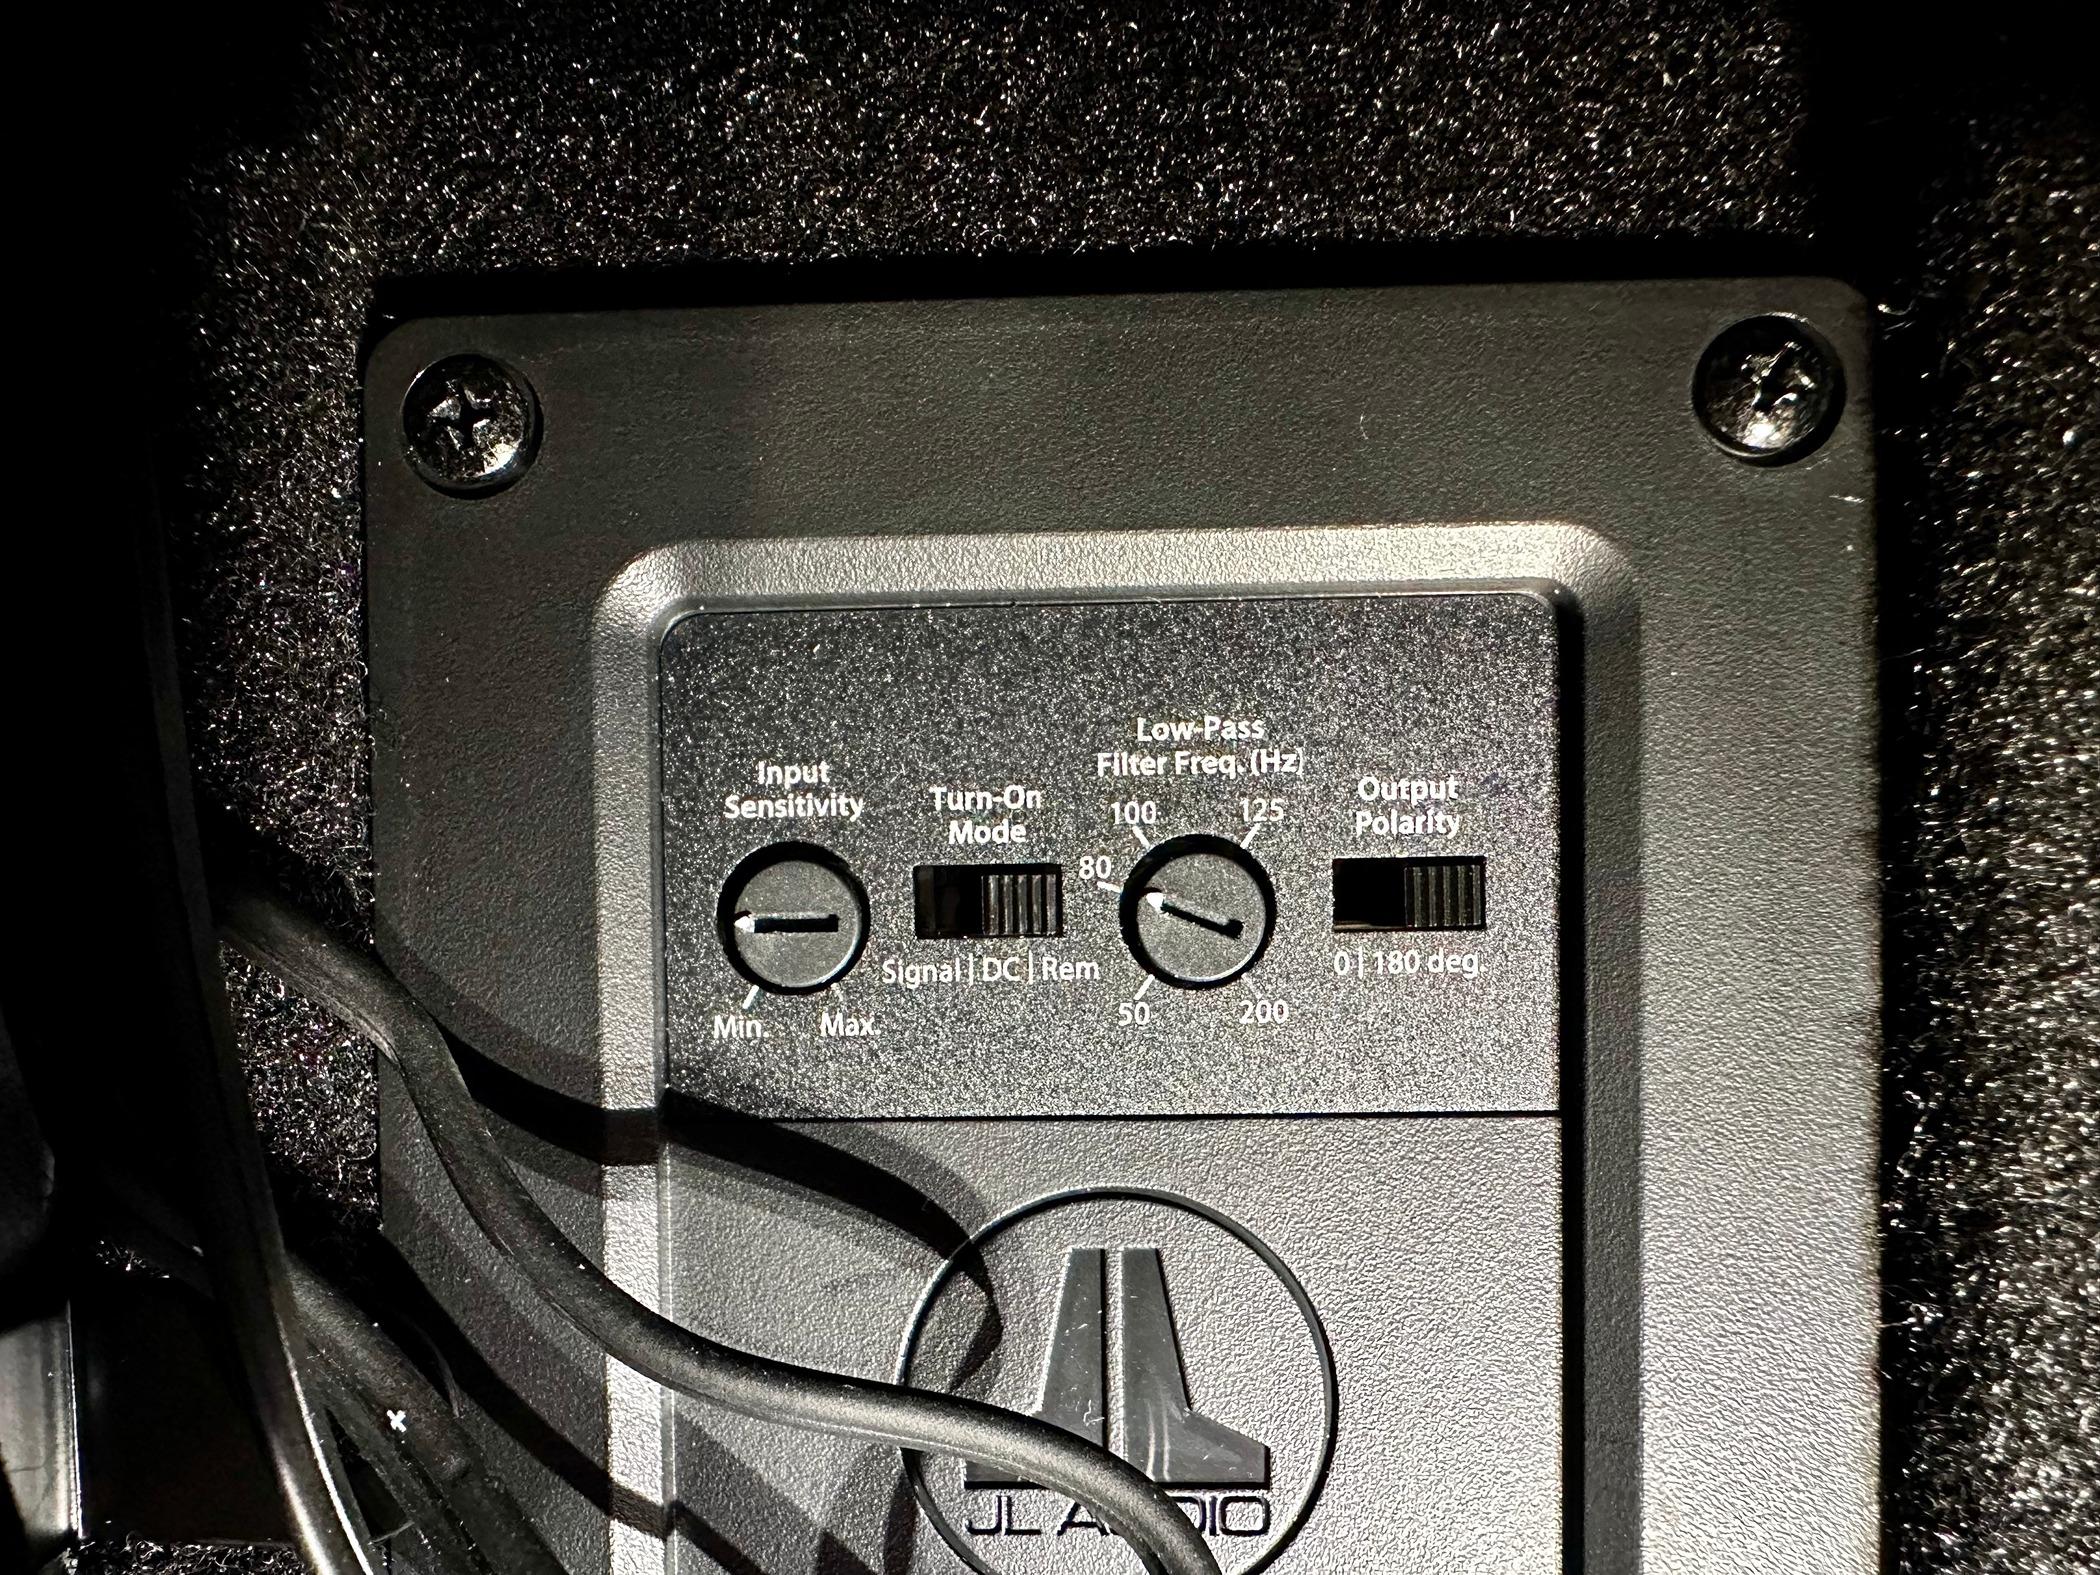
I know you recommend the JL Audio ACS110LG-TW1 which is sealed, 400W RMS, and 5" deep
But, I was also looking at: JL Audio CP110LG-TW1-2 which is ported, 300W RMS, and 6 3/8" deep, I'm hoping if it fits this would be moving more air and have better lows?
thoughts? Will it work? Thanks in advance.
I know you recommend the JL Audio ACS110LG-TW1 which is sealed, 400W RMS, and 5" deep
But, I was also looking at: JL Audio CP110LG-TW1-2 which is ported, 300W RMS, and 6 3/8" deep, I'm hoping if it fits this would be moving more air and have better lows?
thoughts? Will it work? Thanks in advance.
Sponsored
Last edited: