OP
OP
citizen
Well-Known Member
- First Name
- Darren
- Joined
- Sep 1, 2021
- Threads
- 16
- Messages
- 397
- Reaction score
- 442
- Location
- Orange County, CA
- Vehicles
- R1S, 911, RX350h
- Occupation
- Designer
- Thread starter
- #16
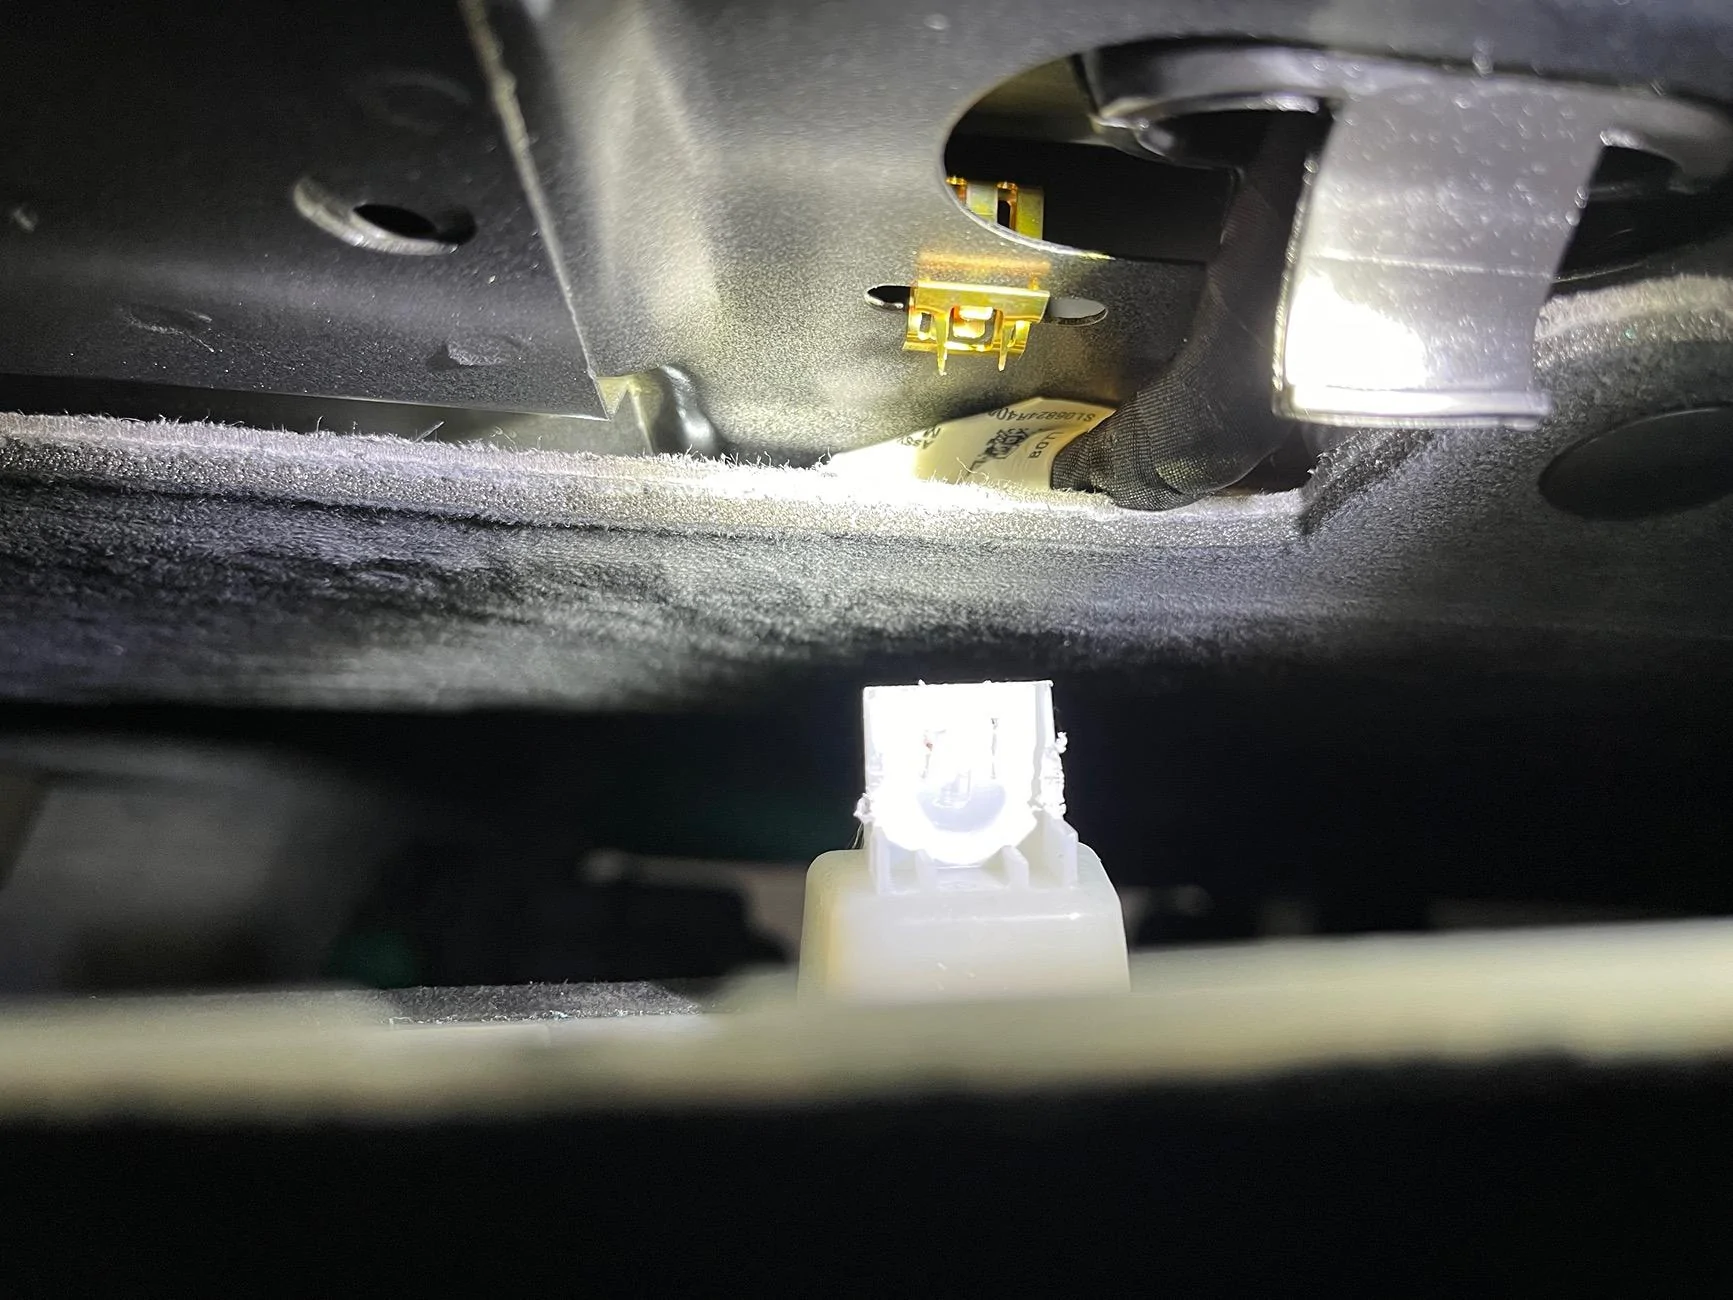
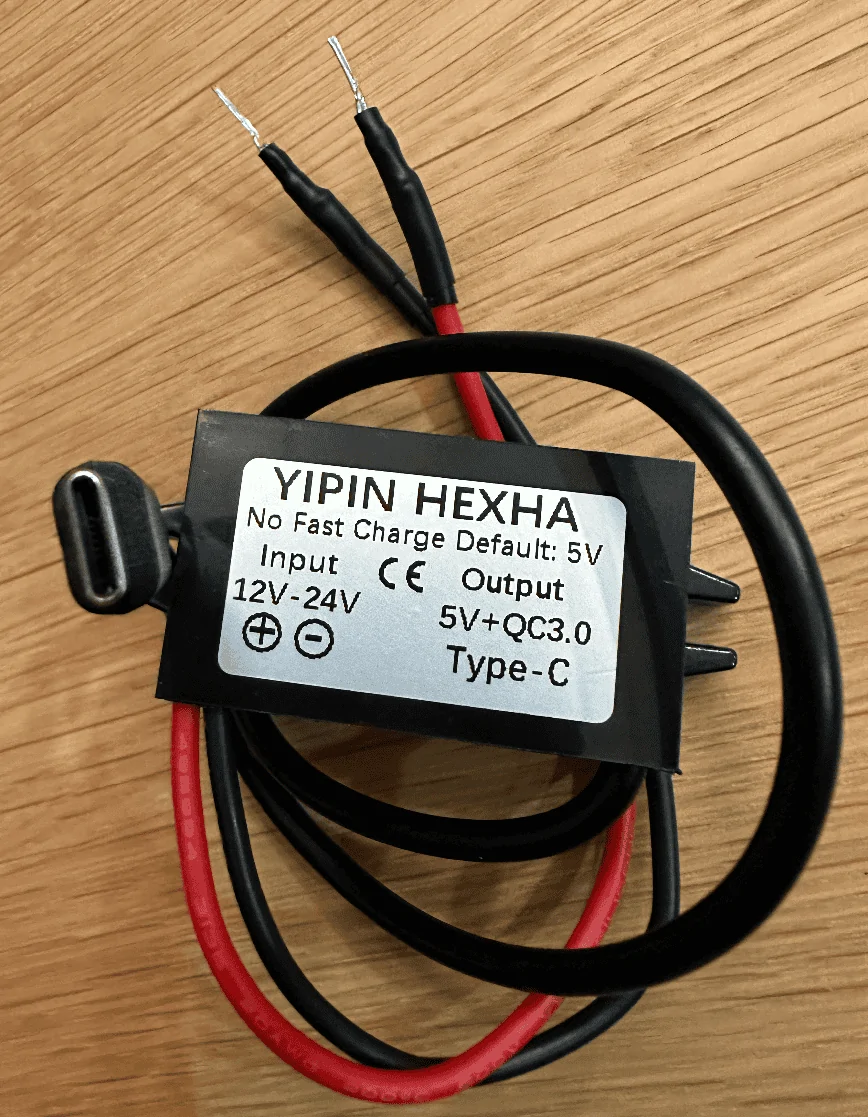
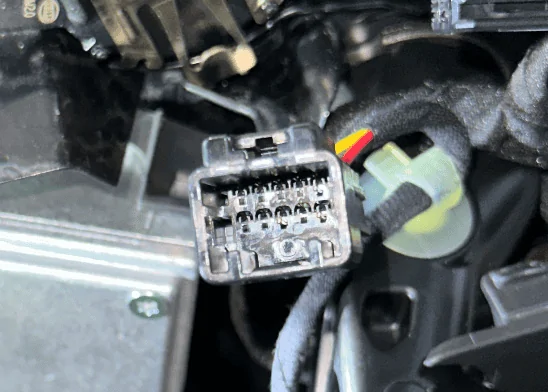
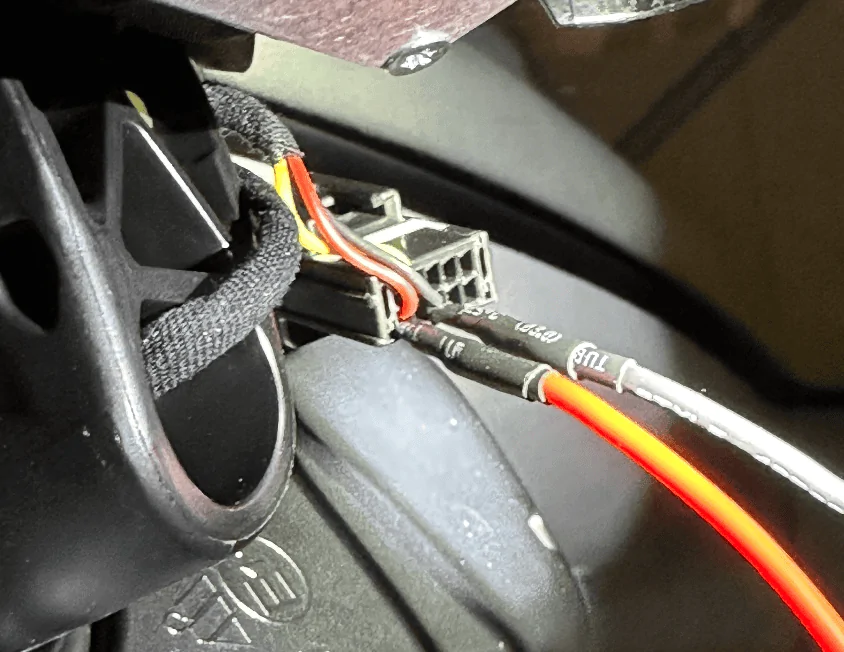
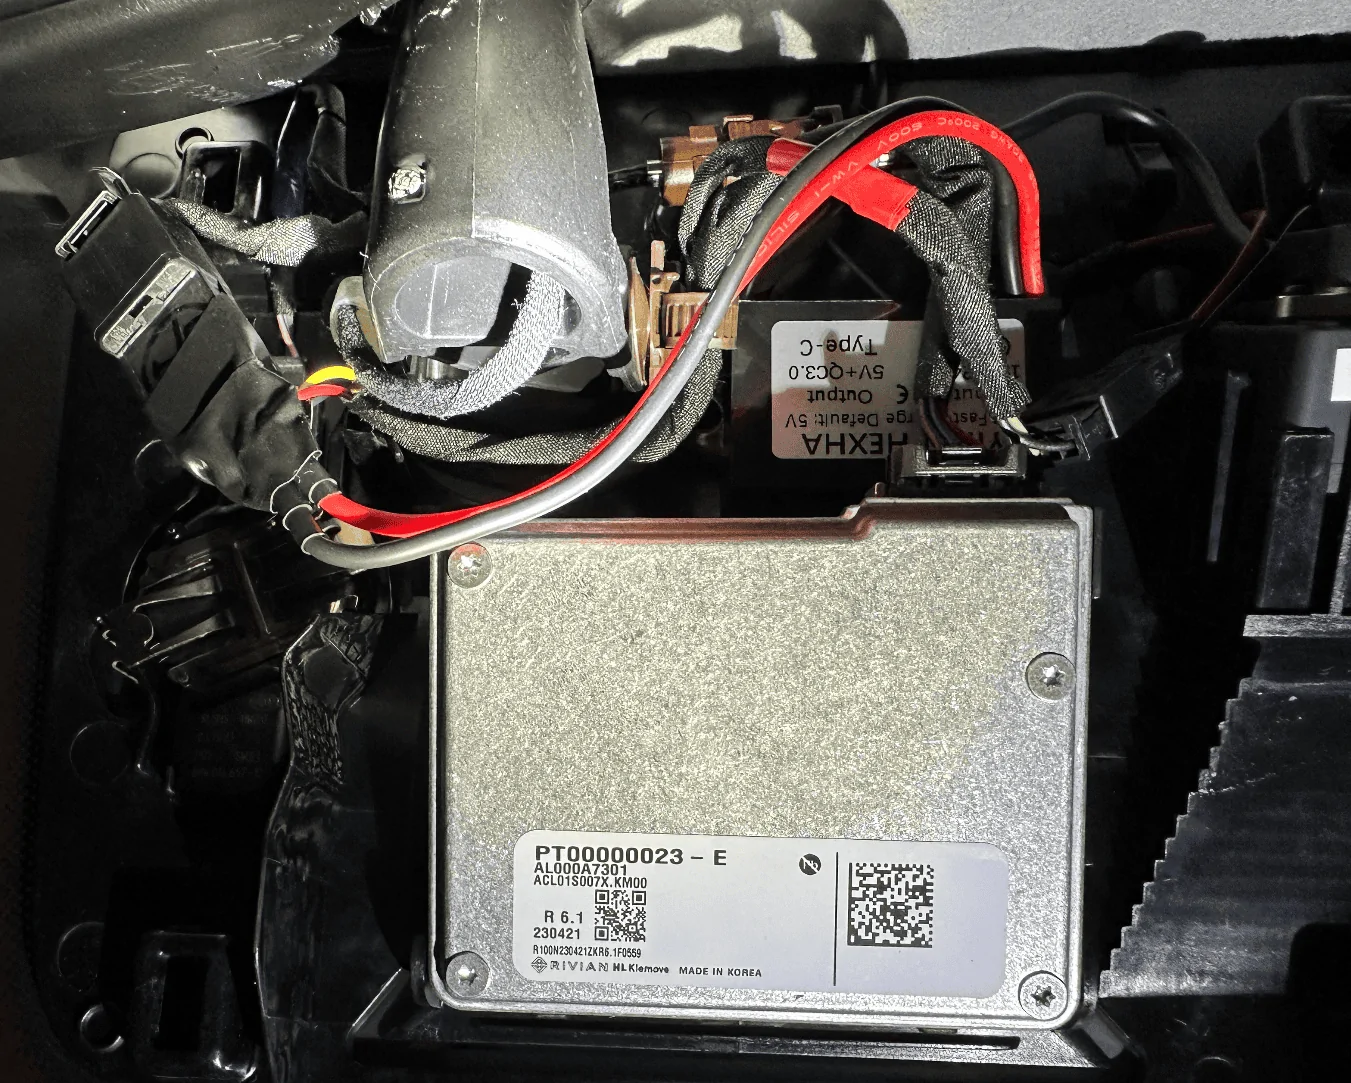
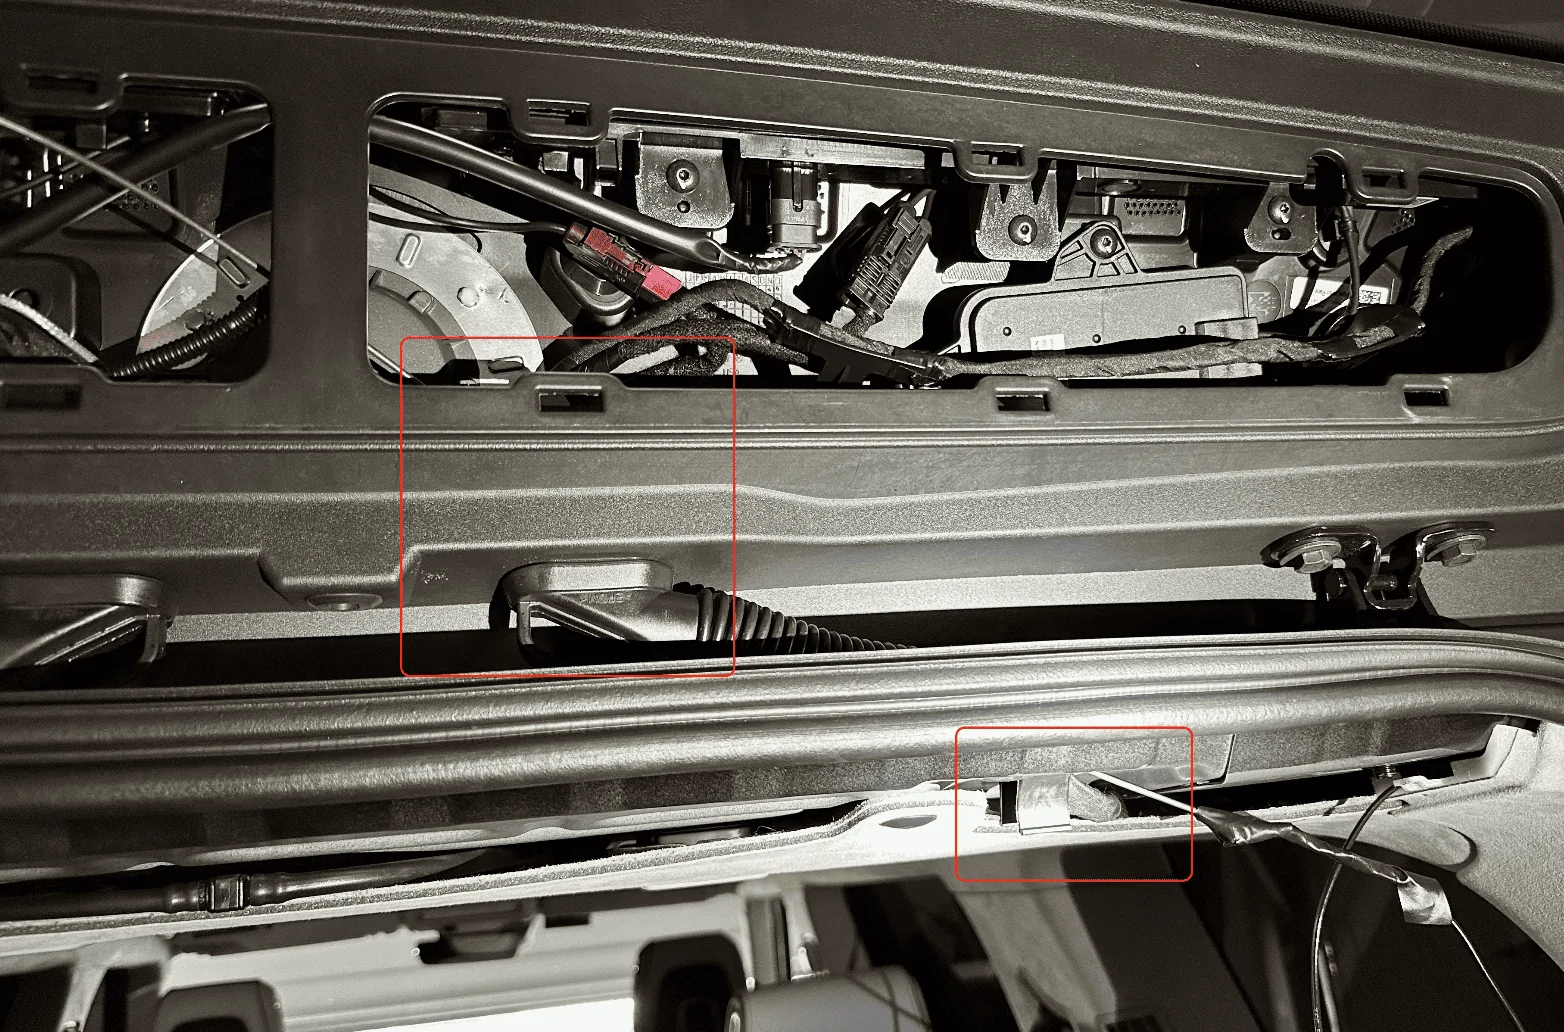
Some dashcams allow operation while parked and vehicle is off. The two wires are attached to battery and accessory power fuses to enable recording while car is off. Since I didn’t need this functionality, I tied both wires to the same fuse.Thanks for such a well detailed chronicle with photos!
I may be overthinking this but what did you mean by “since I didn't care about parking mode, tied both the battery and ACC wires to the same fuse”. Do you mind elaborating?
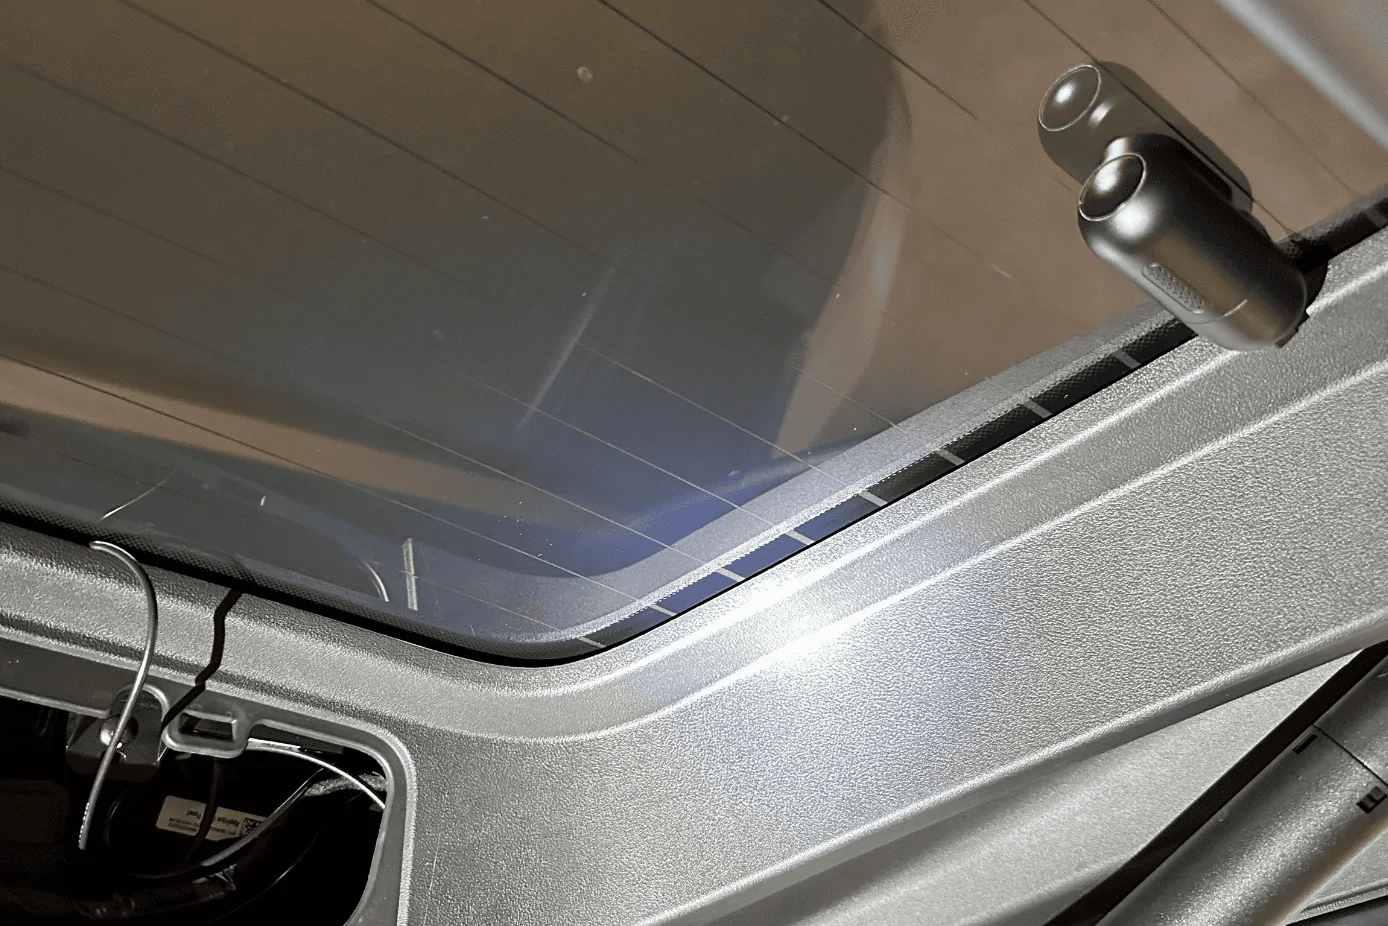
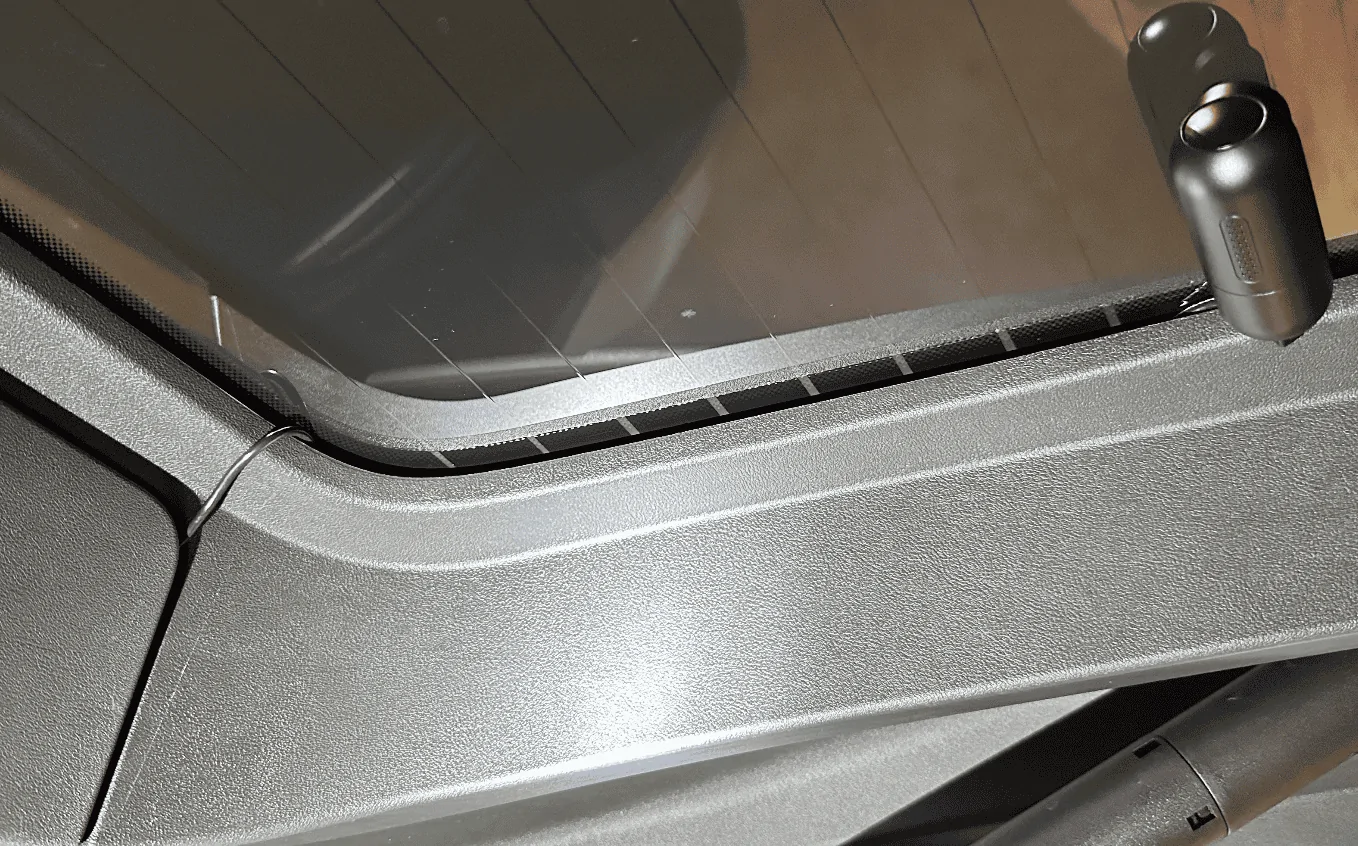
Also, what phone holder are you using? I can see it on one of the photos.
Thanks!
Phone mount, went with this option because it raises the phone up. Pair it with any holder and an ODB2 if you want power (or fuse tap it)
https://opensourceev.com/products/phone-ball-mount-evo
Sponsored